
The Cutest Model Magic Ghost Craft For Kids


I love coming up with different Model Magic clay ideas! These simple, cute ghosts are a great way for young artists to explore sculpting with an easy-to-use material!
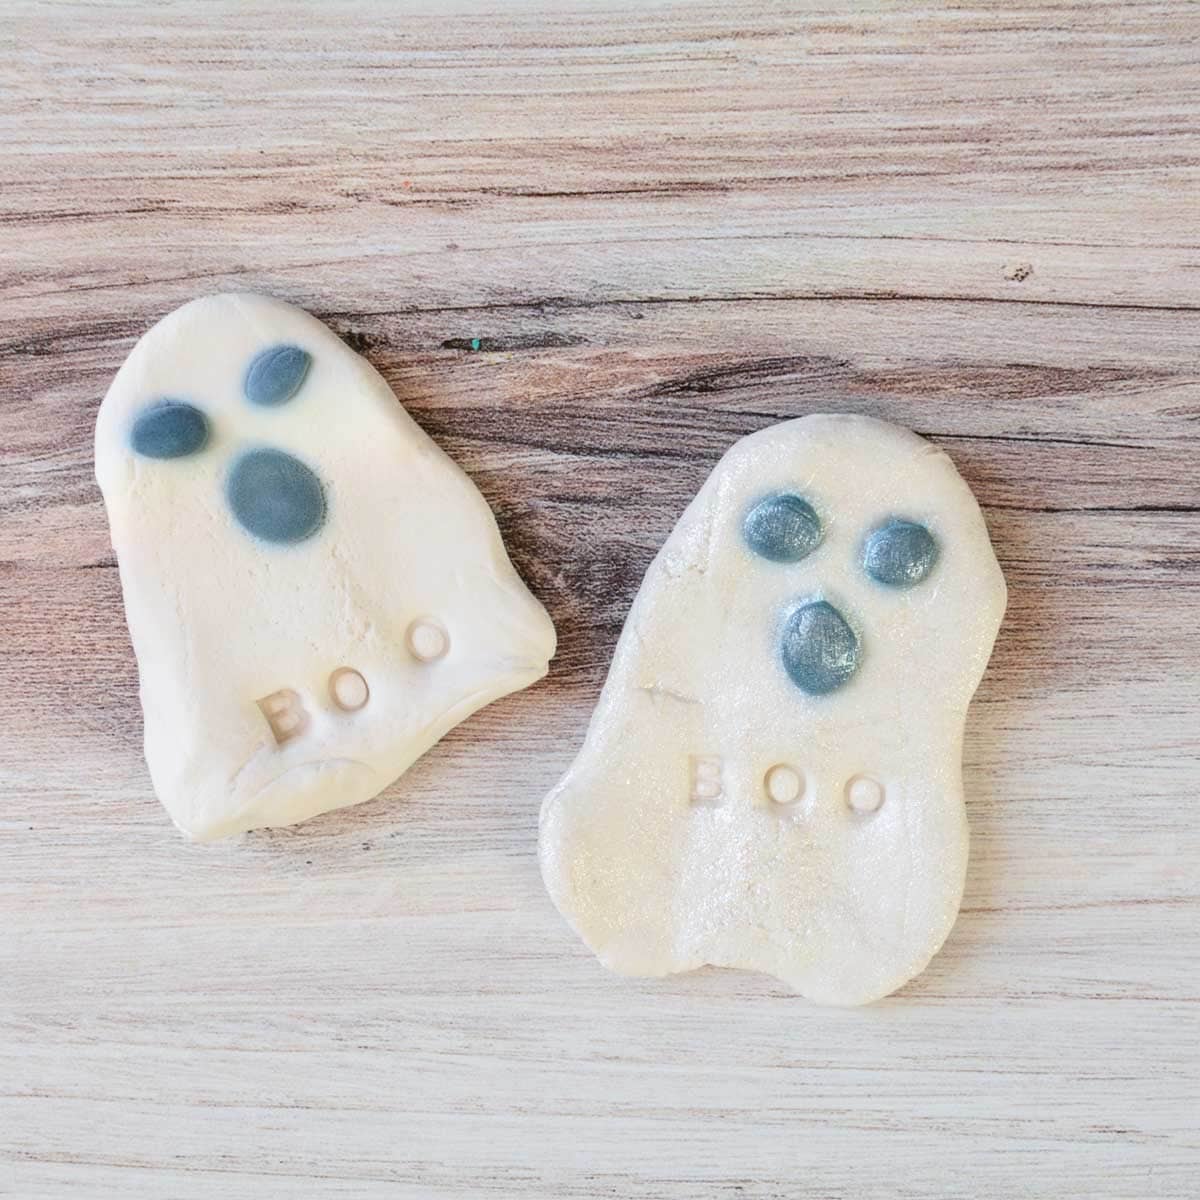
These fun ghosts can be made into magnets, keychains, or used as part of a larger mixed-media project. Kids will love how easy it is to make these Halloween relief sculptures.
Why I Love Model Magic
Supplies you’ll need
Disclosure: This post may contain affiliate links when clicked, we may earn a small commission at no additional cost to you. Read our full privacy policy.
Notes About Supplies
- We made 3 smaller ghosts out of 1 pack (1 oz) of Model Magic. If needed, you can make larger or thicker ghosts using more material.
- You can see other clear coat options we like to use on kids’ sculptures here.
How To Make Easy Model Magic Ghosts
ART TEACHER TIP – Have children work on the open pack for an easy surface that their sculpture will not stick to while drying.
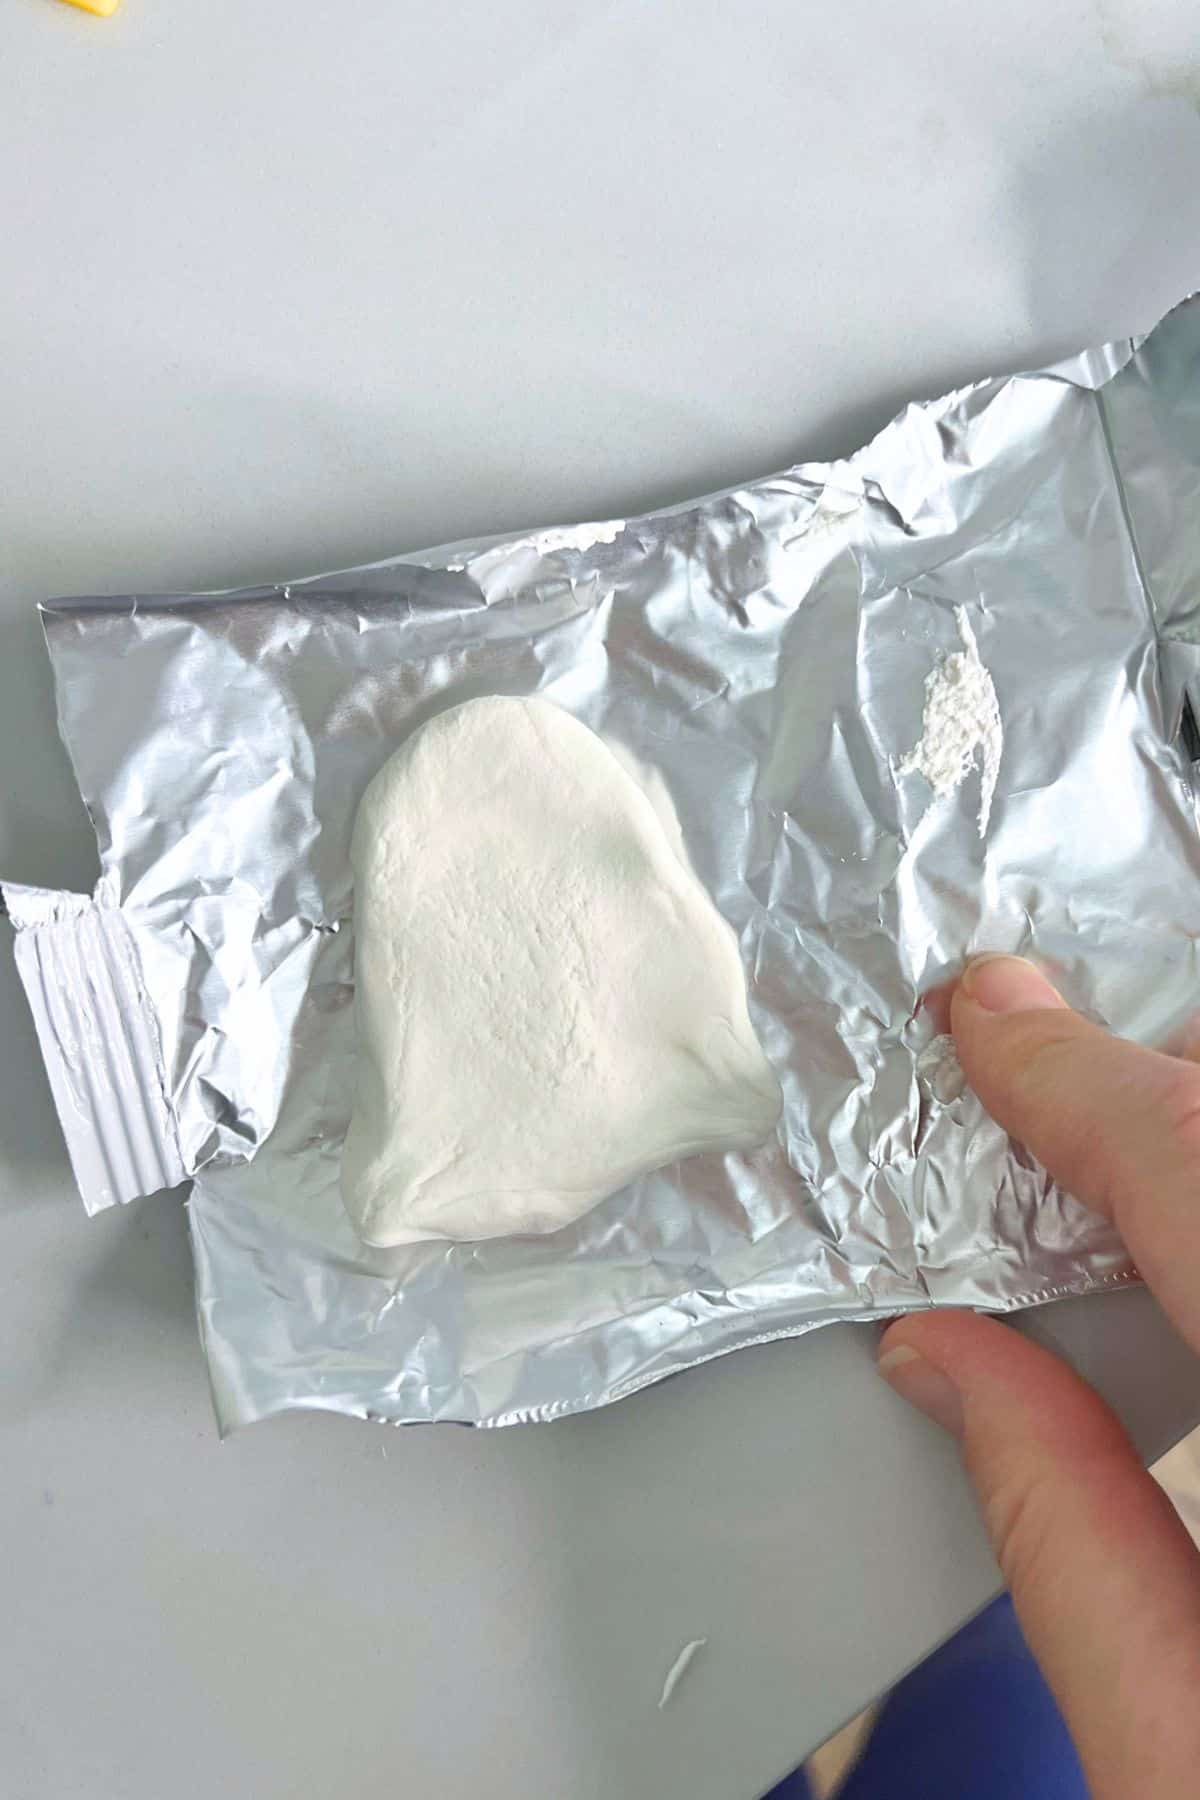
Step 1: Create A Ghost Shape
Use your hands to sculpt a ghost shape. You can make this more 3-dimensional or flatter if you’re making a magnet.
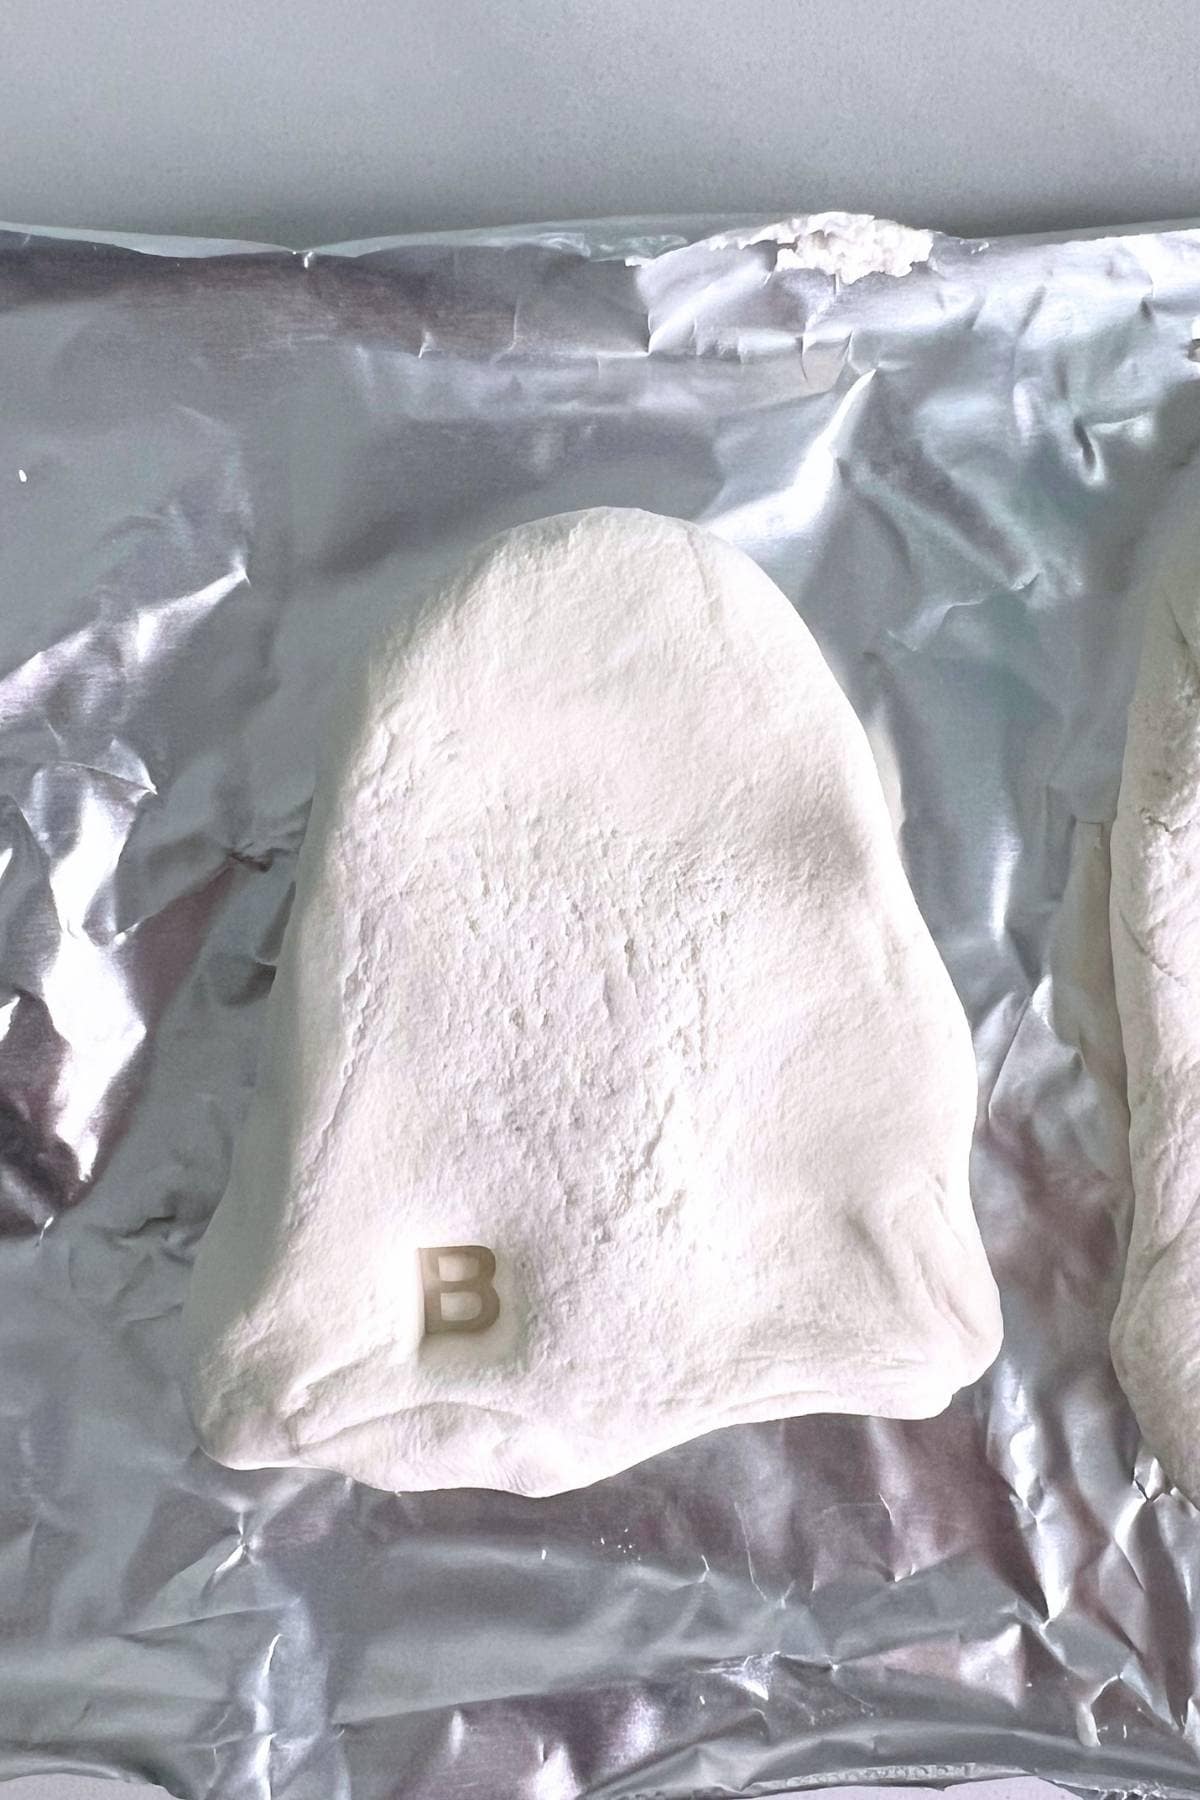
Step 2: Create Black Model Magic
Use small letter stamps or poke a design in with a toothpick to add more designs, like our BOO!
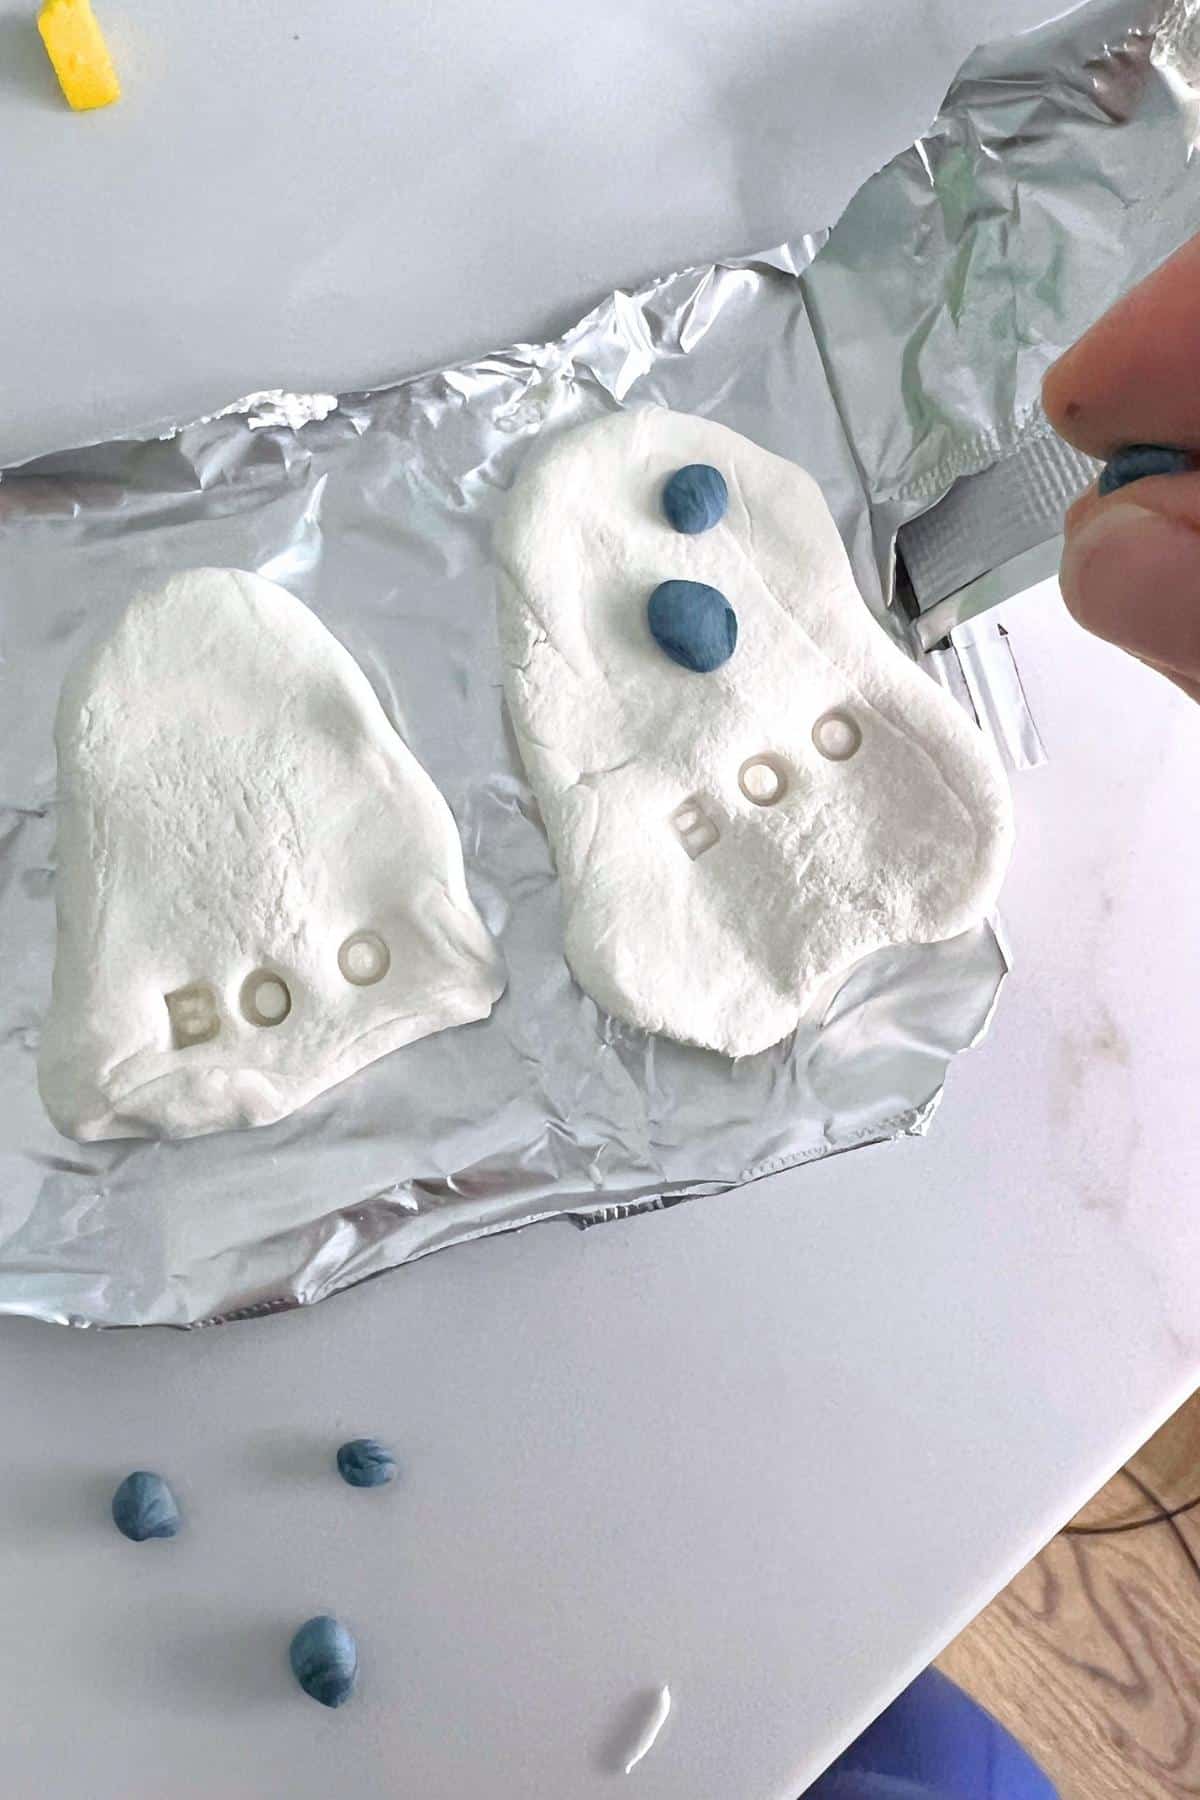
Step 3: Create Ghost’s Face & Details
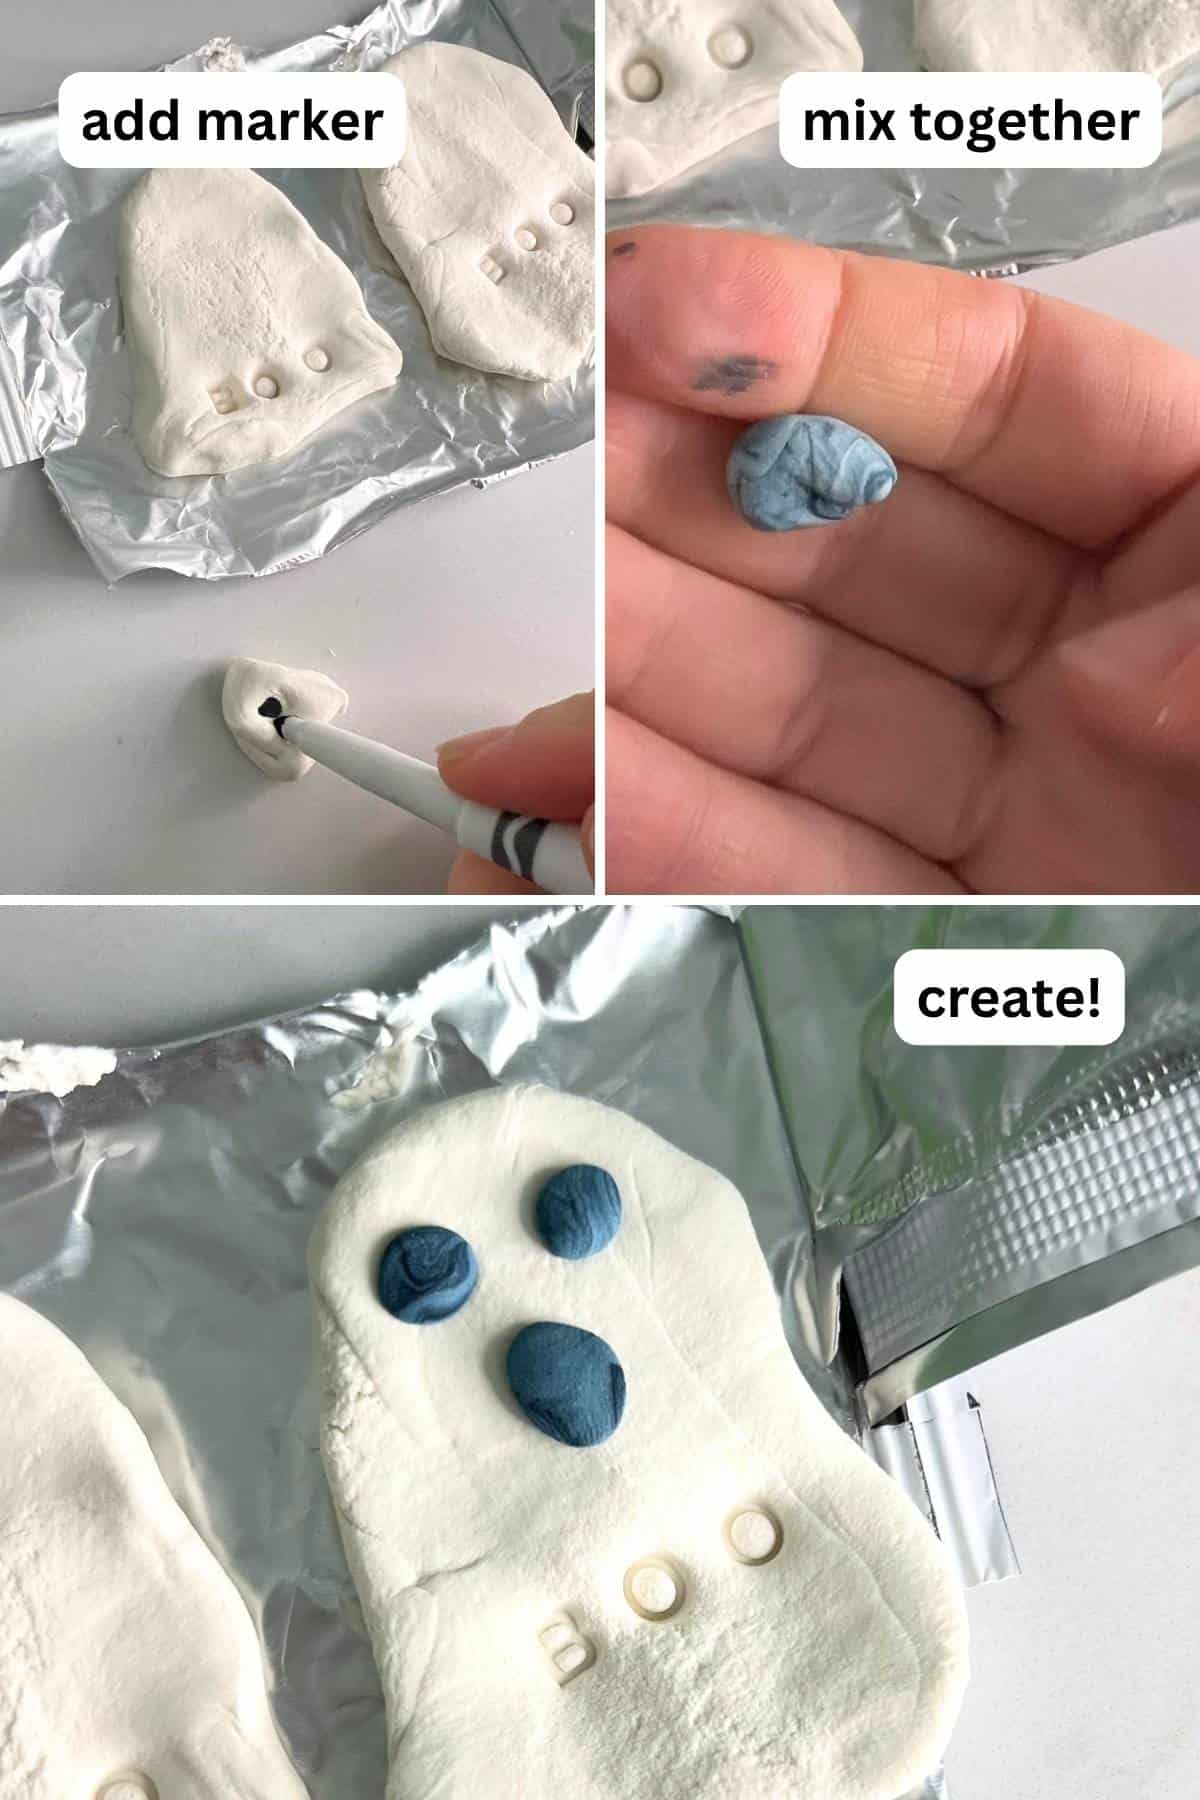
Take a small piece of Model Magic and dye it with a black marker. Use the homemade black Model Magic to create the ghost’s face with simple shapes.
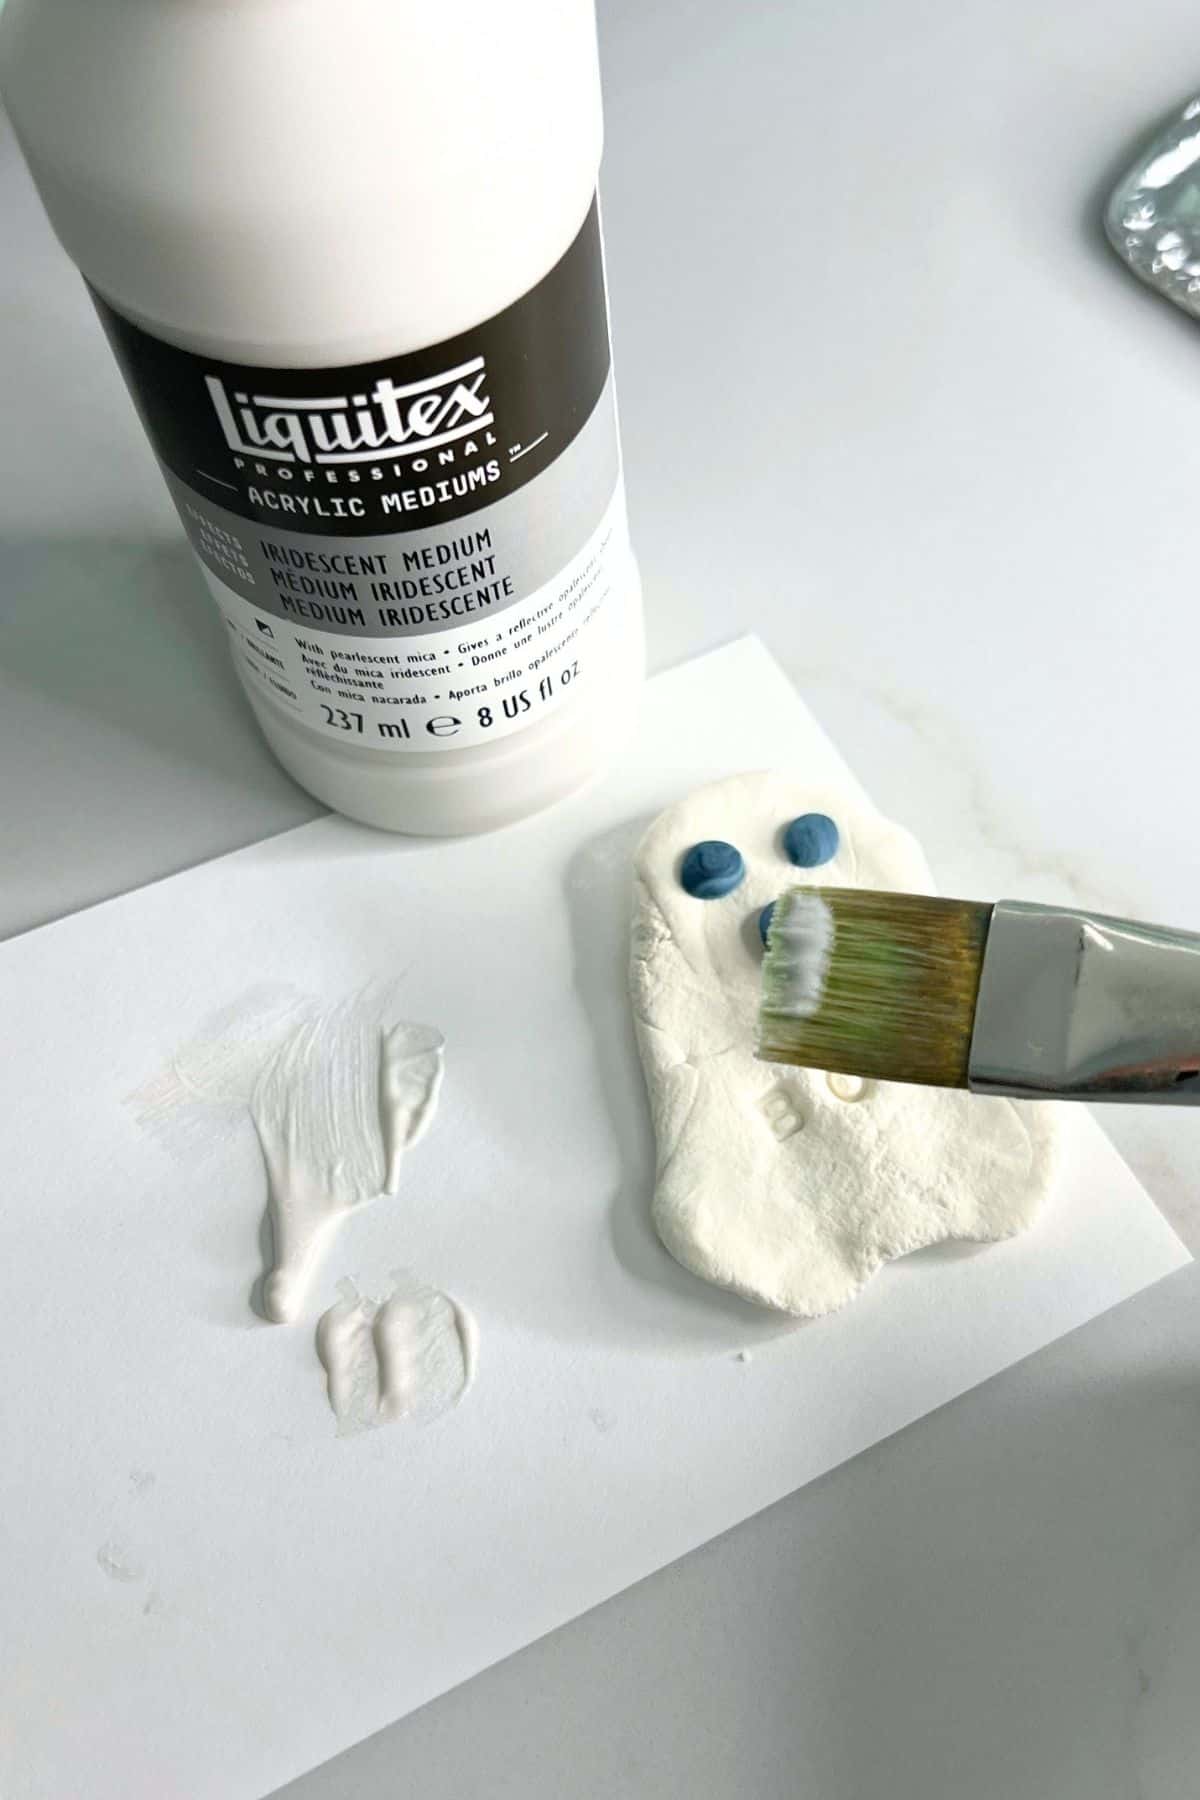
Step 4: Add A Protective Coat
Paint with glitter Mod Podge, iridescent medium, or another clear protective layer.
How To Dye White Model Magic
In the image below, you can see how to make homemade colors using washable markers.
More Craft Tips
- NO SMEARING – as you can see, our homemade black Model Magic smeared a little when adding the facial expressions. You can avoid this by making the pieces separately, letting them dry, and then gluing them together.
- OPTIONAL – We added magnets to the back of the ghosts when they were dry to add to our DIY Halloween magnet collection!
Follow us on Pinterest, YouTube & Facebook for more free art and craft ideas!
Our Favorite
Related Clay Crafts
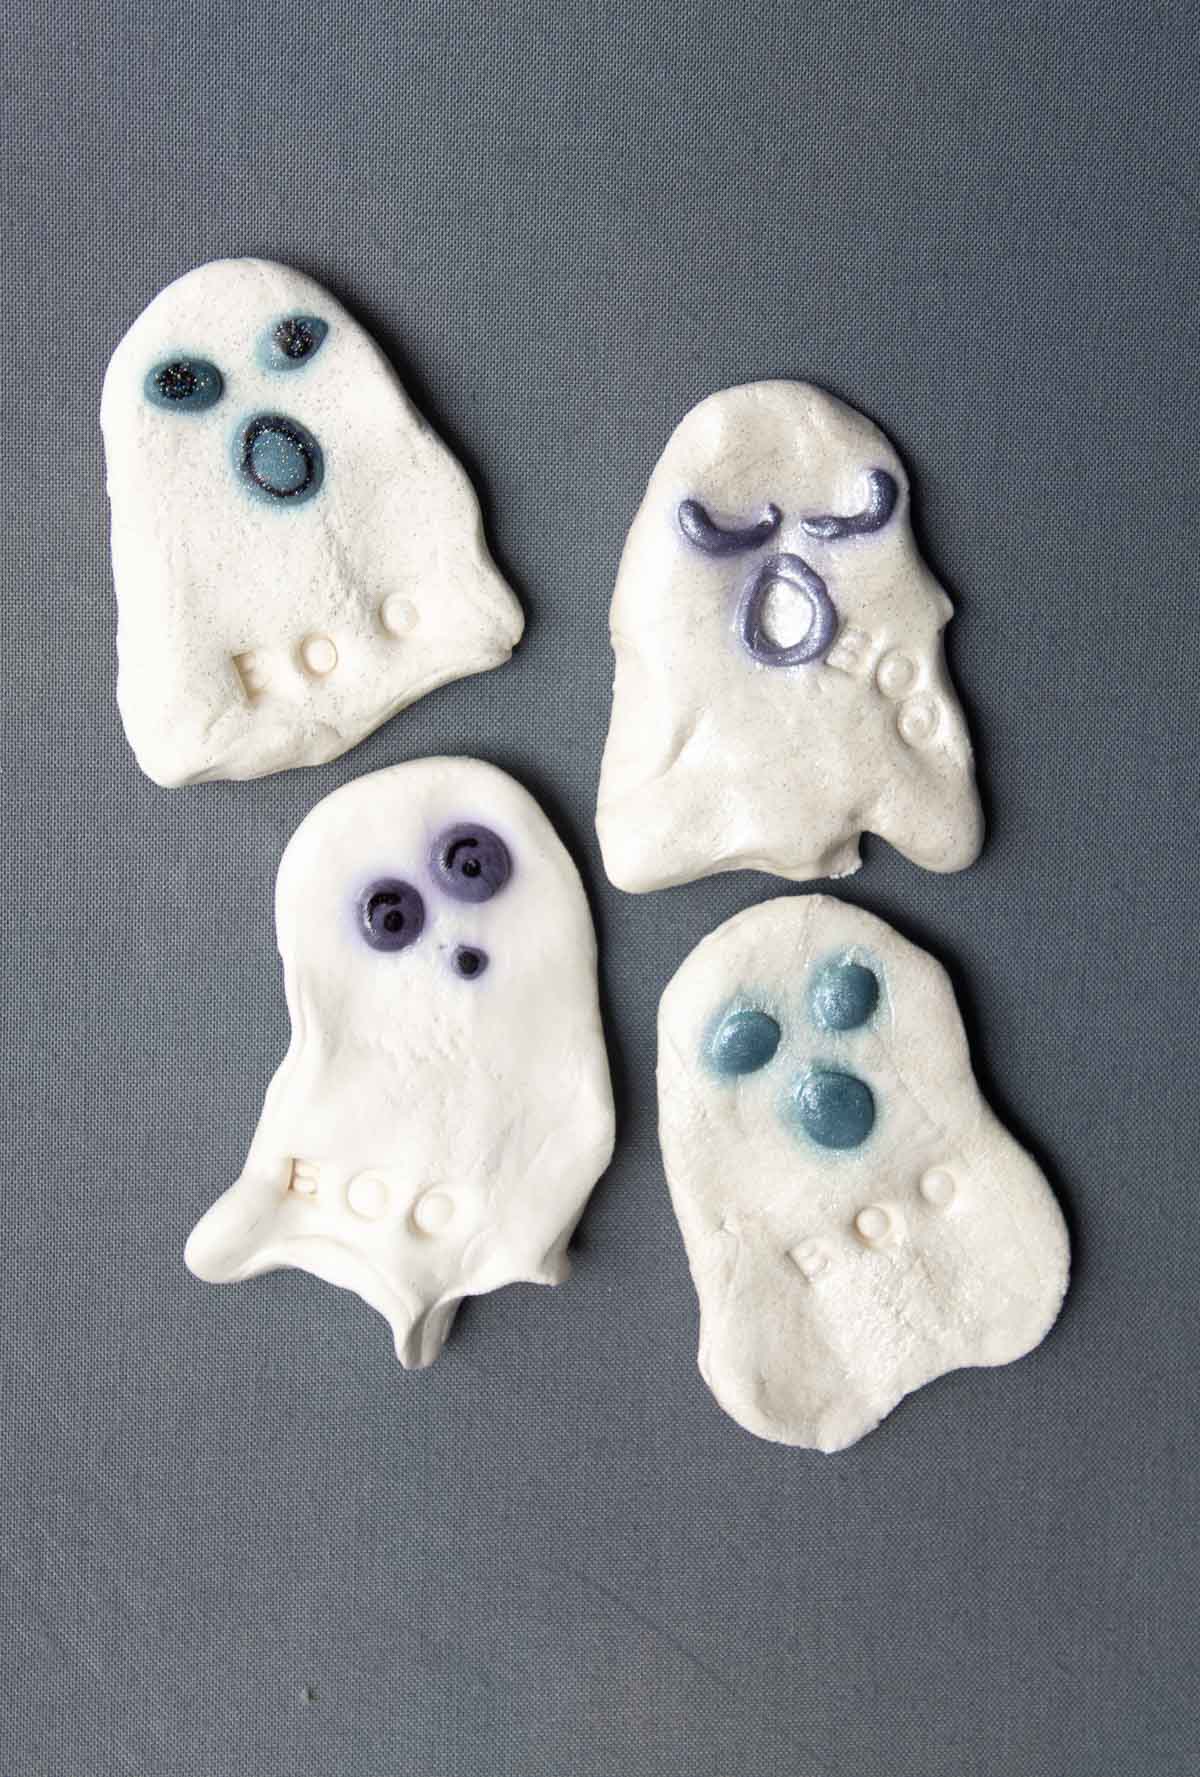
Grab some Model Magic and let kids get creative with their own ghost sculptures. We love that this easy Halloween art project gives young artists plenty of room to make their designs completely their own.
Easy Model Magic Ghosts
Equipment
- Toothpick, optional
Supplies
- White Model Magic
- Small letter stamps optional
- Iridescent medium Glitter Mod Podge or Clear Coat
- Magnet optional
- Black washable marker
Instructions
- Shape The Ghost – Use your hands to pinch, press and sculpt the white Model Magic into a simple ghost shape. Keep it flatter if you plan to turn it into a magnet.
- Add Designs – Use small letter stamps or a toothpick to gently press designs into the Model Magic. Try adding letters to spell "BOO" or create your own textures and patterns.
- Make Black Model Magic – Color a small piece of white Model Magic with a black washable marker. Knead and mix until the color is evenly distributed.
- Create The Face – Use small pieces of black Model Magic to make simple eyes, a mouth and other facial details. Gently press the pieces onto the ghost.
- Let The Ghost Dry – Place the finished ghost on a plastic bag or the opened Model Magic package and allow it to air dry completely.
- Add A Protective Coat – Once dry, brush on iridescent medium, glitter Mod Podge or your favorite clear protective coat. Let dry completely.
Notes
- PREVENT STICKING – Have kids build and dry their ghosts on the opened Model Magic package or a plastic bag.
- AVOID SMEARING – Homemade black Model Magic may smear onto the white clay. Make the black facial features separately, let them dry, and glue them onto the dried ghost.
- CHANGE THE DESIGN – Encourage kids to experiment with different ghost shapes, expressions, stamped words and textures.
- MAKE A MAGNET – Once completely dry, glue a magnet to the back of a flatter ghost.