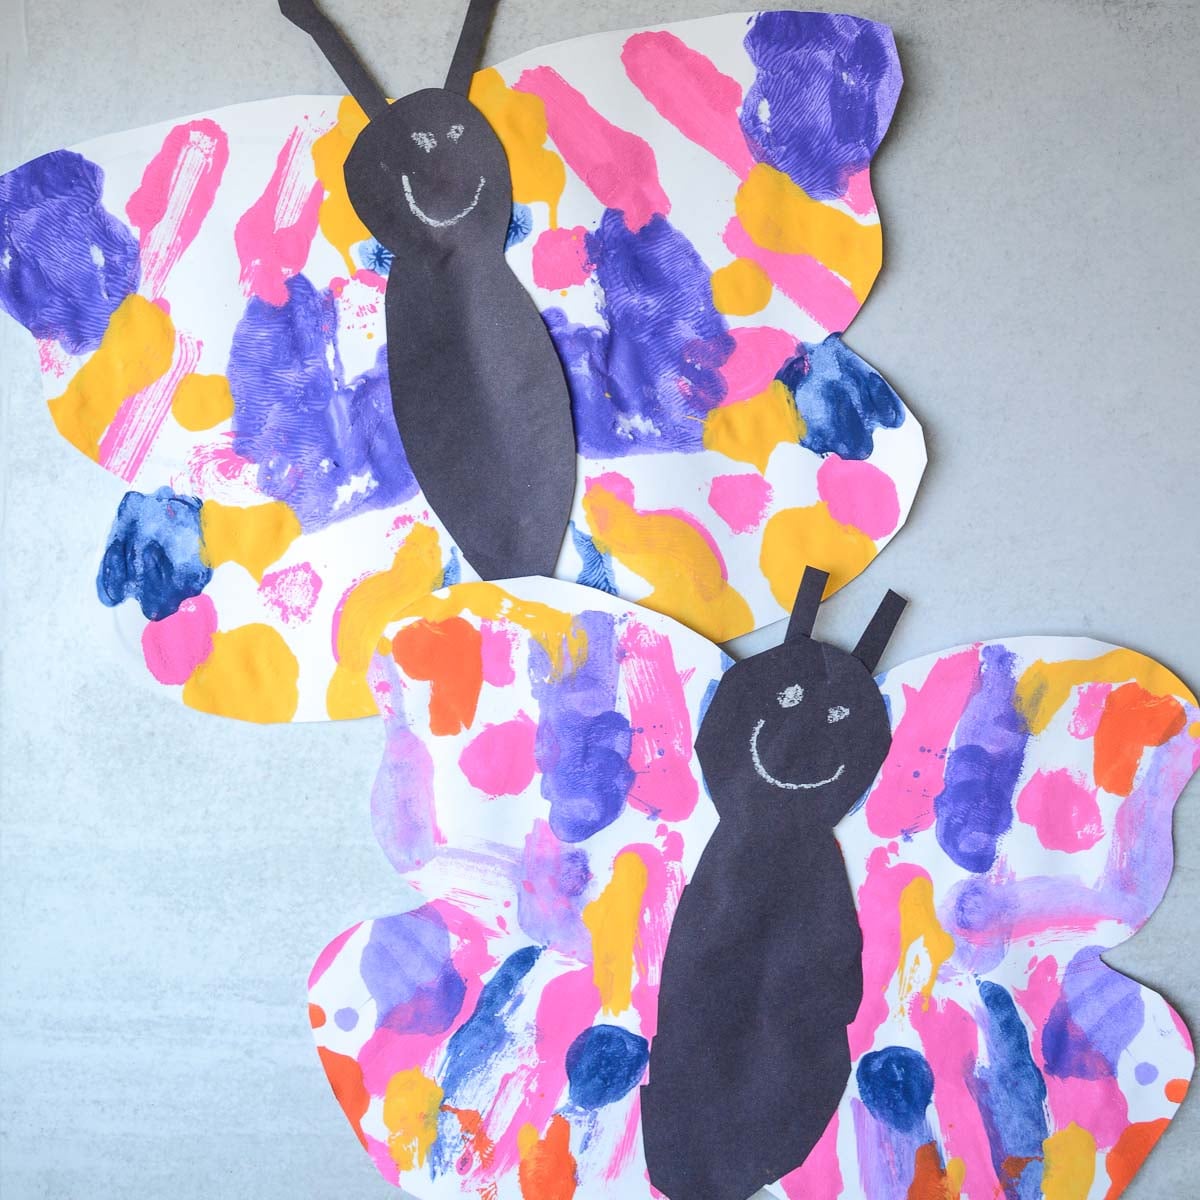
Easy Butterfly Craft For Preschoolers And Young Kids With Painted Symmetry
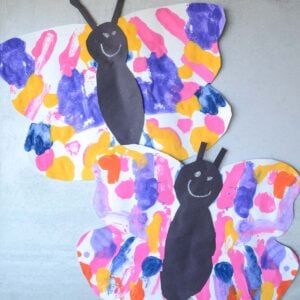
Children will love exploring this fun painting process! This easy butterfly craft is a simple way for preschoolers and kindergarteners to explore symmetry and printmaking while creating colorful painted butterflies.
Why You Will Love This Craft
I have loved doing this butterfly art project with kindergartners over the years! The example in this post was even done by a 3 1/2-year-old. This easy printmaking and painting activity is perfect for younger children, just like our straw painting, raised salt painting, and easy toddler watercolor idea.
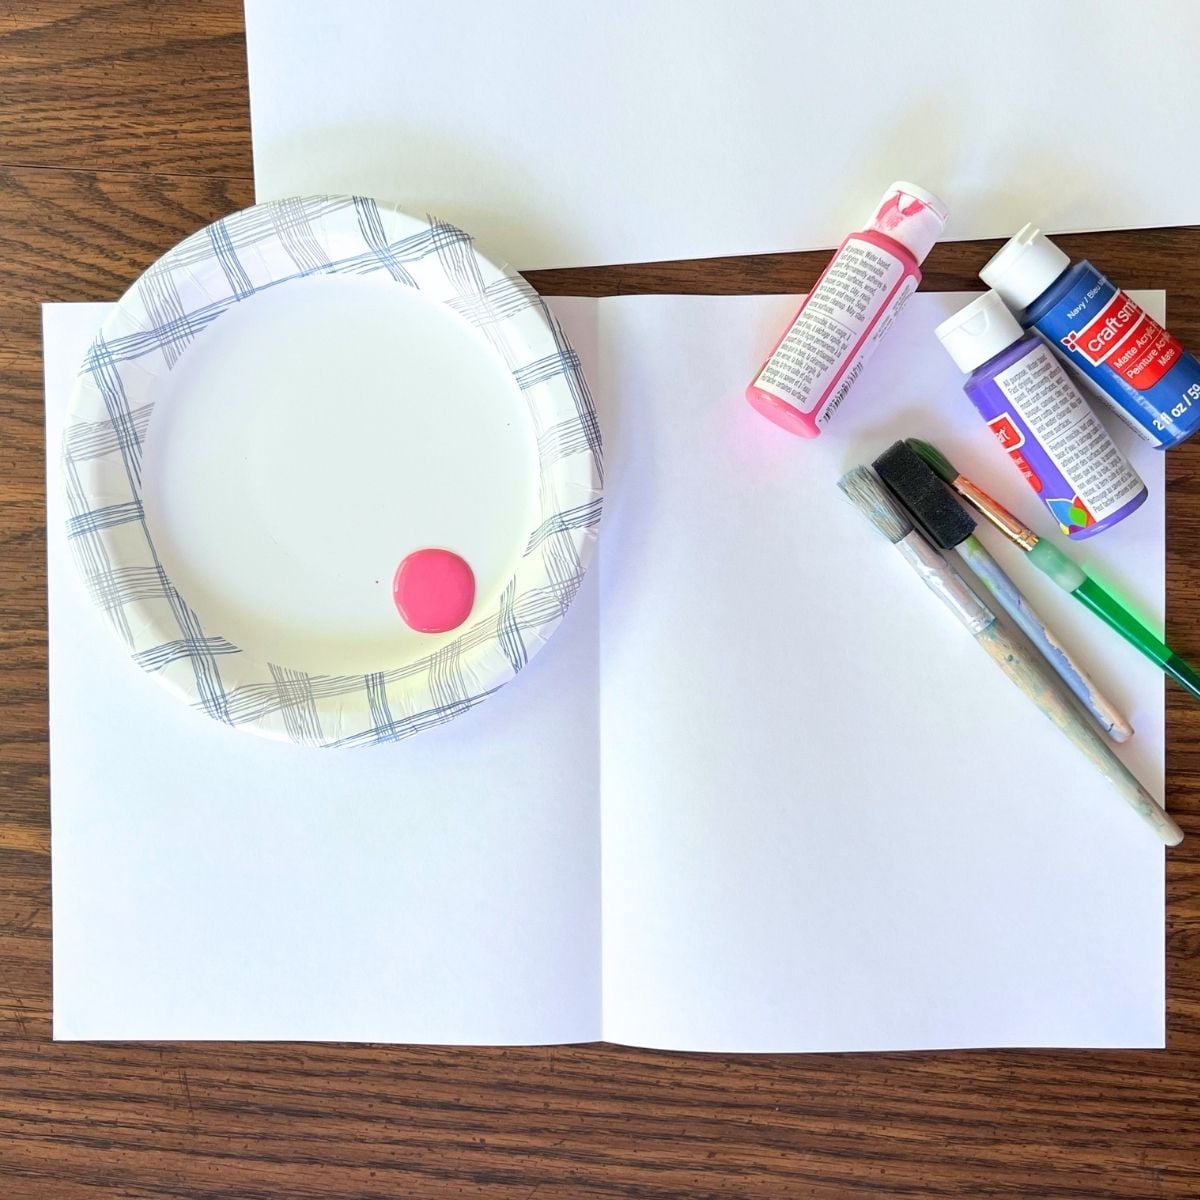
Supplies you’ll need
Disclosure: This post may contain affiliate links when clicked, we may earn a small commission at no additional cost to you. Read our full privacy policy.
How To Create An Easy Butterfly Craft
BEFORE YOU BEGIN – Fold your paper in half.

Step 1: Add Paint To One Side
Paint the lighter color on one side. There is no need to wash your brush if you work light to dark.
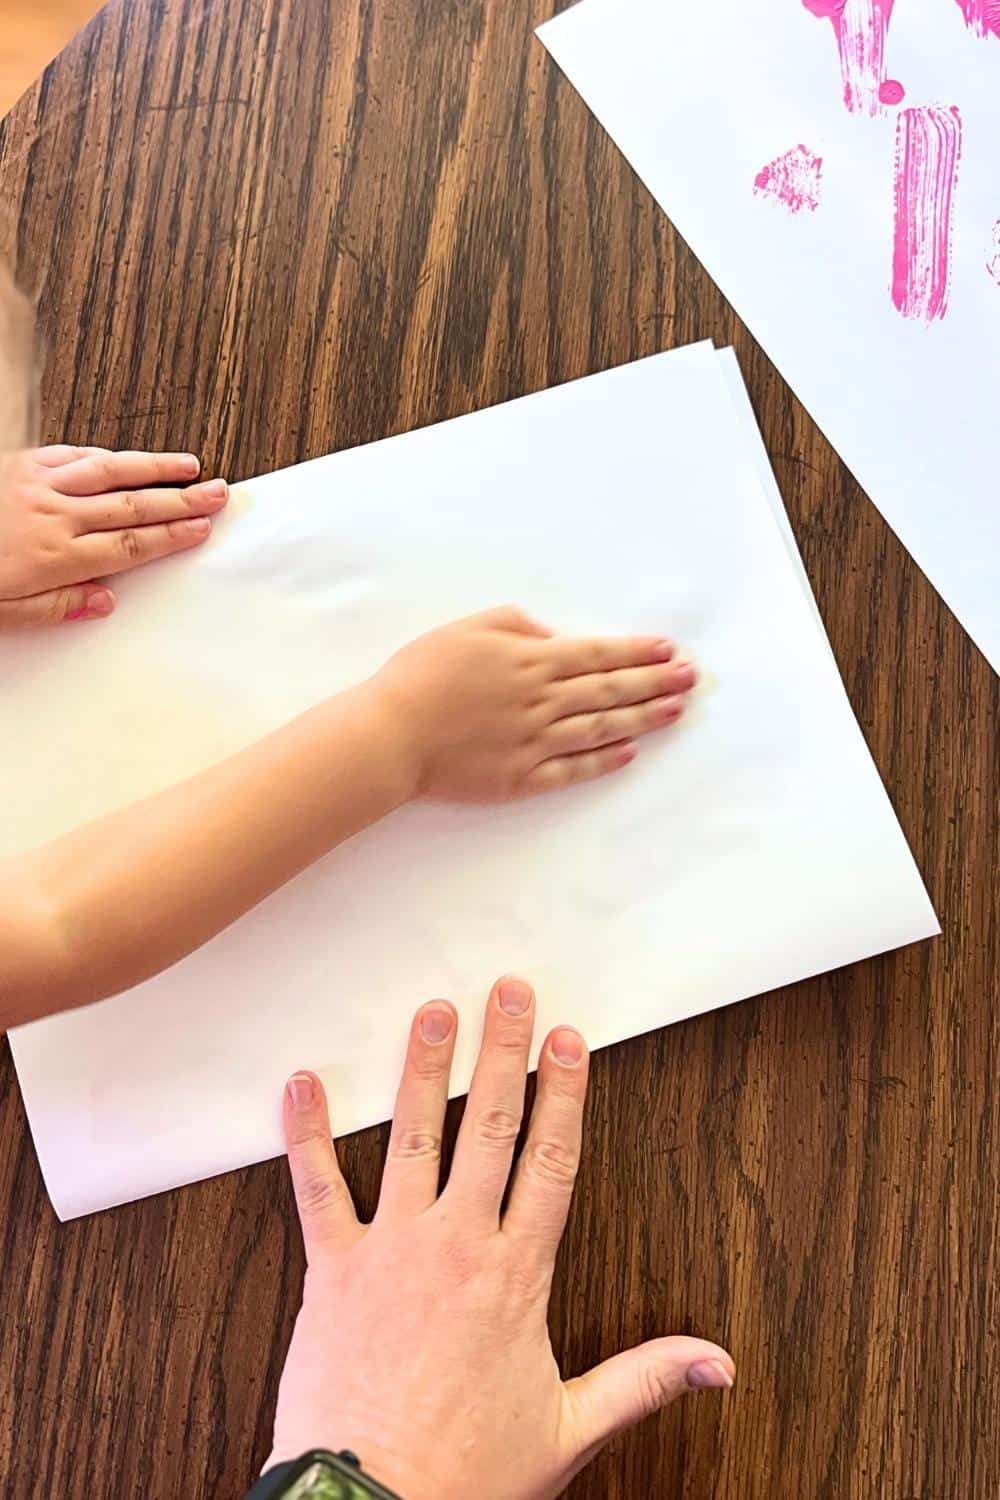
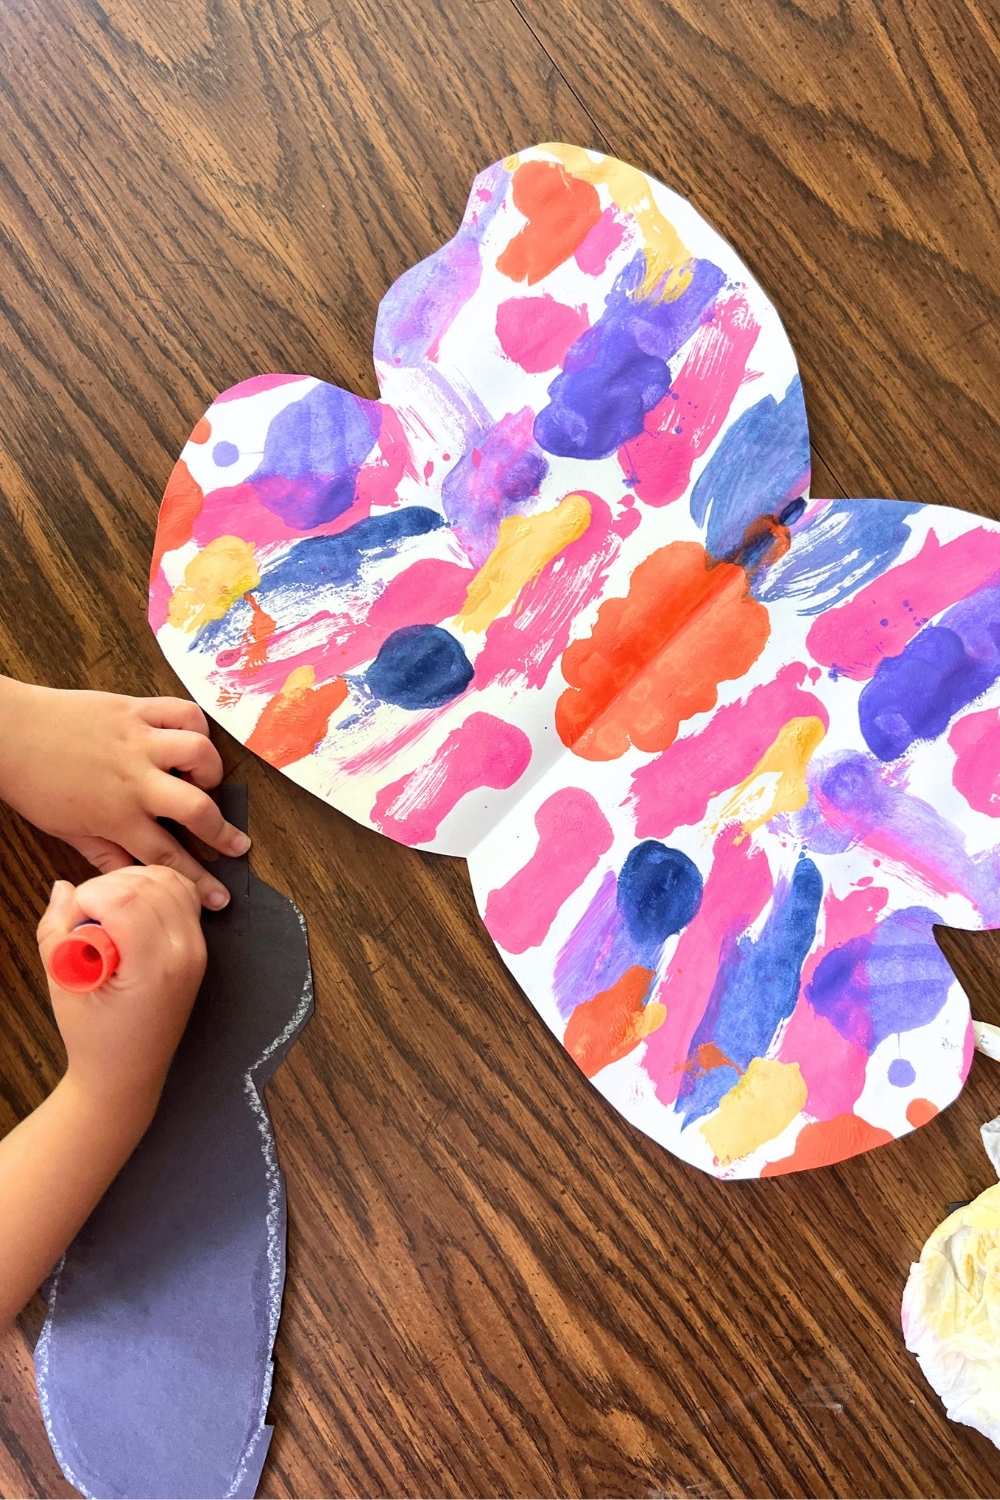
Step 2: Fold And Print
After about 30 seconds, fold the paper and rub all around to transfer the paint to the other side.
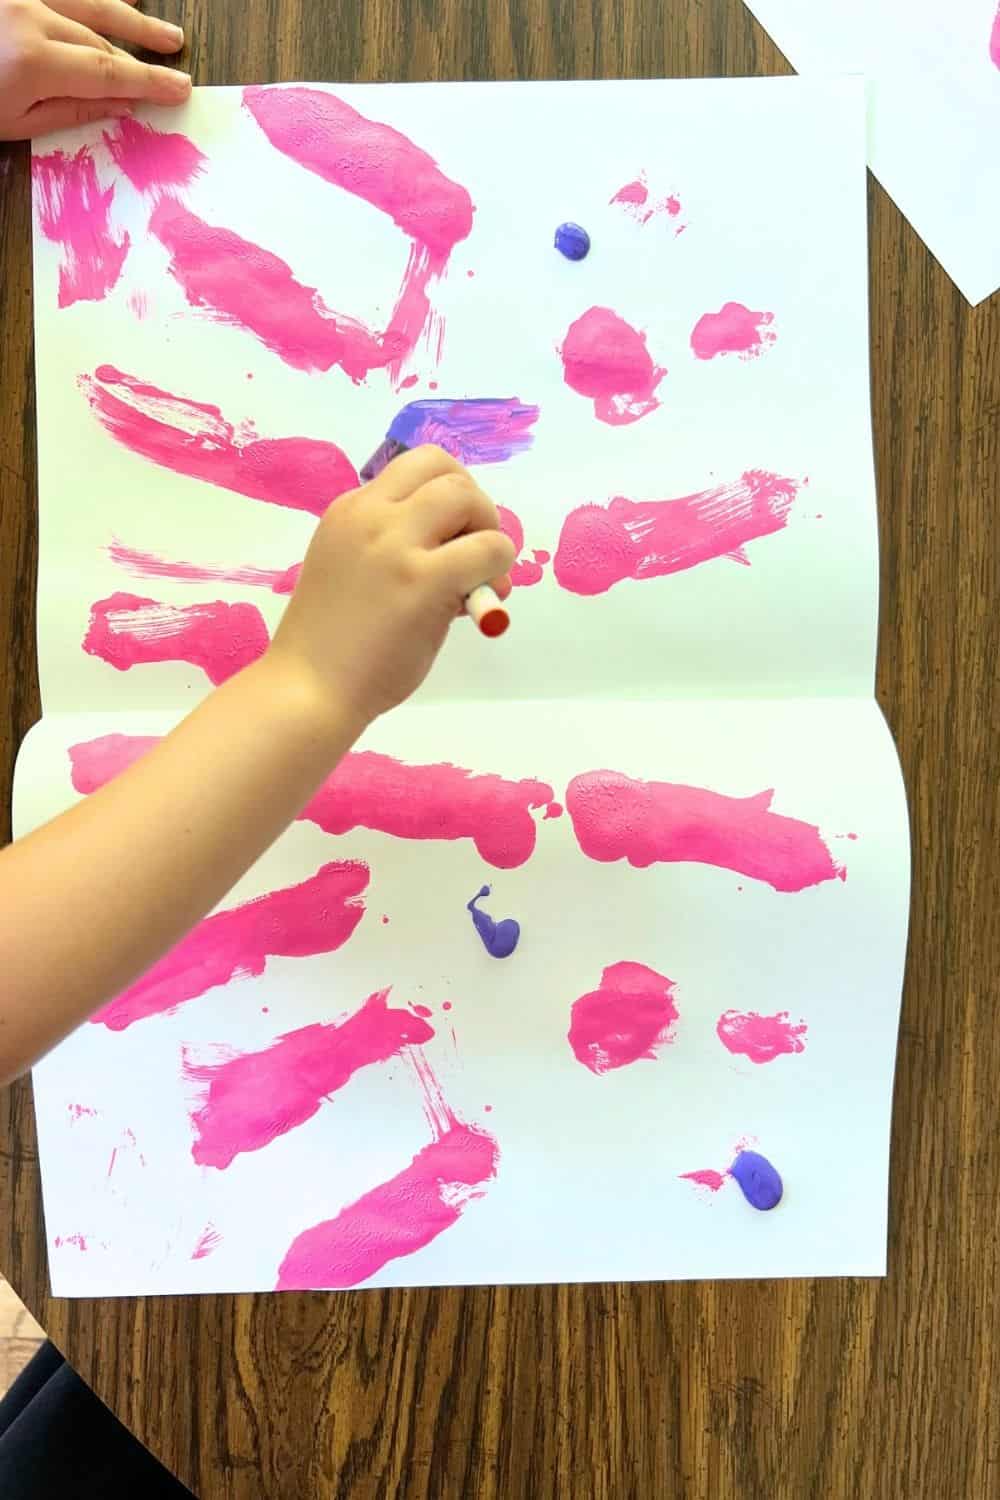
Step 3: Repeat
Repeat this process with other colors until you’re happy with your symmetrical painted design.
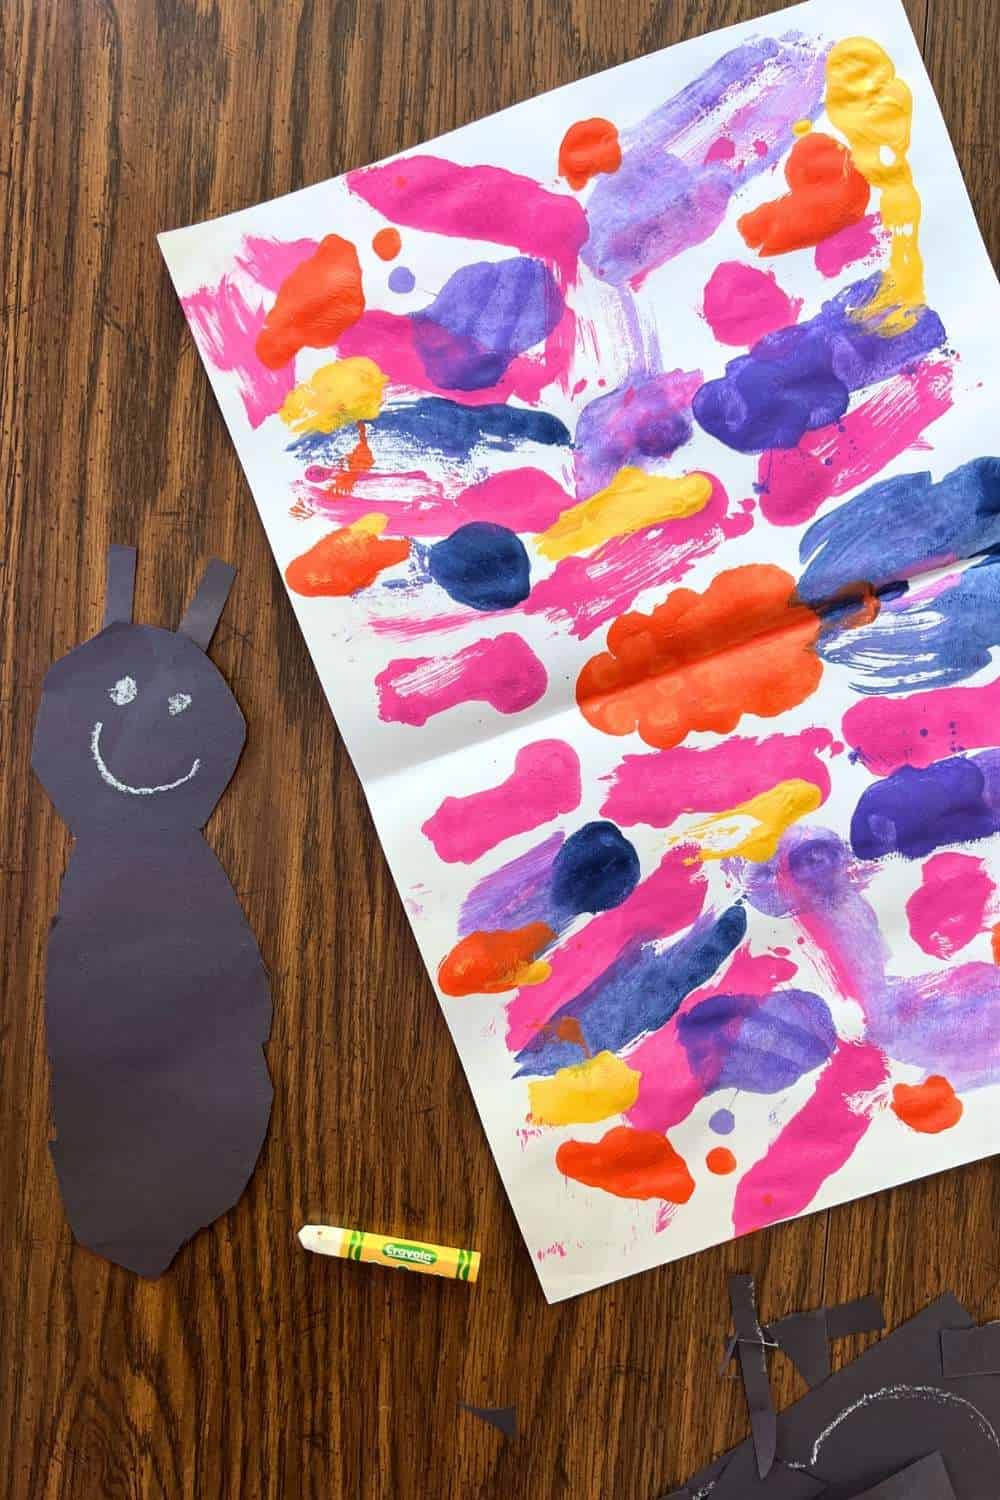
Step 4: Create A Body, Anntenae and A Face
Create a body from black paper, add antennae and a face.
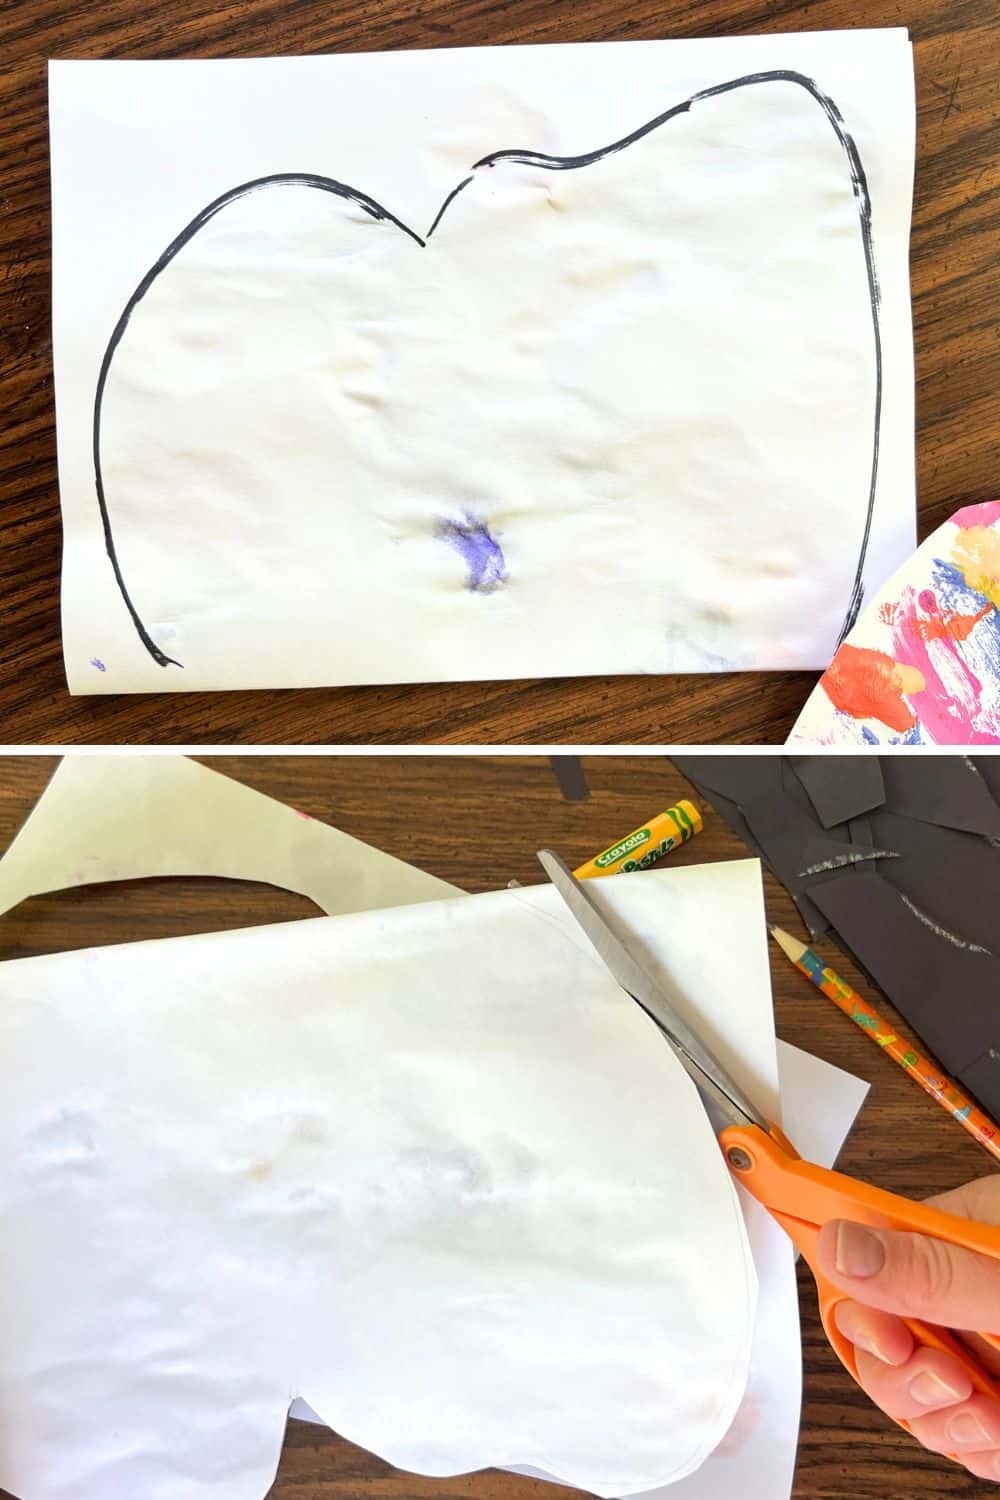
Step 5: Cut Wings And Put Together
Refold with the painting inside. Draw a butterfly outline on one fold side and cut out.
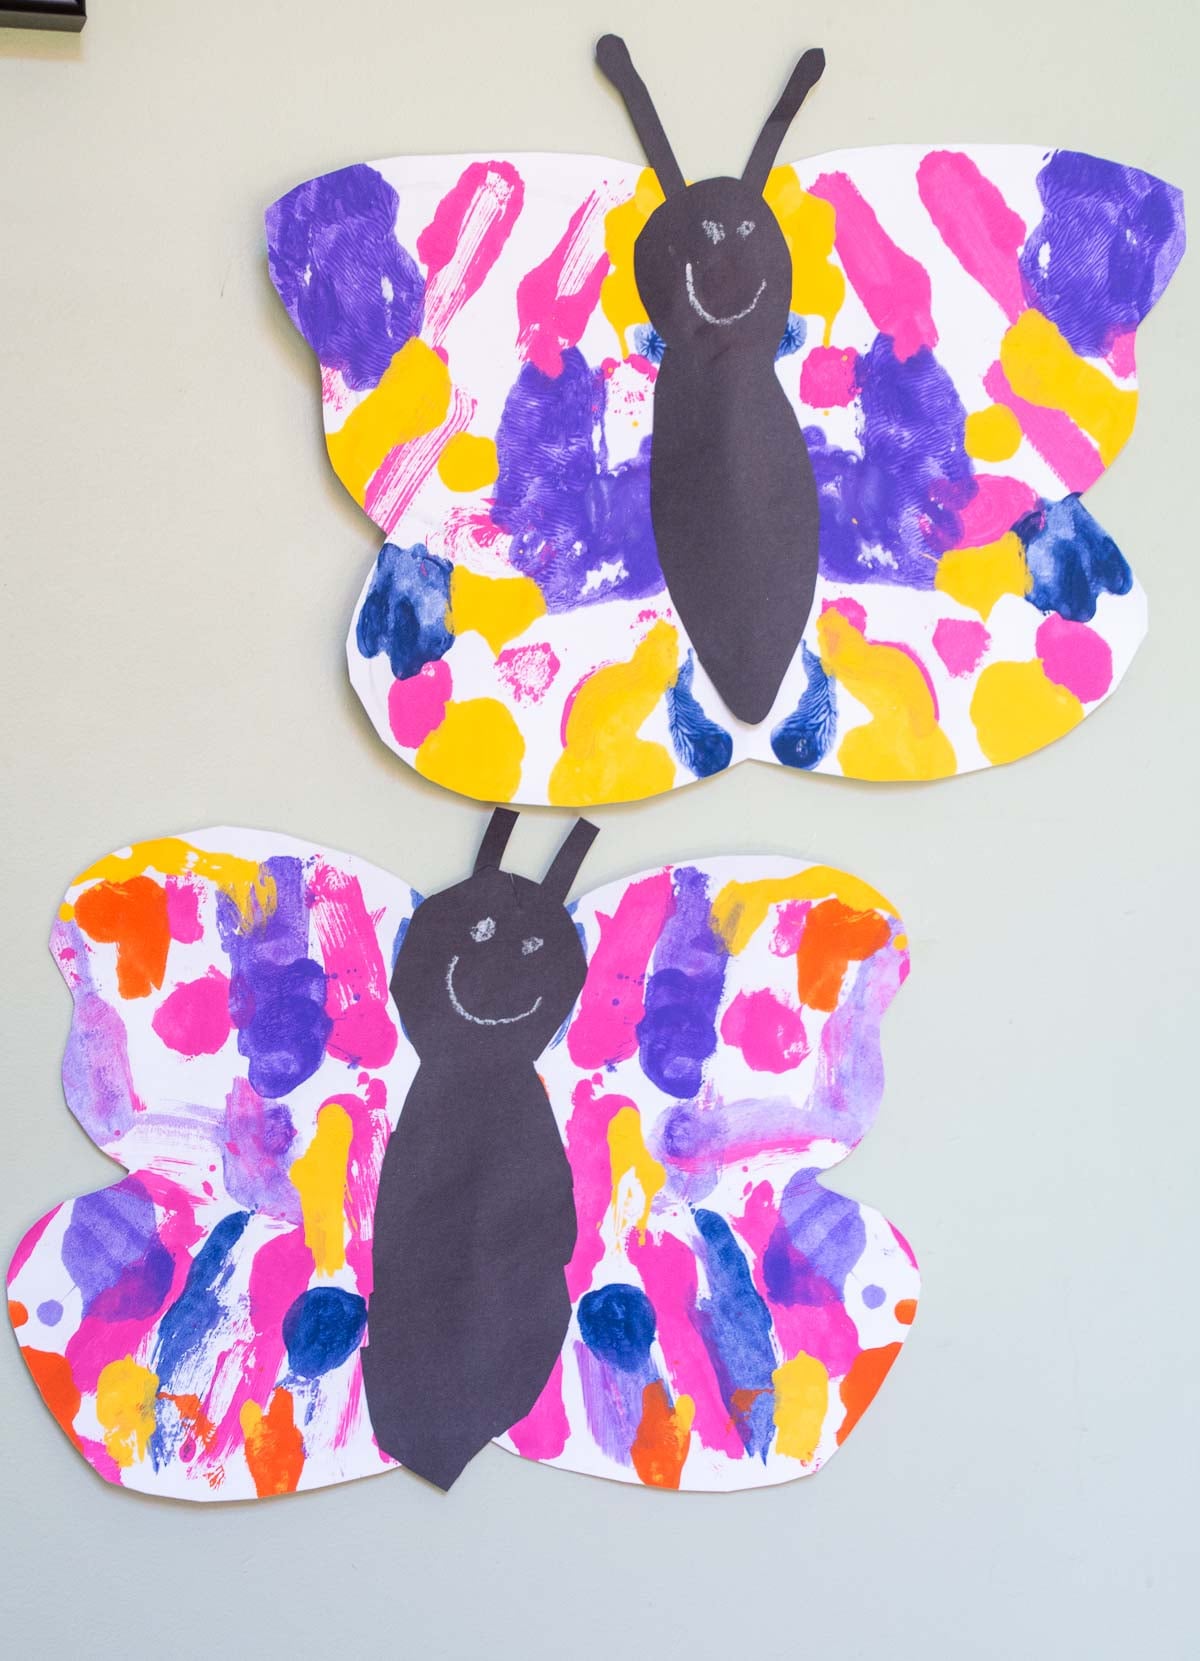
Step 6: Glue Together
Glue butterfly body in the middle and add extra details.
Tips
- KEEP PAPER UNFOLDED WHILE DRYING – If you fold it while the paint is drying, it may stick and tear the paper.
- BE CAREFUL WITH COLOR CHOICES – Use colors that mix well together to avoid a muddy result.
- ADD EXTRA DETAILS – You can decorate your butterfly with googly eyes or pipe cleaners for extra fun!
- ACCOMMODATIONS – Depending on the child’s age, adults can help by cutting and drawing butterfly shapes as needed.
Our Favorite
Related Easy Crafts
Kids of all ages are always amazed at the symmetrical butterfly wings they can create with a simple monoprint process. This is such a fun way to showcase kids’ creativity and introduce them to a simple printmaking process! Whether at home or school, kids will love making these simple butterfly crafts.
Follow us on Pinterest, YouTube & Facebook for more free art and craft ideas!
Easy Painted Butterfly Craft
Equipment
- Scissors
- Glue Stick
Supplies
- 1 piece 12" x 18" Heavy Drawing Paper or Tagboard
- Black Construction Paper
- Tempera or Acrylic Craft Paint
- White Oil Pastel or Colored Pencil
- Googly Eyes optional
Instructions
- Paint a lighter color on one side of the fold.
- After about 30 seconds, fold the paper and rub it so the paint transfers to the other side.
- Repeat with other colors until you have a symmetrical design. Let it dry fully.
- Refold with the painting inside. Draw a butterfly outline on one fold side and cut out.
- Create a body from black paper, add antennae and a face, then glue the body onto the wings.
Notes
- KEEP PAPER UNFOLDED WHILE DRYING – If you fold it while the paint is drying, it may stick and tear the paper.
- BE CAREFUL WITH COLOR CHOICES – Use colors that mix well together to avoid a muddy result.
- ADD EXTRA DETAILS – You can decorate your butterfly with googly eyes or pipe cleaners for extra fun!