How To Paint Autumn Trees With Watercolor Paint For Beginners

Contrary to popular belief, watercolor painting can actually be done pretty easily and quickly. We love watercolor paint due to the fun that can happen naturally. Learn how to paint easy watercolor trees in beautiful Autumn colors.
This watercolor painting tutorial was originally published in September 2021 and has been updated in September 2025 with more precise instructions, as well as my key takeaways.
I enjoy working with watercolors, particularly with beginners and children. From simple kid watercolor projects to more advanced painting tutorials, there are numerous fun ways to create easy Fall art projects for adults and kids alike.
Why You Will Love This Painting Tutorial
VIDEO TUTORIAL – Watch the video at the end to see how easy it is to paint trees with watercolor paint.
Supplies You’ll Need
Disclosure: This post may contain affiliate links when clicked, we may earn a small commission at no additional cost to you. Read our full privacy policy.

Do I need to use the most expensive paint?
No, you don’t need to buy the most expensive watercolor paints, brushes, and watercolor paper. The paper is probably the most important part. For best results, purchase heavy paper designed explicitly for watercoloring.
For beginners, you can even use scholar brushes (super cheap brushes meant for kids) and a Prang paint set.
ART TEACHER TIP – We know watercolor paper can be expensive, but buying it in larger sheets and cutting it yourself is a great way to save. Additionally, 90-lb. heavy drawing paper can also work well.
Helpful Watercolor Painting Techniques
- Wet-on-Wet Technique: The colors will blend more when the paper is wet. This is great for the Fall colors or even skies.
- Wet-on-Dry Technique: You will get crisper lines and be able to paint layers without the colors mixing.
- Drybrush Technique: Use the texture of the brush to stamp a leaf-like look. Again, the warm colors will naturally blend together.
- Wash: Dilute part of the color with water. This can help things look more realistic by getting different tones of color.
- Resist: when something such as glue, masking fluid, oil pastels or even tape blocks the paint from showing.
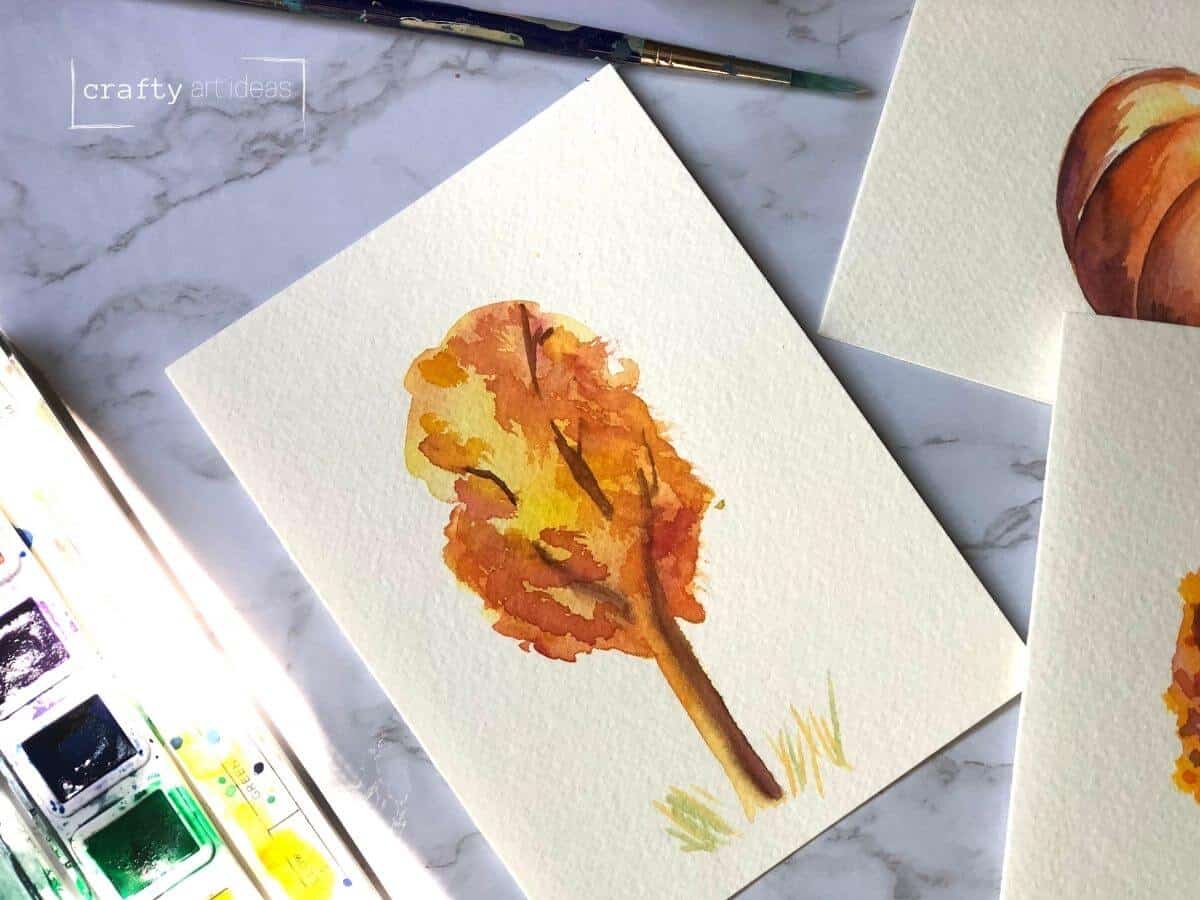
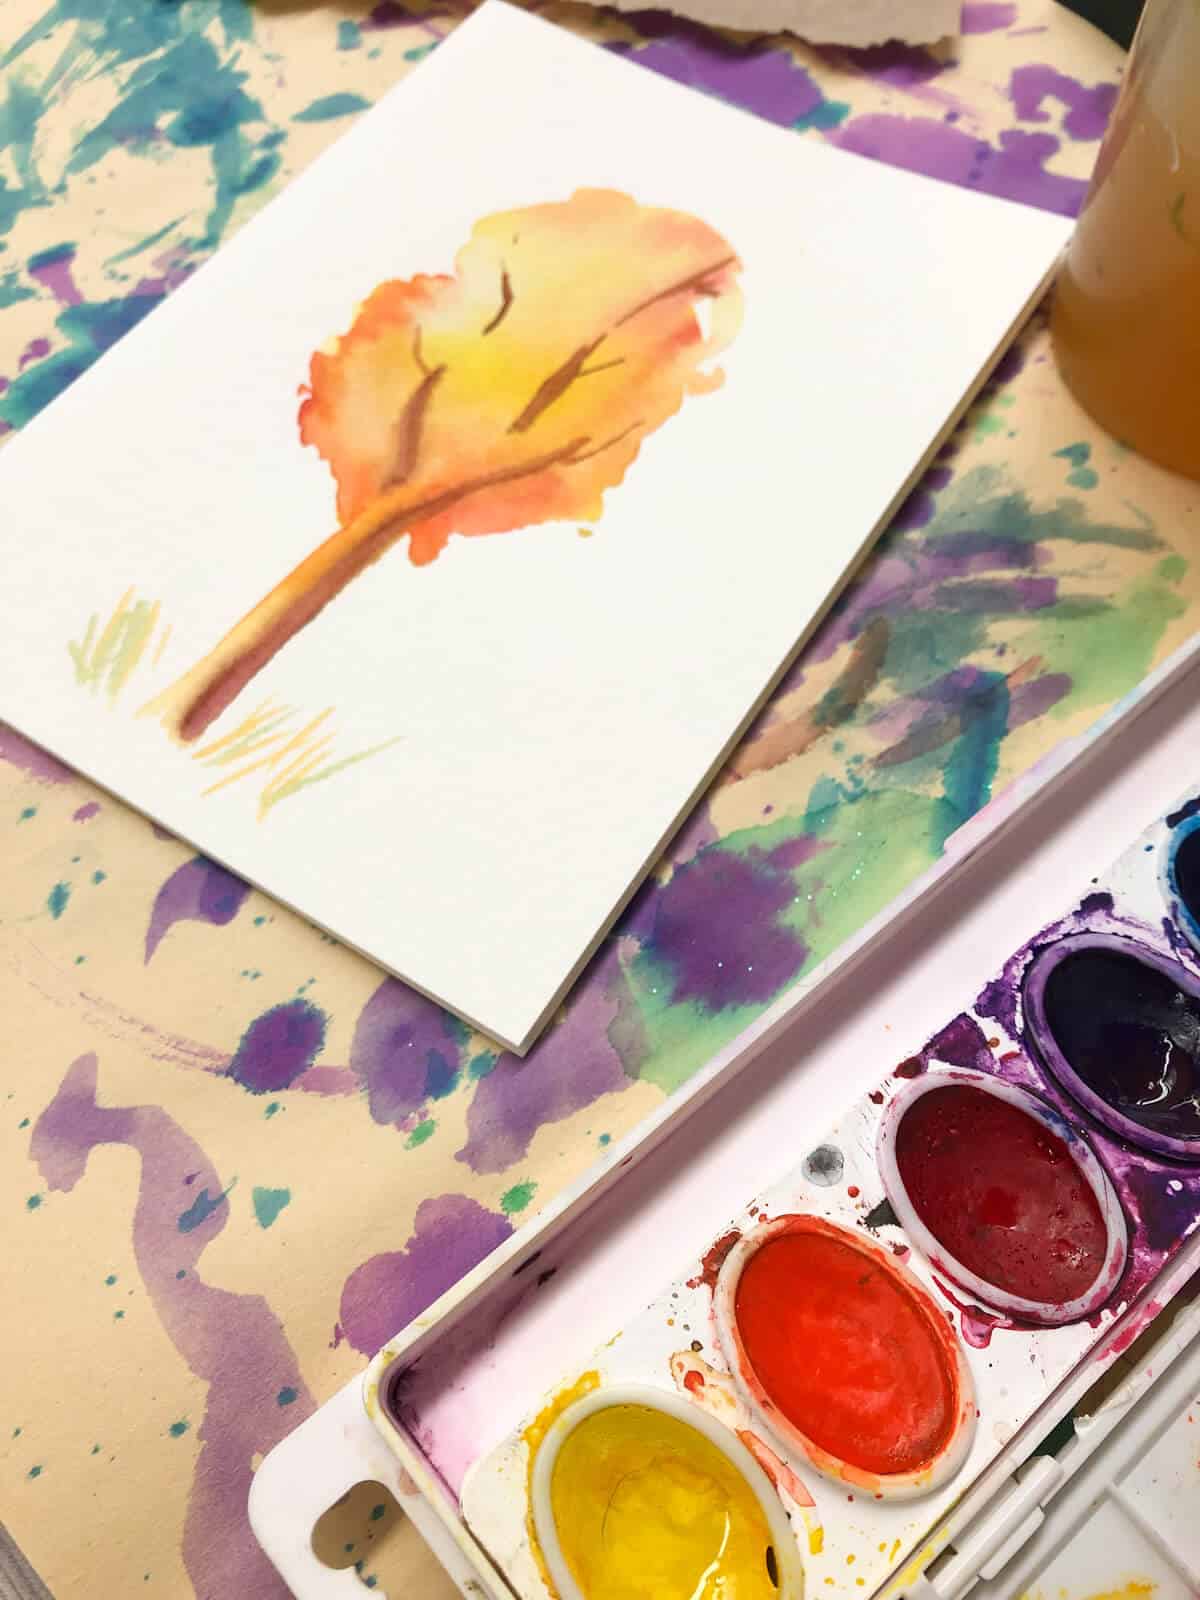
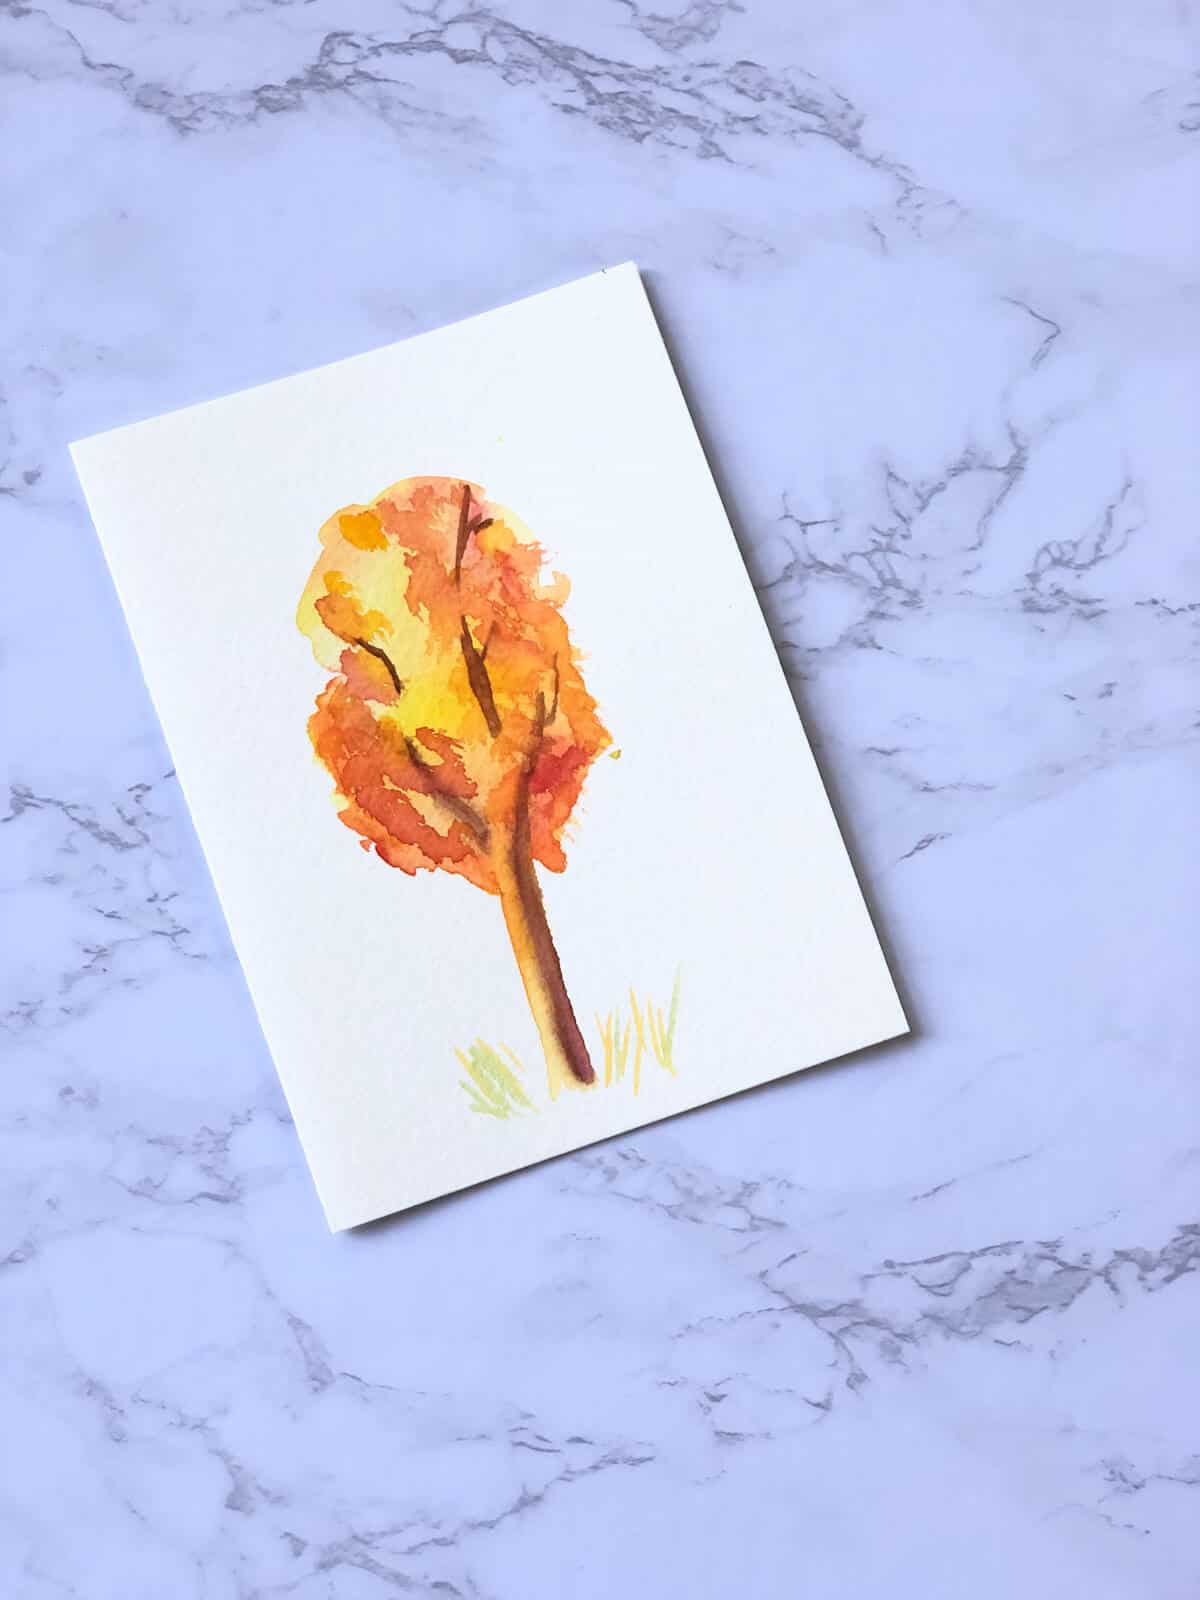
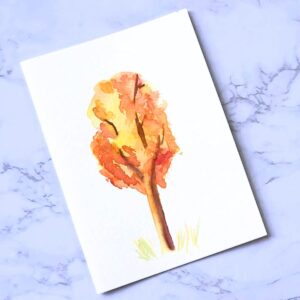
How To Paint A Fall Tree With Watercolor Paint

Step 1: Paint A Light Oval With Water
Put a wet wash down in an oval shape. It doesn’t need to be perfect and is better if it looks more organic.

Step 2: Cut The Lines
For your first layer, add some light yellow and yellow-orange paint to the wash. Let the colors mix naturally. If you try to be perfect or overwork the watercolor you will be sad. Dab in a little wet orange watercolor paint.

Step 3: Add Branches And Trunk
Once dry, begin to paint part of the trunk and a few branches. Try to create organic lines. They do not have to be complete lines. It is best if they are broken up a little.
Step 4: Add Shadows To The Trunk
In the tree trunk, add a little water to the brown paint to make one side darker and one side lighter. You can also add grass lines at this time.

Step 5: Paint Extra Textures For Leaves
Take a larger brush and dab more saturated reds, oranges and yellows. Saturated colors are achieved by using less water in your brush. Using a paper towel and testing it on a side of the paper may be helpful.
Optional: If desired, you can add a more saturated color to the edges or underside of the branches to create a more 3-dimensional feel.
Tips
- LESS IS MORE – Don’t overwork the area. There are many times we have added more thinking it would be better, and it wasn’t.
- SMART COLOR CHOICES – For these easy fall painting ideas, stick with warm colors (yellow, orange, red)
- CHANGE FOR THE SEASONS – For your next tree painting, you could always try to use a similar technique but use green and other Spring-like colors for a completely different look.
Follow us on Pinterest, YouTube & Facebook for more free art and craft ideas!
Our Favorite
More Easy Watercolor Tutorials
Have fun and don’t take yourself too seriously painting a Fall tree with watercolor paint! Experiment and have fun.
Do you like this art project? Please give us a 5-STAR review below ⭐️⭐️⭐️⭐️⭐️ and have fun being creative with your family.
Easy Fall Tree Watercolor Painting For Beginners
Supplies
- Watercolor Cards Strathmore Cards or Thick Watercolor Paper
- Synthetic Brush we used cheap brushes for this
- Watercolor paints
Instructions
- Put a wet wash down in an oval type shape.
- Add some light yellow, yellow-orange to the wash. Naturally let the colors mix. If you try to be perfect or overwork the watercolor you will be sad.
Dab in a little wet orange watercolor paint. - Let dry.
- Once dry, begin to paint part of the trunk and a few branches. Try to create organic lines and they do not have to be complete lines. It is best if they are broken up a little.
- In the trunk, take a little water to make one side darker and one side lighter.
- Let dry. Take a larger brush and dab more saturated reds, oranges and yellows. The saturated colors are achieved by having less water in your brush. Using a paper towel and testing it on a side paper may be helpful.
- If desired, you can even add a more saturated color to the edges or underside of the branches to try to create a more 3-dimensional feel.
Video
Notes
- Don’t overwork the area. There are many times we have added more thinking it would be better, and it wasn’t.
- Loose areas are a style and look great in watercolor paint.
- Stick with warm colors (yellow, orange, red)
The tree looks so pretty! Love the warm tones and autumnal aesthetic. Thanks for sharing this tutorial!
Hi Miranda. Thanks for the kind words on this easy Fall watercolor painting idea. We love making art accessible to all!
That looks amazing. Such a creative idea.
Thanks Adriane. I am glad you like our simple and easy Fall watercolor idea.