How To Make The Coolest Bubble Prints With Kids
Bubble prints are one of those simple art activities kids get really excited about. They get to blow colorful bubbles and then turn them into unique prints on paper. Grab those simple supplies and use our tips to start creating the coolest bubble art in minutes.
As an art teacher, process art activities are the best! It is great seeing kids not worry about the end result or project outcome. Whether it is creating simple oil pastel resists or learning about coloring mixing in a fun way, open-ended art can spark creativity in everyone.
Why Kids Love Bubble Painting
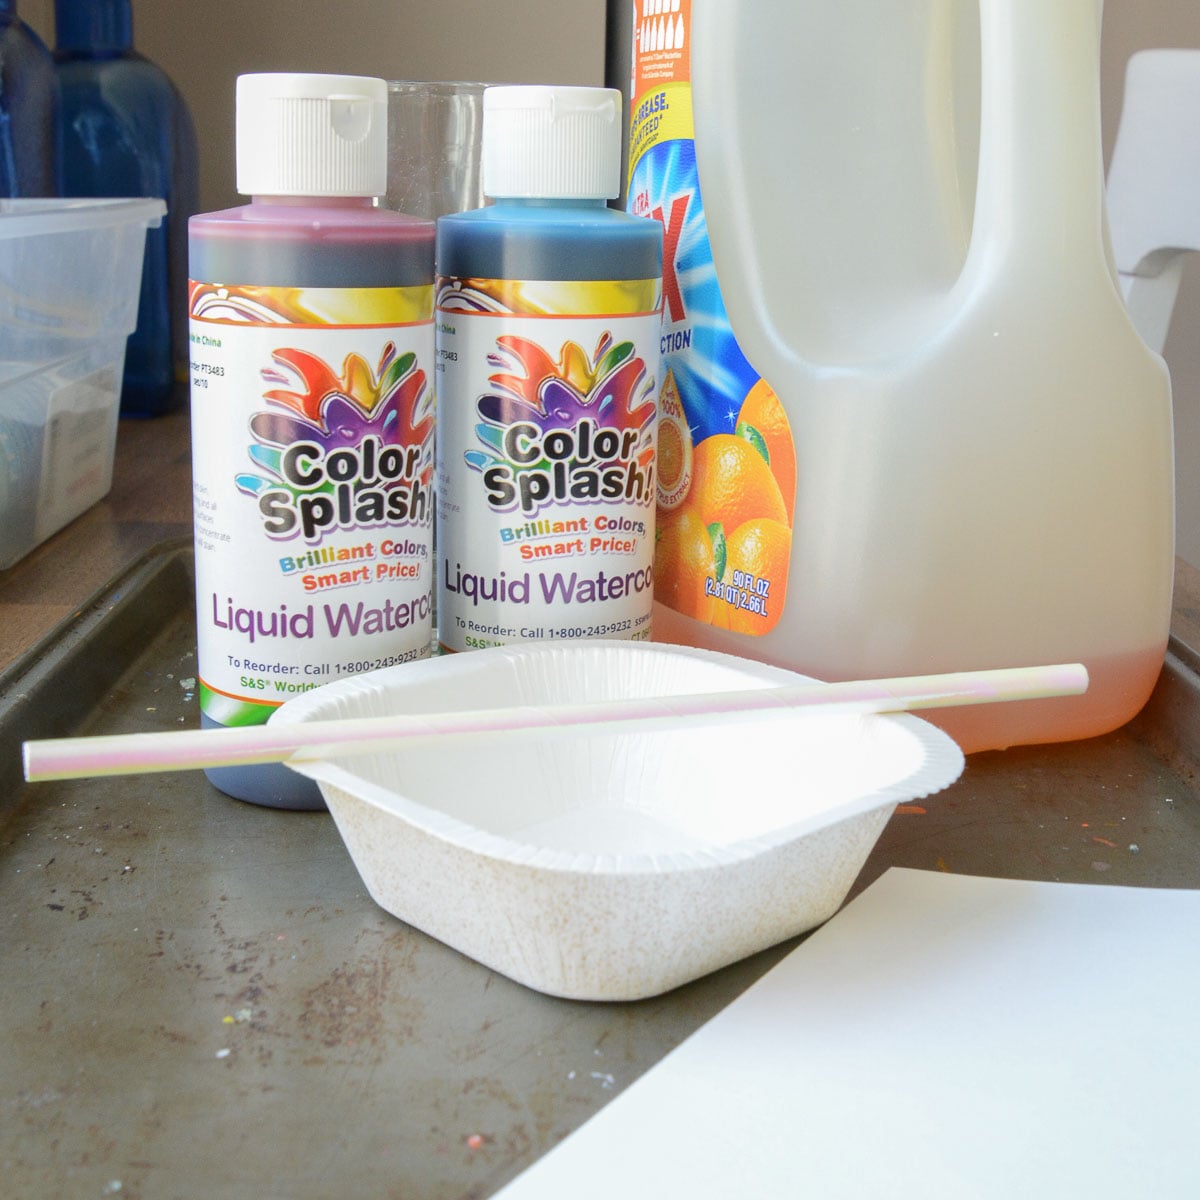
Supplies you’ll need
Disclosure: This post may contain affiliate links when clicked, we may earn a small commission at no additional cost to you. Read our full privacy policy.
Notes About Supplies
- White cardstock, watercolor paper, or heavier drawing paper will work best. Regular copy paper can work, but it may wrinkle and tear more easily when it gets wet.
- If you are doing this with a large group of children, white drawing paper or cardstock is an easy choice.
Art Concepts Kids Can Explore With Bubble Printing
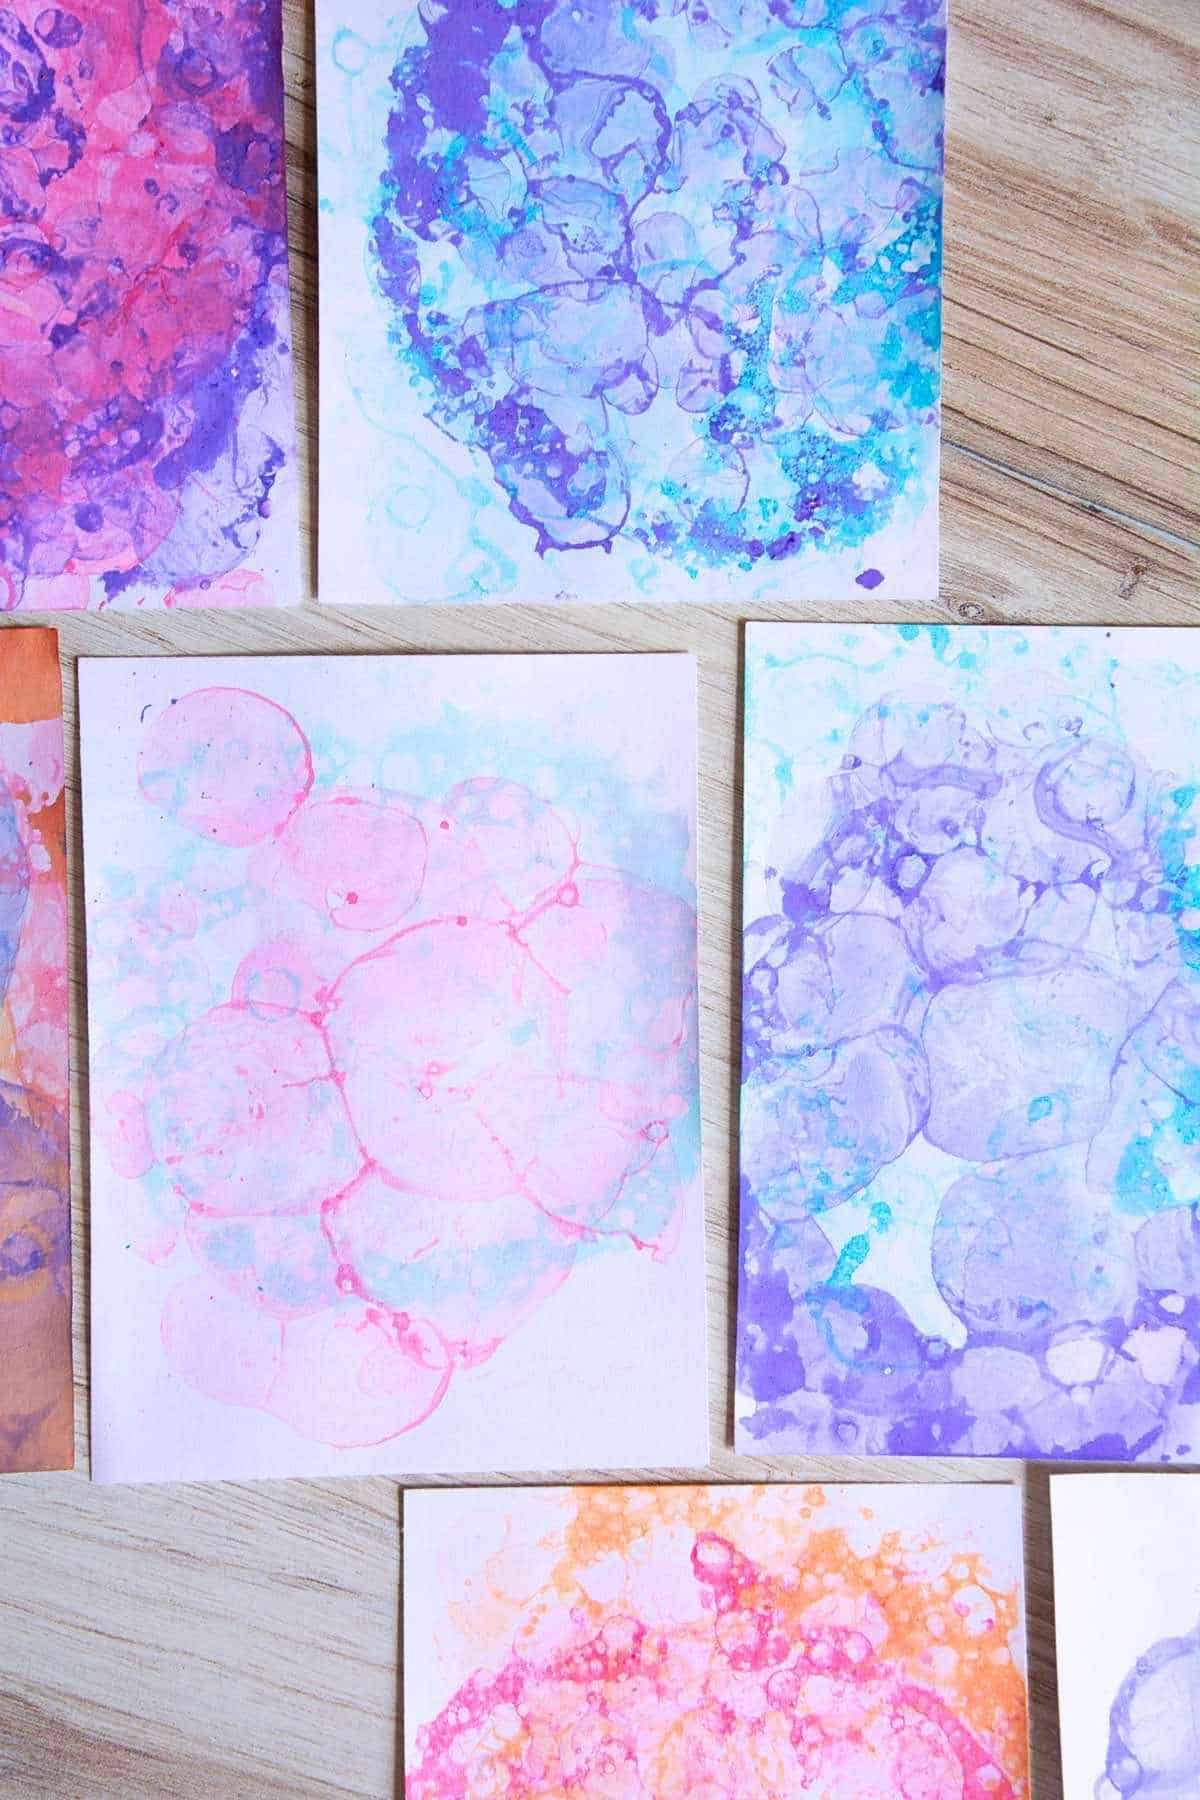
- COLOR – Kids can experiment with different paint colors and notice how the prints change with each one.
- TEXTURE – The popped bubbles create a spotted, layered texture on the paper.
- OVERLAPPING – When kids print with more than one color, they can see how shapes and colors overlap.
- BALANCE – Children will need to decide where to place each round of bubble prints to create a balanced composition.
- PRINTMAKING – Bubble printing is a simple way to introduce the idea of making an image by pressing one surface onto another.
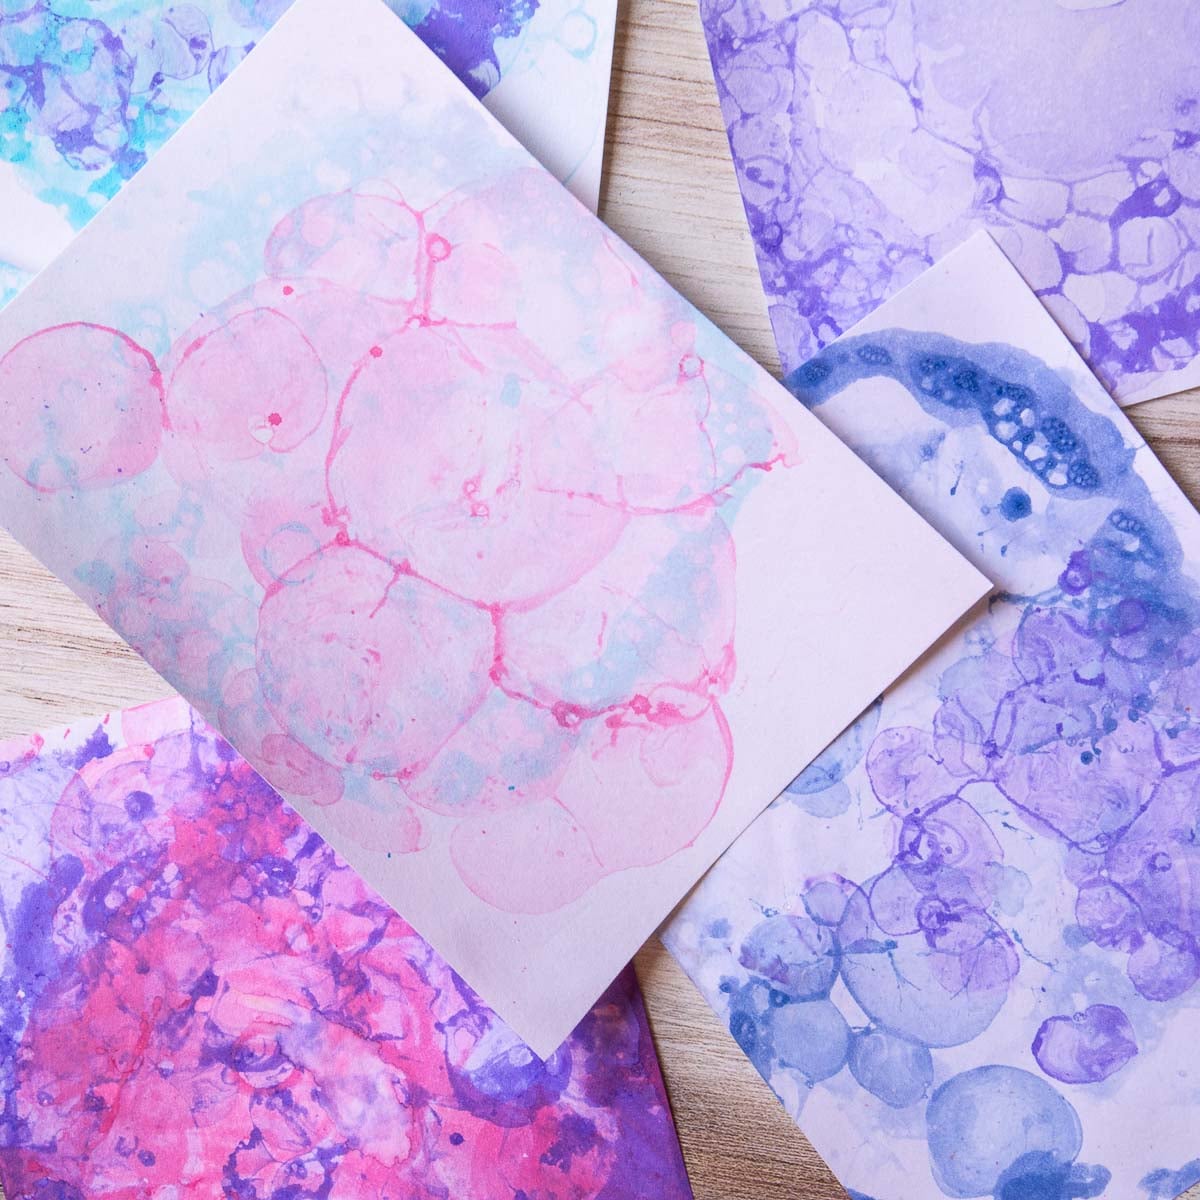
They will love experimenting with different colors and seeing how each print turns out a little differently. No two bubble prints will be exactly the same, which is part of the fun.
How To Make Bubble Prints
BEFORE YOU BEGIN – Make sure children understand that they need to blow out through the straw and not suck in the soapy paint water. Here are a few ways to avoid drinking the bubbles:
- Have kids practice blowing through a straw before starting.
- Cut a small notch in the straw so it only lets them blow out, not suck up the paint mixture.
- Practice with plain water first before adding paint. This is the biggest thing to avoid when doing this project with younger children.
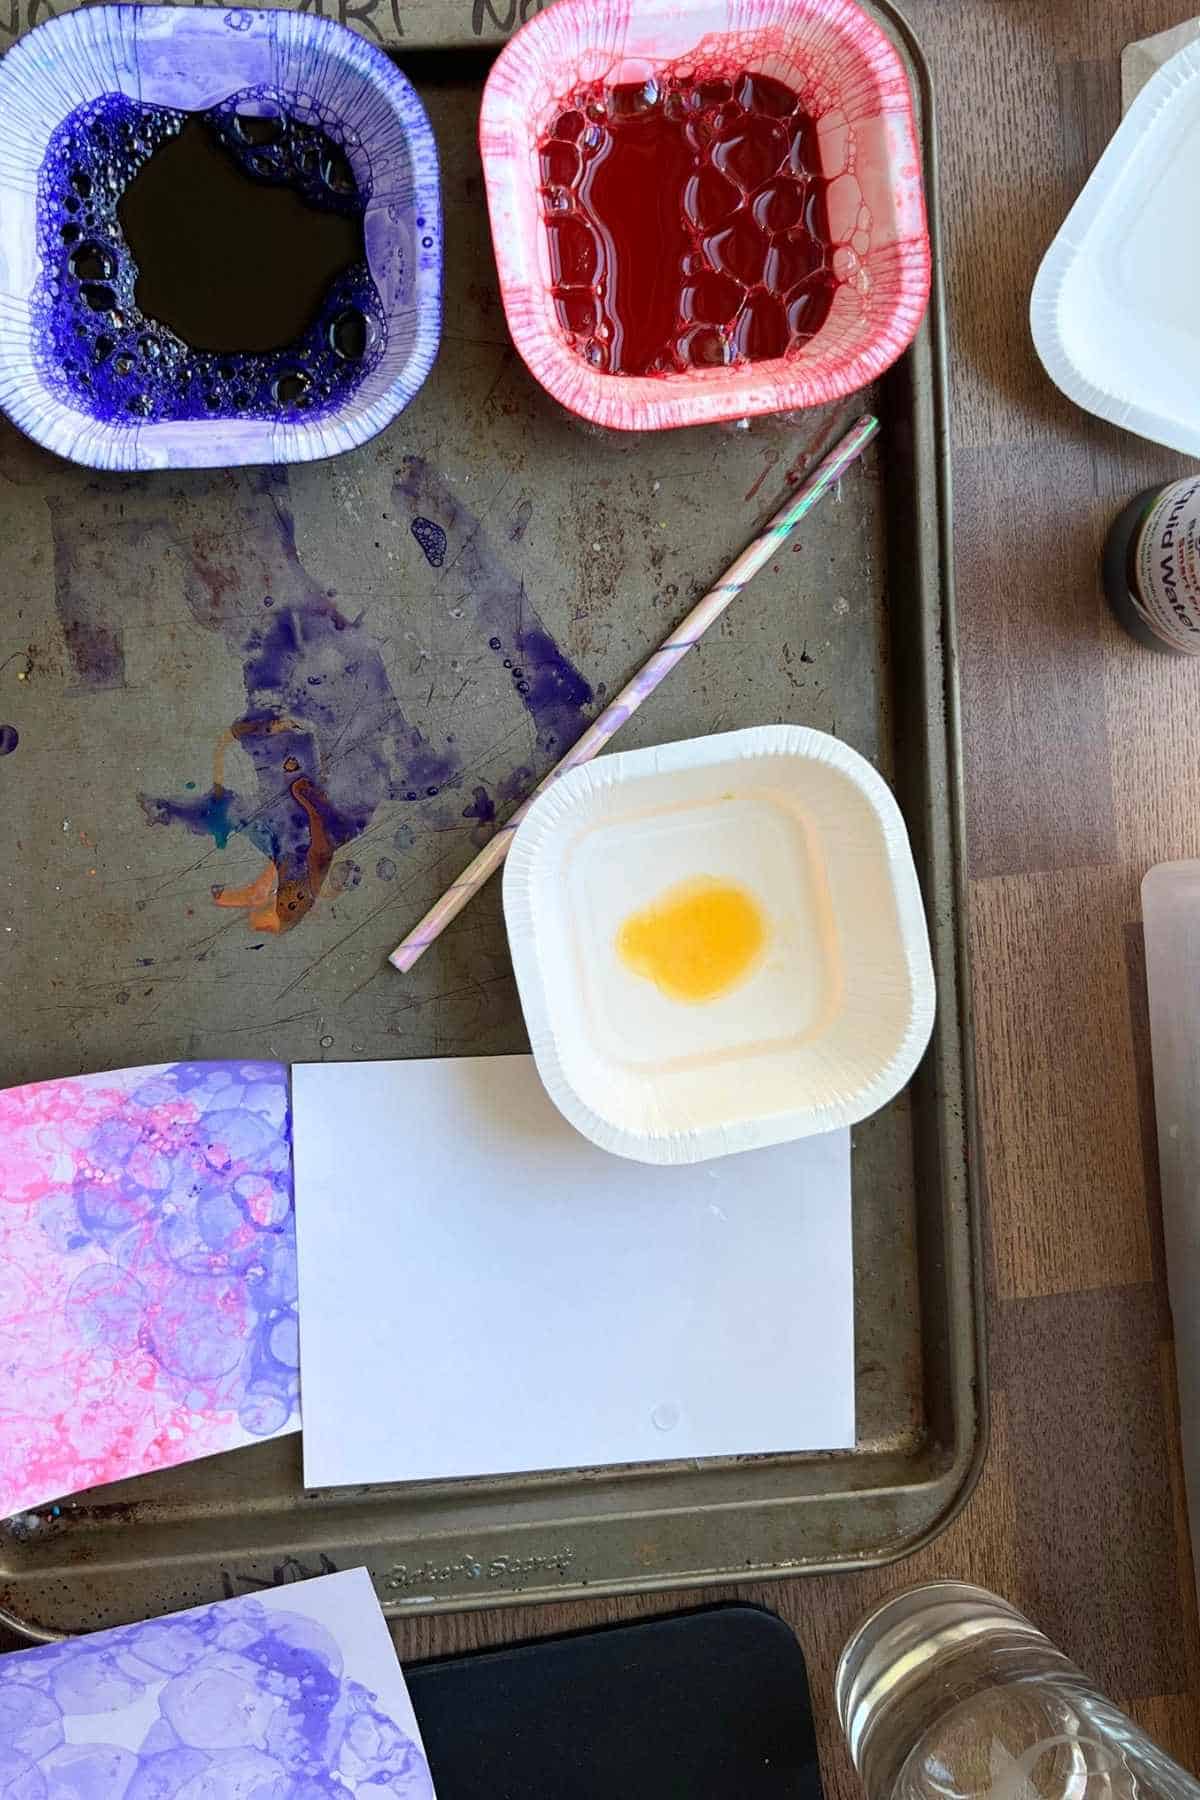
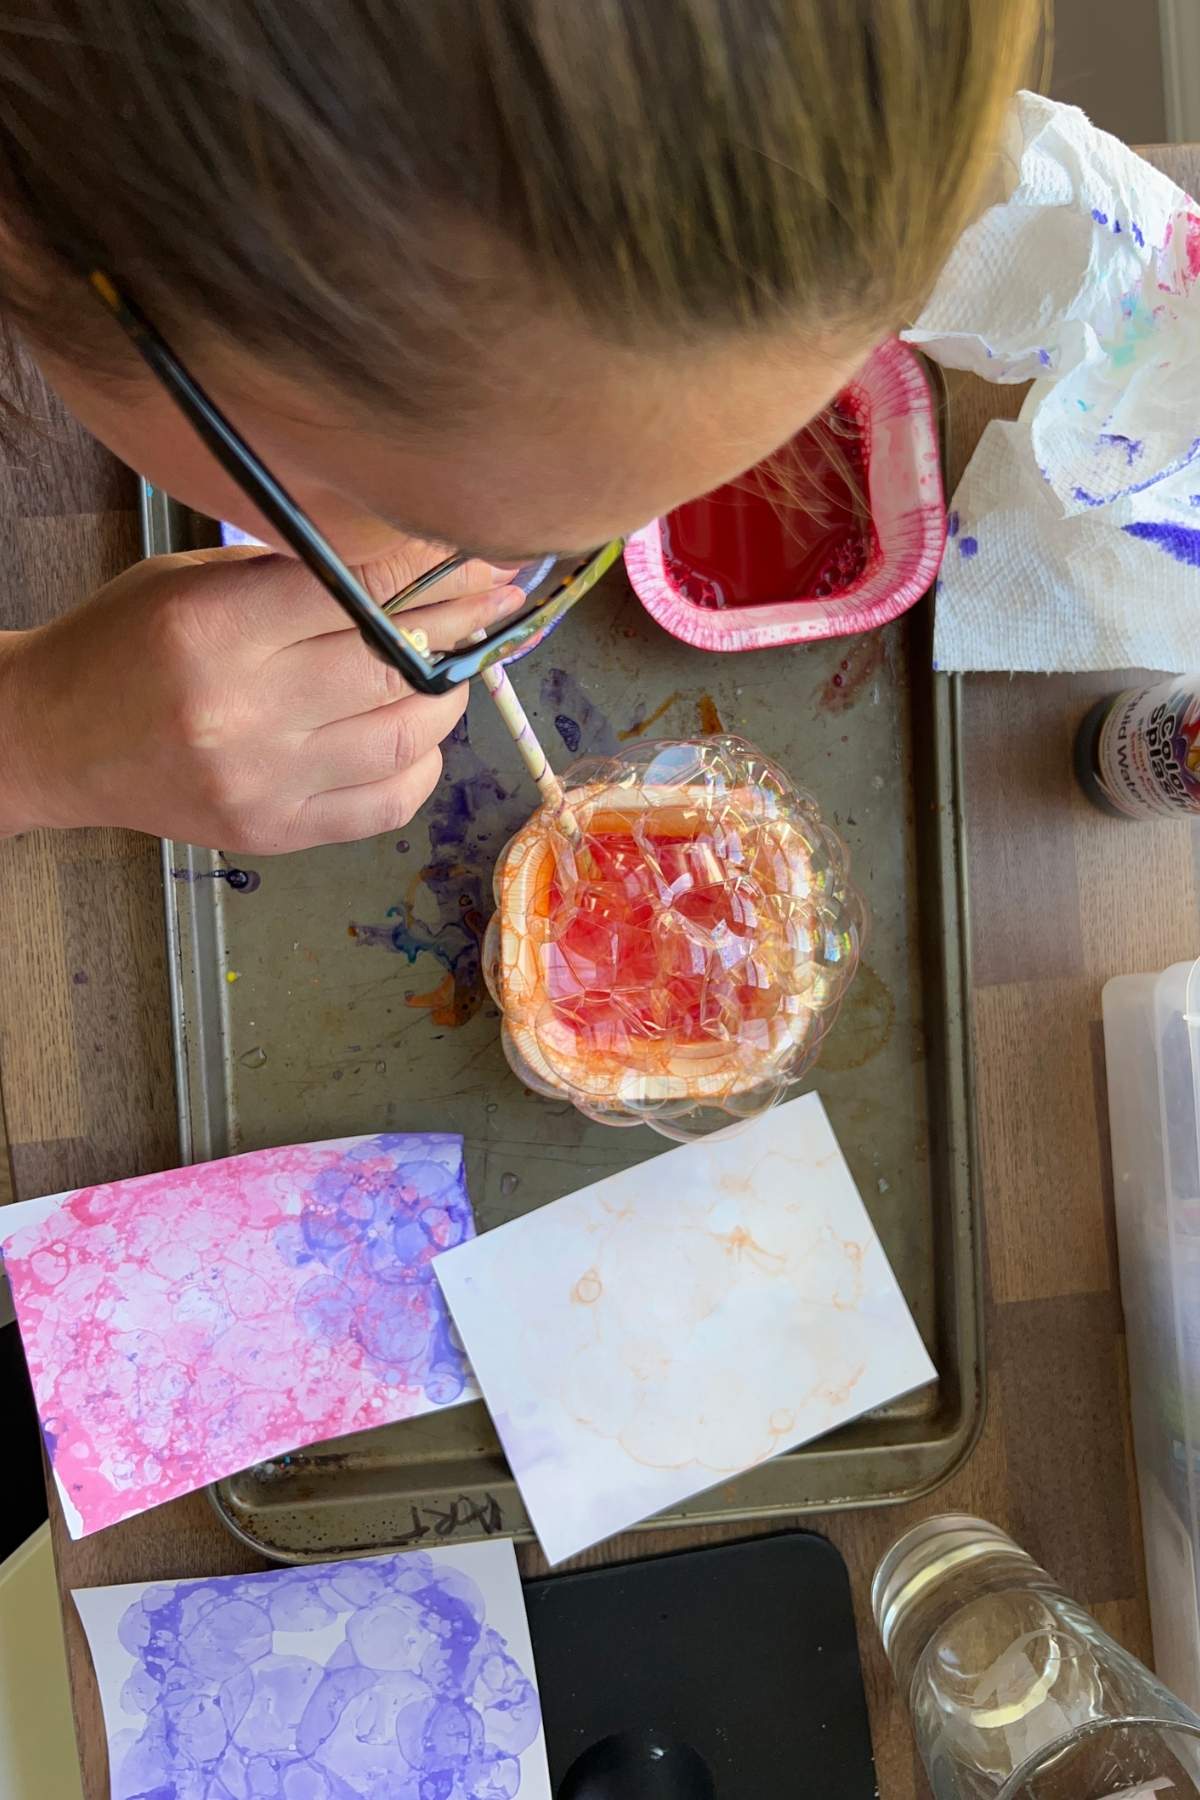
Step 1: Make Bubble Solution
Add water, about a tablespoon of dish soap, and a tablespoon of paint to a small recyclable container.
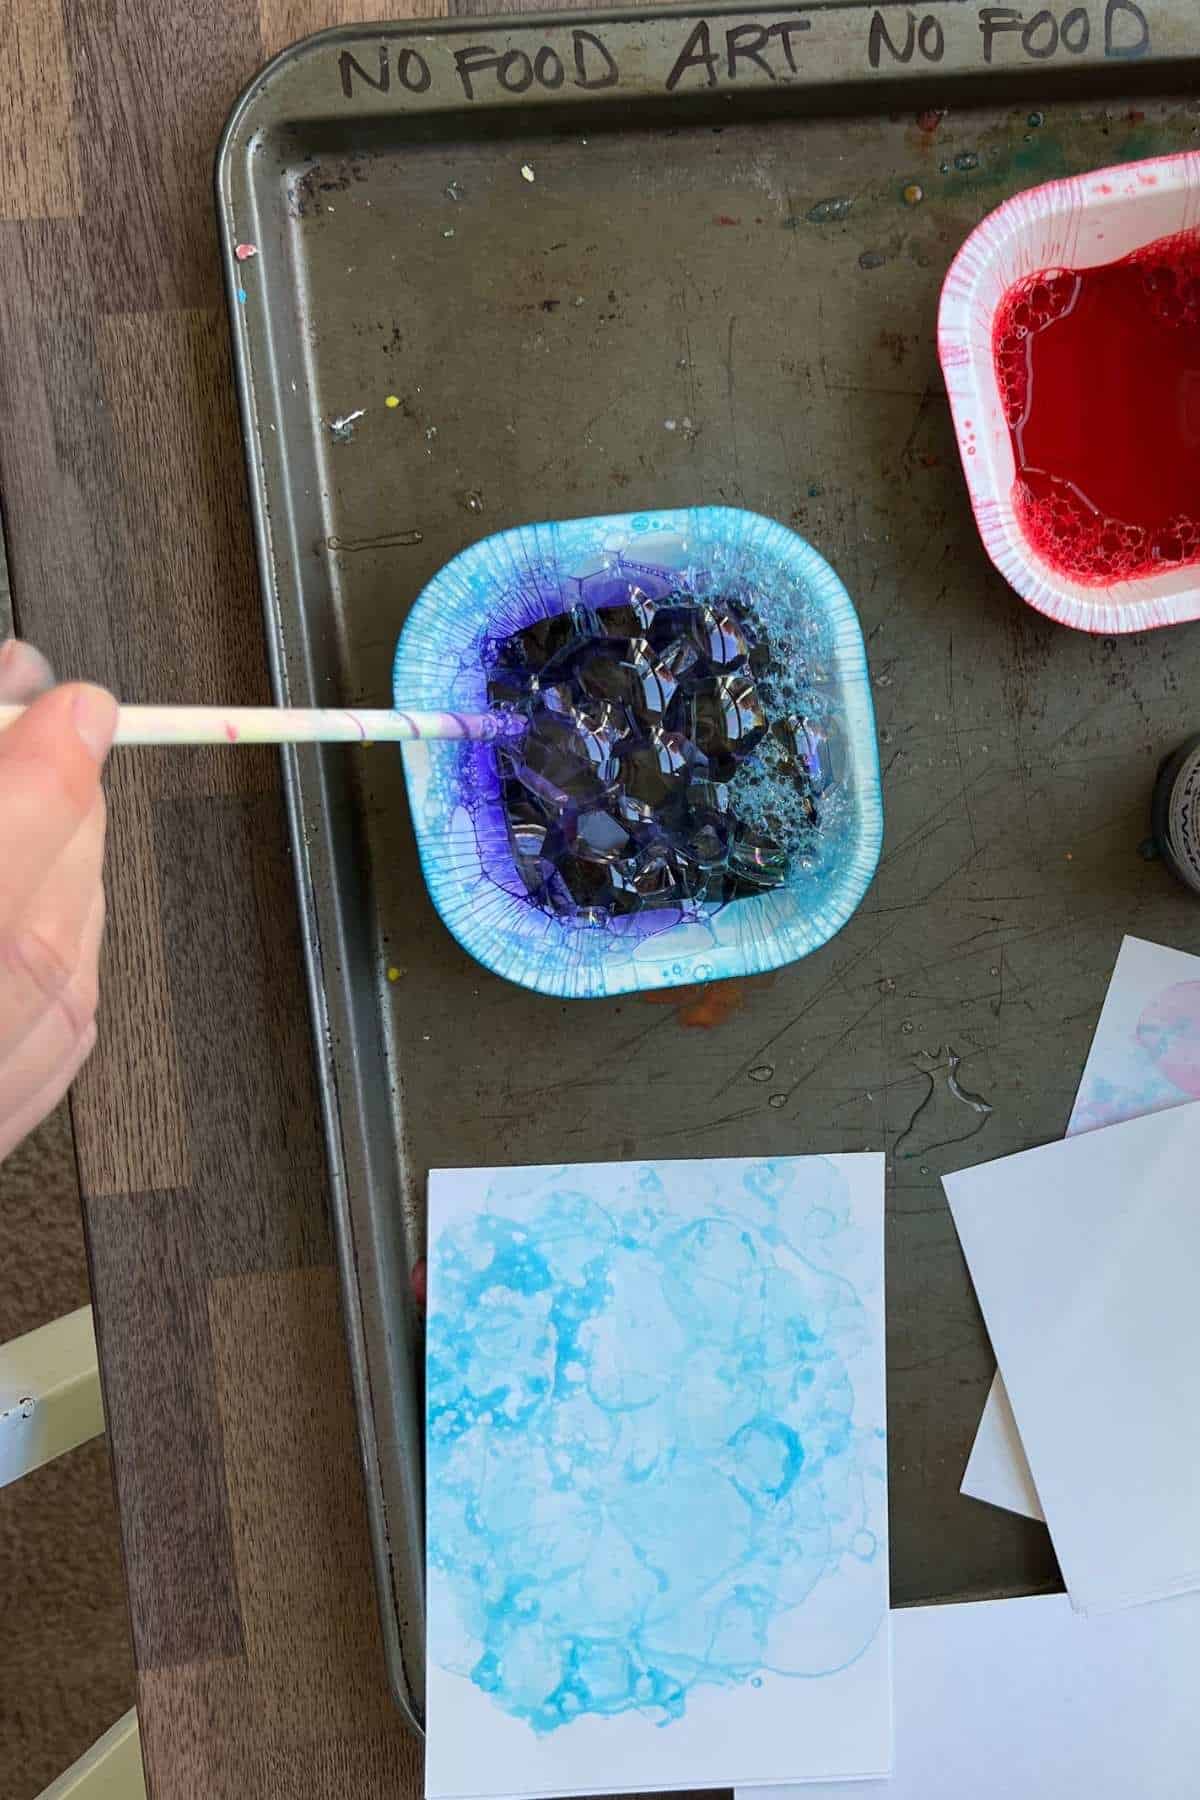
Step 2: Blow Bubbles
Use a straw to blow bubbles into the paint mixture. Keep blowing until the bubbles overflow the top of the container.
Step 3: Print The Bubbles
Carefully place your paper on top of the bubbles to make a print.
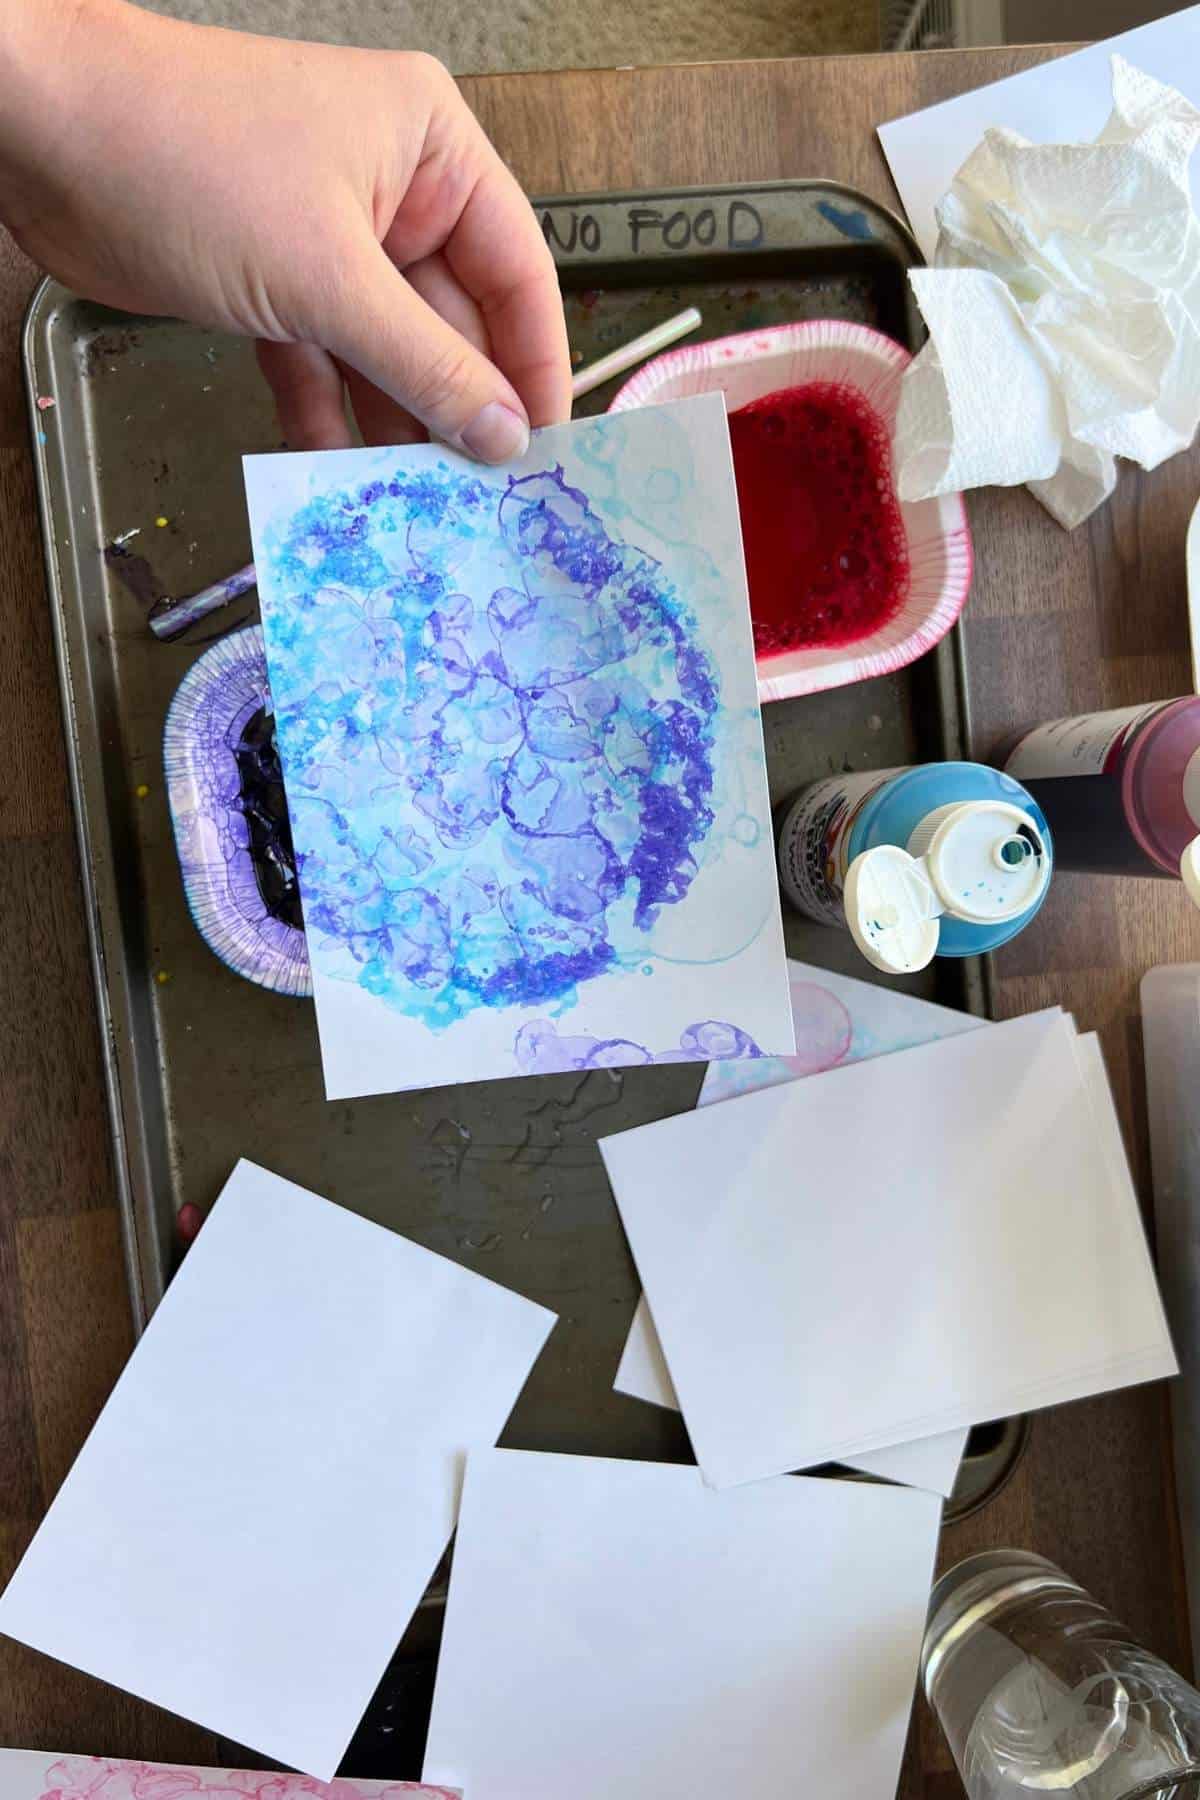
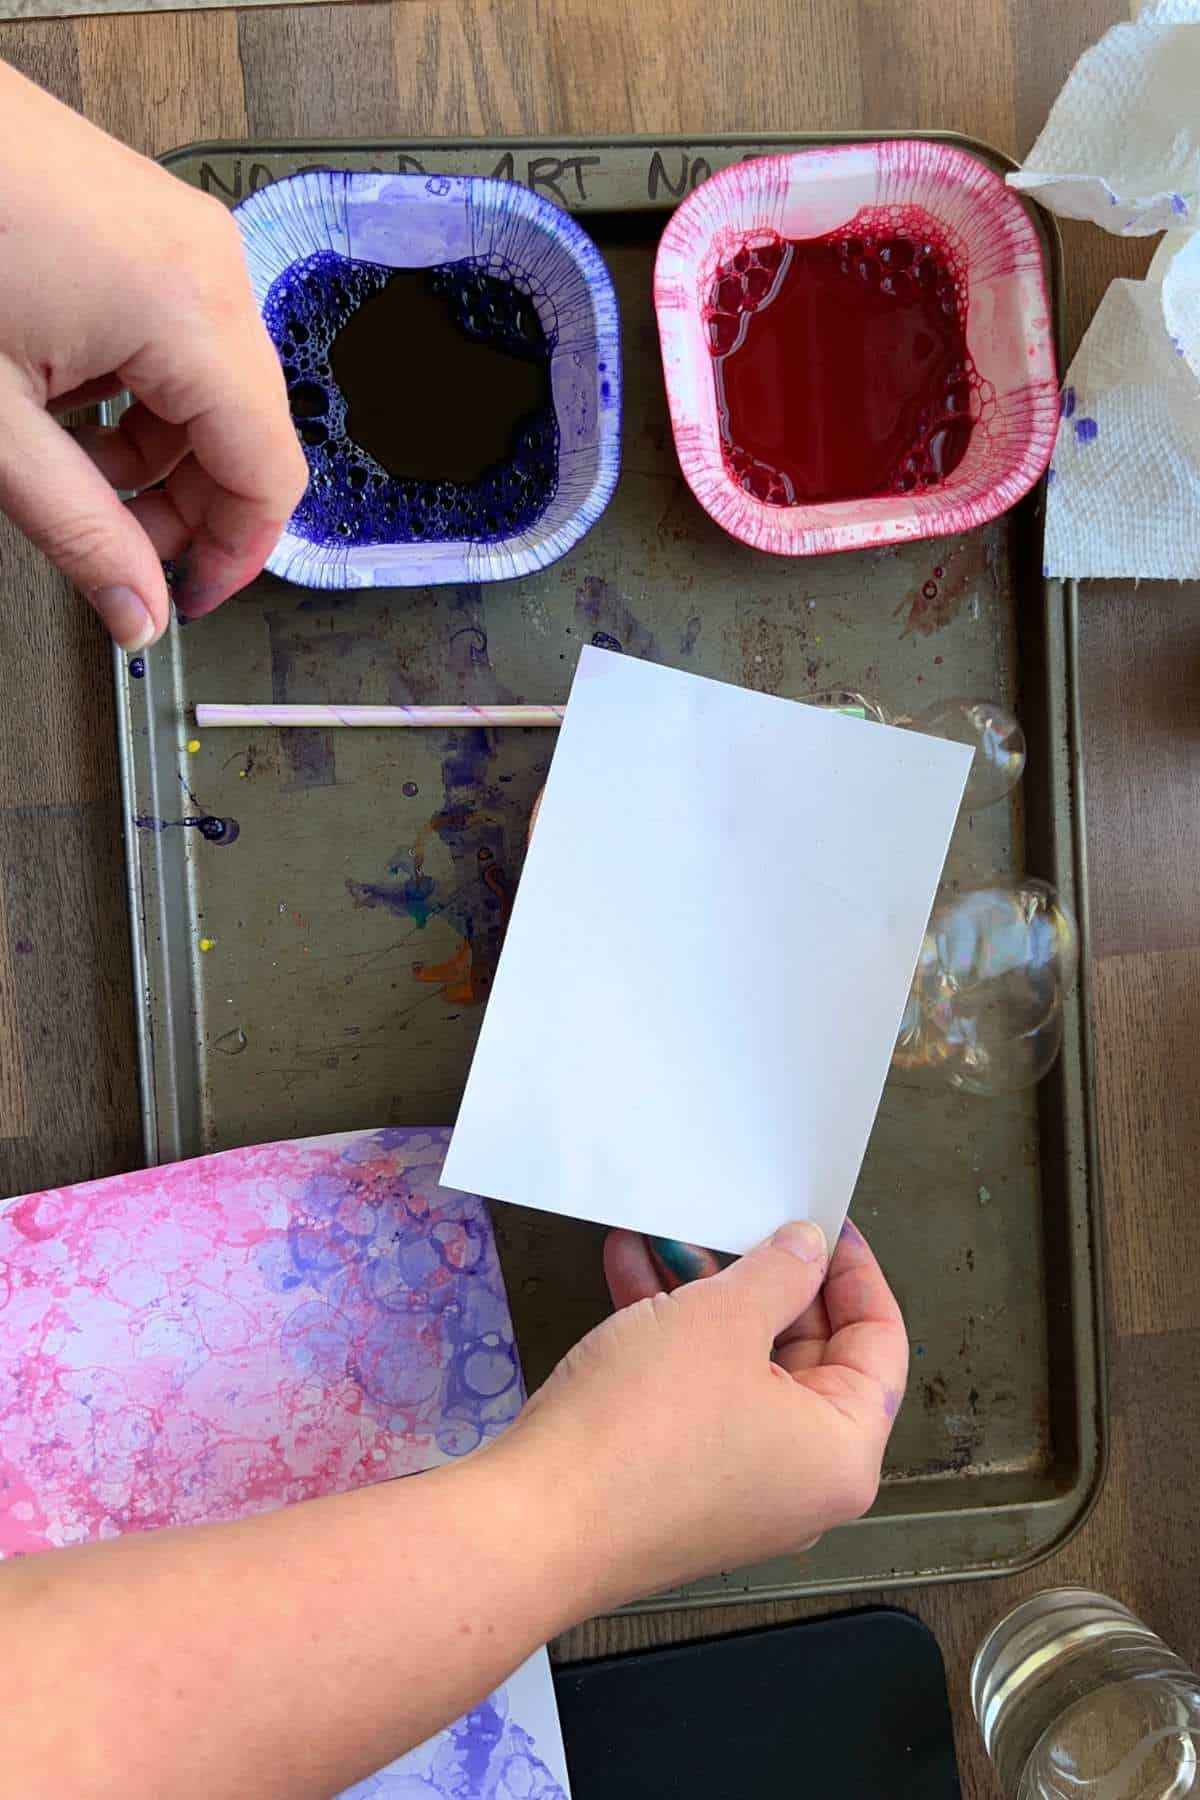
Step 4: Add Tints To The Canvas
Lift the paper up and let it dry.
Step 5: Repeat
Repeat the process with different colors if desired.
What Paint Can You Use?
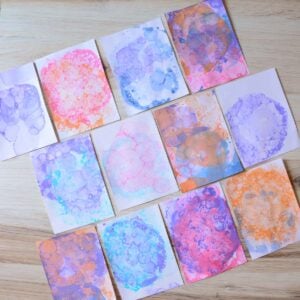
I tried this bubble printing process with liquid watercolor paint, tempera paint and acrylic craft paint. Each one worked, but they created slightly different results. You can see the difference in the image below.
LIQUID WATERCOLOR PAINT – This gave the softest and most transparent bubble prints. It is a great choice if you want a lighter, more watercolor-like look.
TEMPERA PAINT – This worked well and created brighter prints. It is a good option for younger children or classroom art projects because it is easy to use and washable.
ACRYLIC CRAFT PAINT – This can create the boldest color without using as much paint, but you may need to add a little more water to help the bubbles form.
Tips and Things To Avoid
- PRINTS NOT DARK ENOUGH – Add a little more paint for more vibrant prints.
- PRESSING TOO HARD – Gently touch the paper to the bubbles instead of pushing it down into the container.
- USING PAPER THAT IS TOO THIN – Thin paper may wrinkle or tear once it gets wet.
- WHY IS MY BUBBLE SOLUTION NOT WORKING? – Add more dish soap and try again.
- PRINTS DON’T LOOK LIKE BUBBLES – Use heavier paper or press the paper onto the bubbles more gently.
- BUBBLES POP TOO QUICKLY – Add a little more soap to help the bubbles last longer.
Fun Ways To Use Bubble Prints
- Once the bubble prints are dry, you can use them for so many different art projects.
- Homemade cards
- Ocean or underwater backgrounds
- Painted paper for collage
- Gift tags
- Summer art displays
- Backgrounds for fish, flowers, or abstract art
You can also let kids keep them as their own process art project. Sometimes, the simple printed paper is fun enough on its own!
Our Favorite
Related Easy Painting Ideas
Bubble printing is one of those simple art activities that feels a little magical for kids. I love seeing these unique prints as hydrangeas, sky backgrounds, and underwater scenes. Literally, the sky is the limit!
How to Make Bubble Prints With Kids
Equipment
- Small recyclable containers or bowls
- Straws
- Tray, table covering, or outdoor workspace
Supplies
- Water
- Dish soap
- Liquid watercolor paint
- Paper
Instructions
Before Starting
- Make sure children know to blow out through the straw and not suck in the paint mixture. Practice blowing through a straw first, or try plain water before adding paint.
Full Tutorial
- Add water, dish soap, and paint to a small container or bowl.
- Blow through a straw to create bubbles until they rise above the top of the container.
- Gently place paper on top of the bubbles to make a print.
- Lift the paper and let it dry.
- Repeat with different colors if desired.
Notes
- Make sure children blow out through the straw and do not suck in the paint mixture.
- Practice with plain water first if needed.
- White cardstock, watercolor paper, or heavier drawing paper works best.
- Work on a tray or outside since this project can get messy.
- Add more dish soap if the bubbles are not forming well.
- Add more paint if the prints are too light.