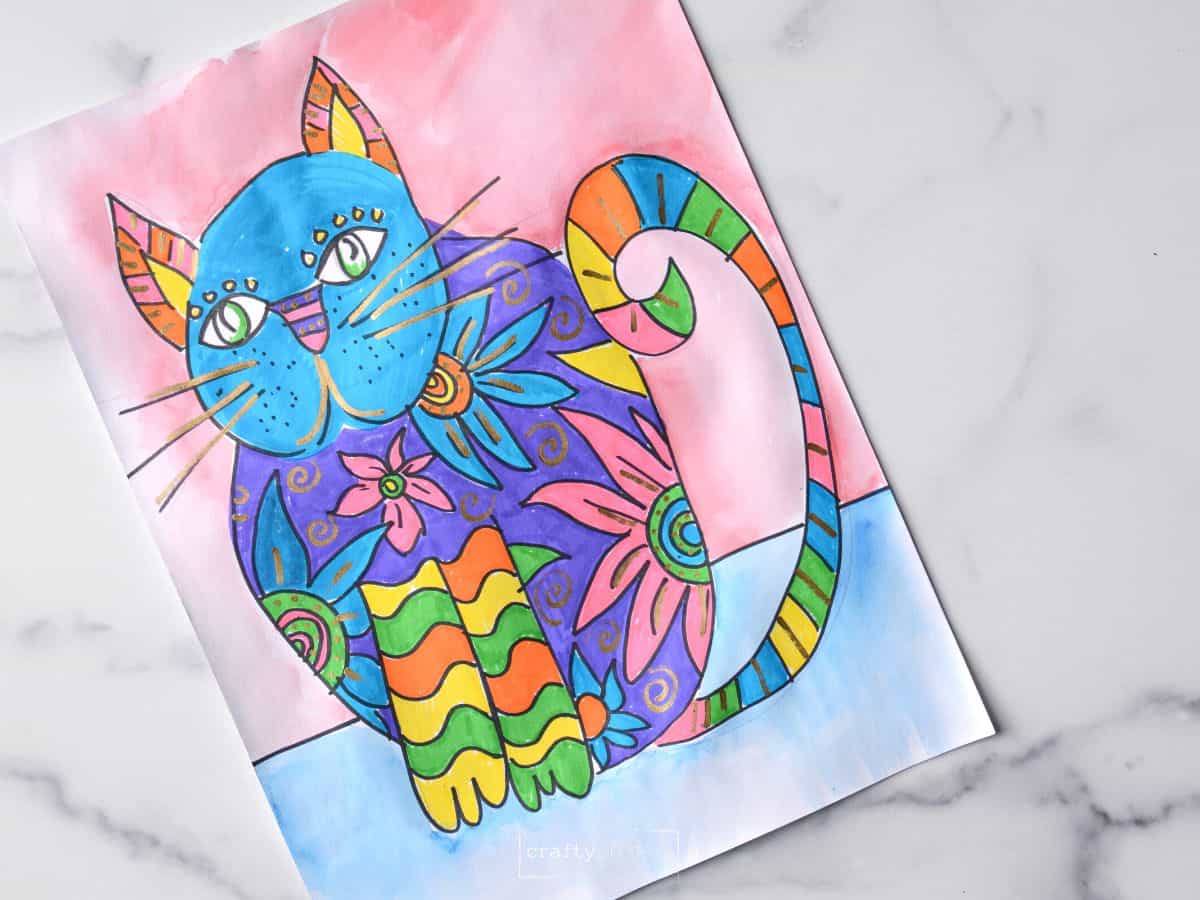
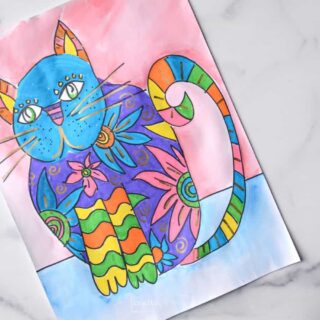
Creative Laurel Burch Patterned Cat Art Lesson For Kids

This easy cat drawing is inspired by the artist, Laurel Burch. Kids will showcase their personalities by creating their own unique patterned cat drawings.
This is one of those tried-and-true art projects that I love to do at the beginning of 2nd or 3rd grade. I have easily broken down the steps so that you can easily make these colorful cats with your artists at home or school.
Why You Will Love This Art Idea
Who is Laurel Burch?
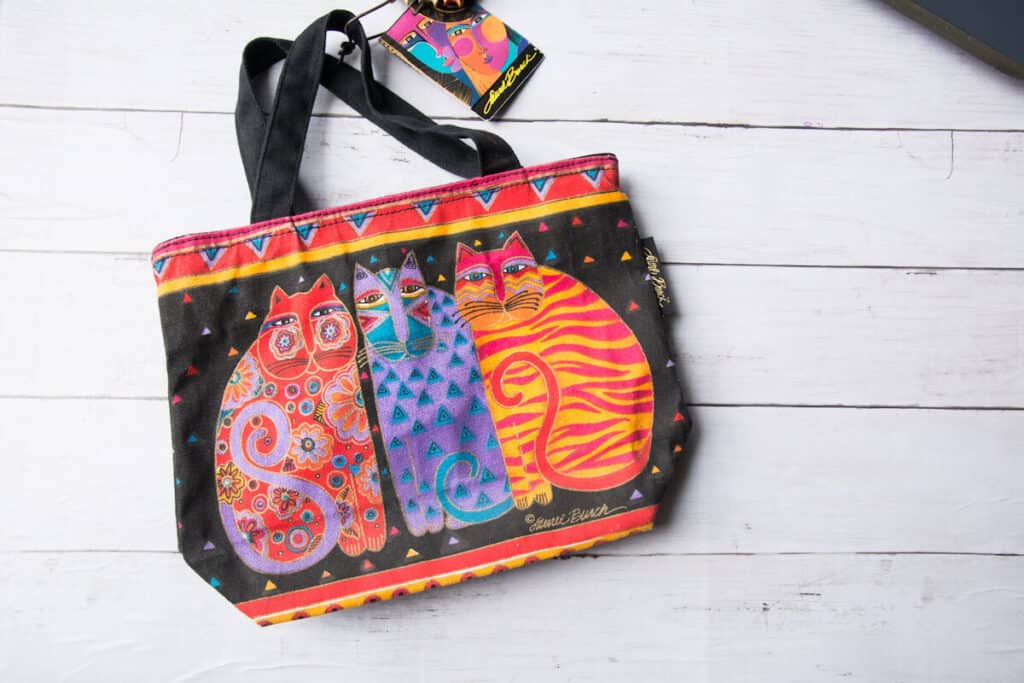
According to Laurel Burch Studios, Laurel Burch was an artist who was born in 1945. In the 1960s, she began creating colorful and playful artworks in San Francisco, CA. Now her artworks can be found reproduced on a wide range of items, from T-shirts to bags.
I actually scored this bag at a garage sale, and the kids really do love seeing artwork and designs in person.
Laurel Burch did not have any formal training as an artist. Wikipedia notes that she always struggled with osteoporosis and had over 100 bone breaks in her lifetime. She still overcame her physical obstacles to share her creativity with the world.
By sharing her life experiences with children, you can help them understand how people persevere and overcome challenging times.
Not to mention her patterned cat and other animal artworks that are perfect to discuss with young children because they love how playful and creative these artworks are.
RELATED PROJECT -If you love this drawing project, then you may also want to check out how you can make slab clay cats as a different lesson.
Looking At Fantastic Feline Examples
When looking at Laurel Burch’s animal projects, you can get children to notice certain things about her work. You can use questions like the following to help:
- What kind of patterns do you see?
- Are these realistic cats?
- Why do you think she chose these colors?
- Are those normal cat eyes? How would you describe them?
- What other types of lines do you notice in her work?
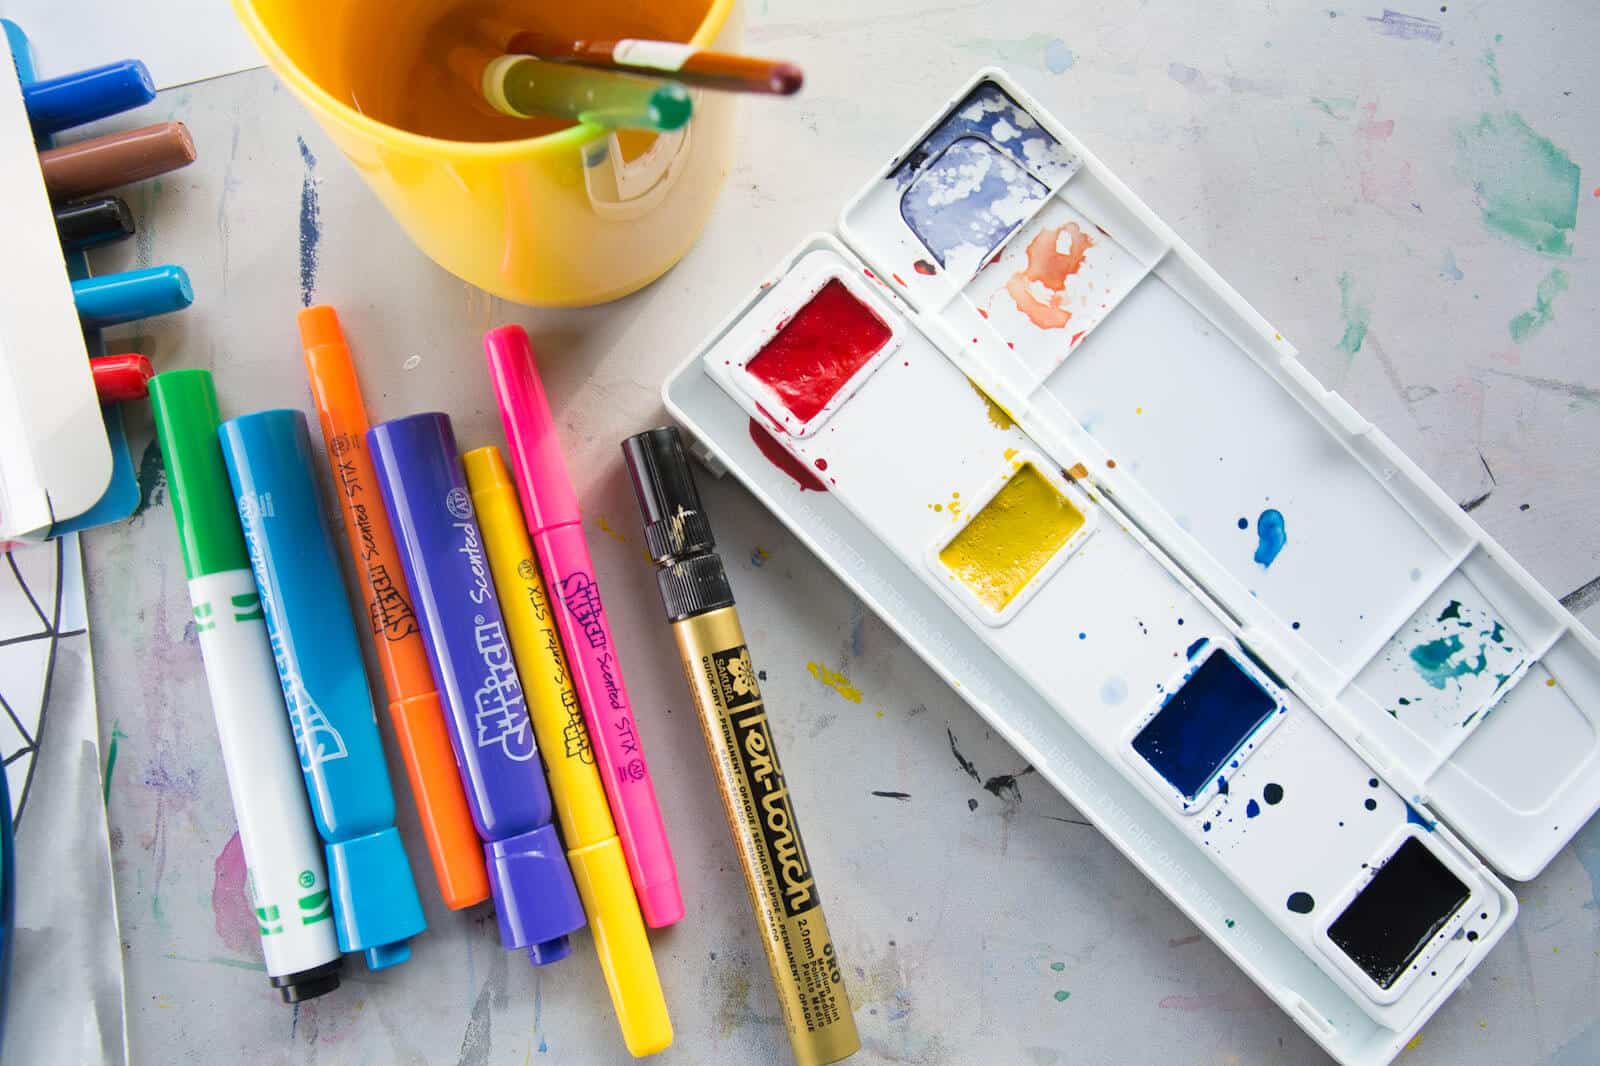
Supplies You’ll Need
Disclosure: This post may contain affiliate links when clicked, we may earn a small commission at no additional cost to you. Read our full privacy policy.
Notes About Supplies
- PAPER – You can do these on smaller paper, but we like the scale of completing this on larger white paper.
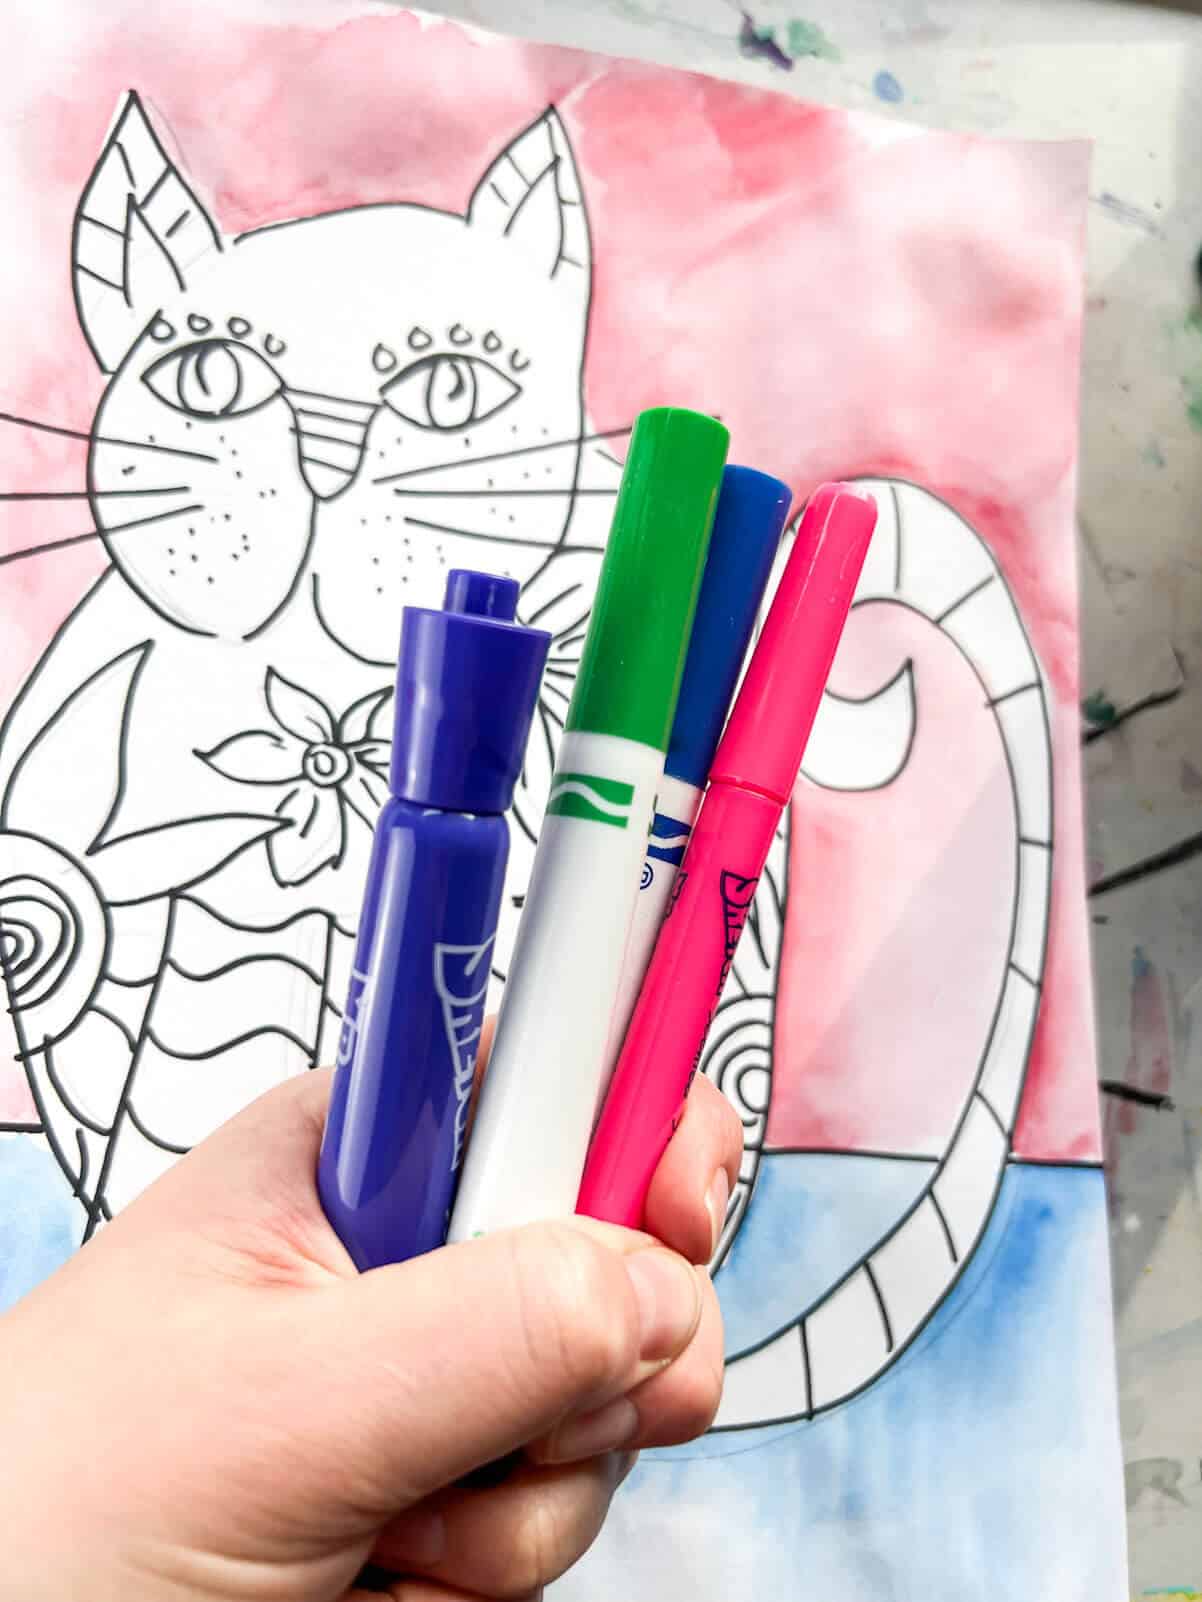
- MARKERS – Having skinny markers and chisel tip markers will provide children the opportunity to make a decision on which type will work best for their designs.
- PAINT MARKERS -even 2nd graders can use these markers if you give them some guidelines and helpful tips that we list below.
Laurel Burch Art Project Tutorial
Before You Begin
- Remind children that their projects are to look unique and that they do not have to look precisely like this guided drawing.
- You should “sketch light until you get right”
- Have fun creating your patterns and designs
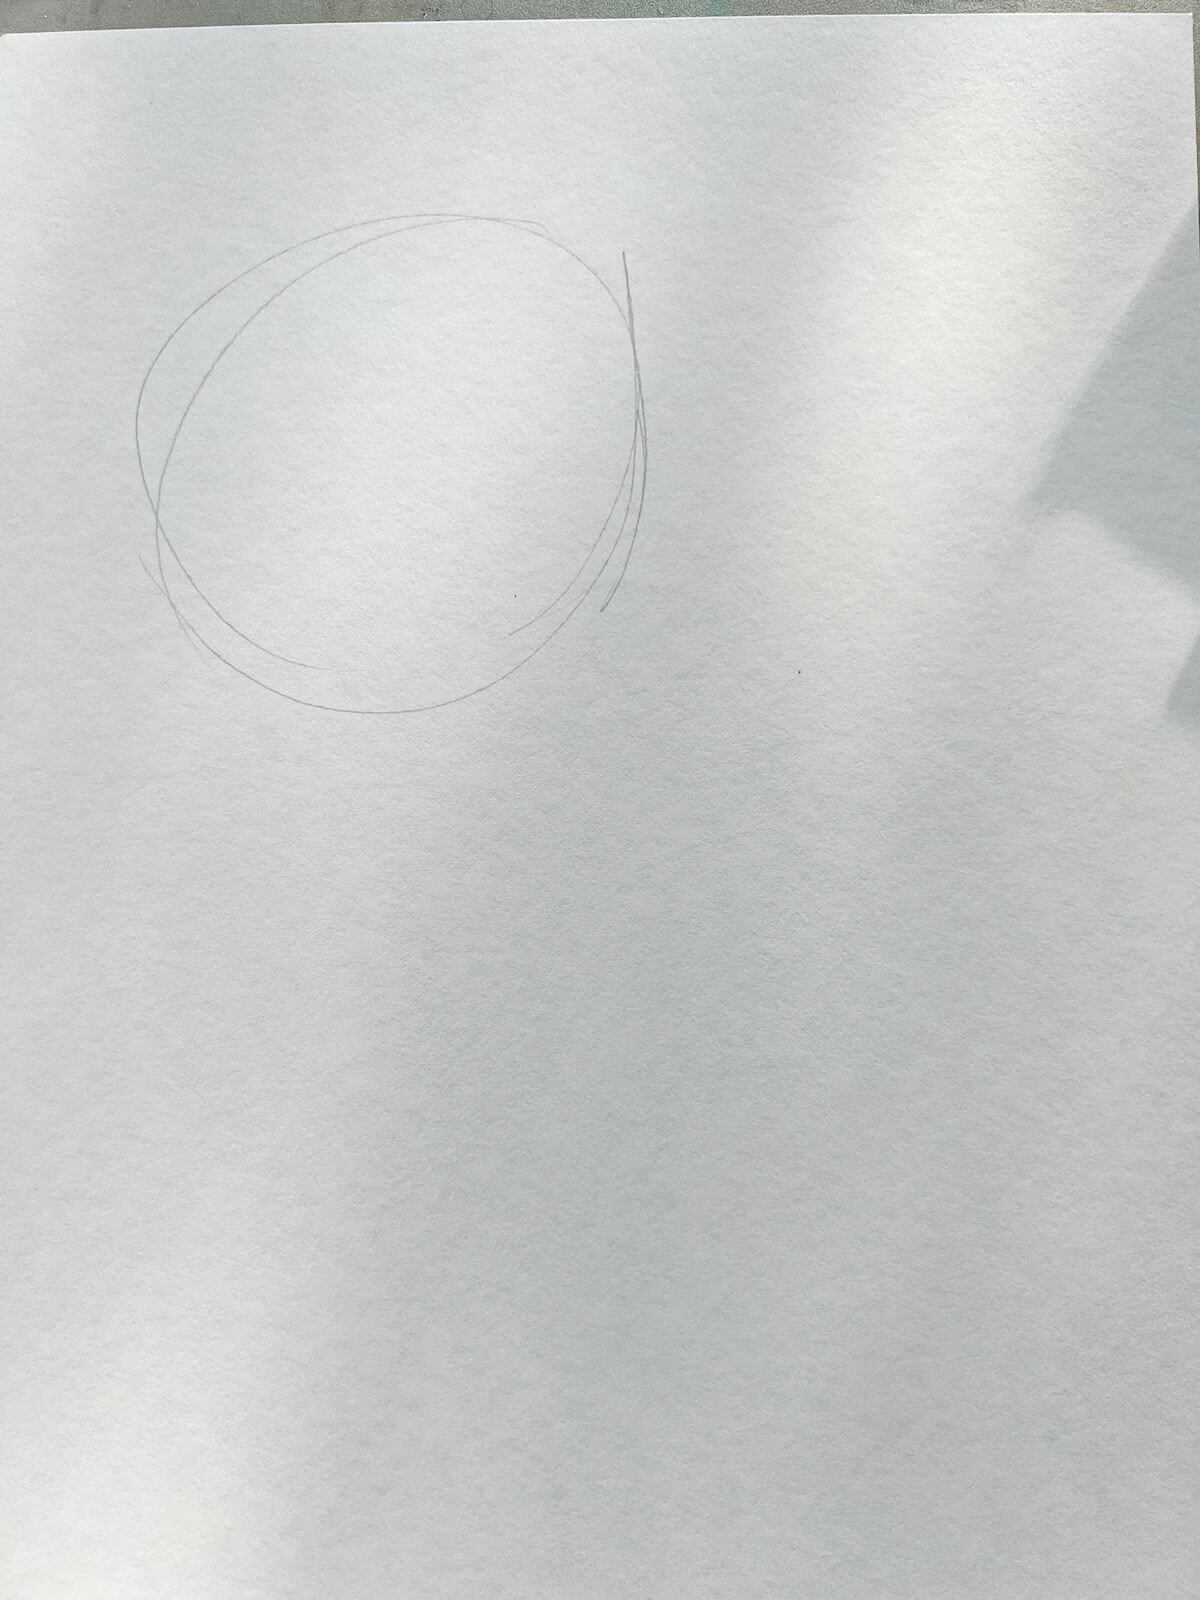
Step 1: Draw A Circle
You want your cat to be large on the page. Draw a circular shape near the top of the page but leave enough room for the ears.
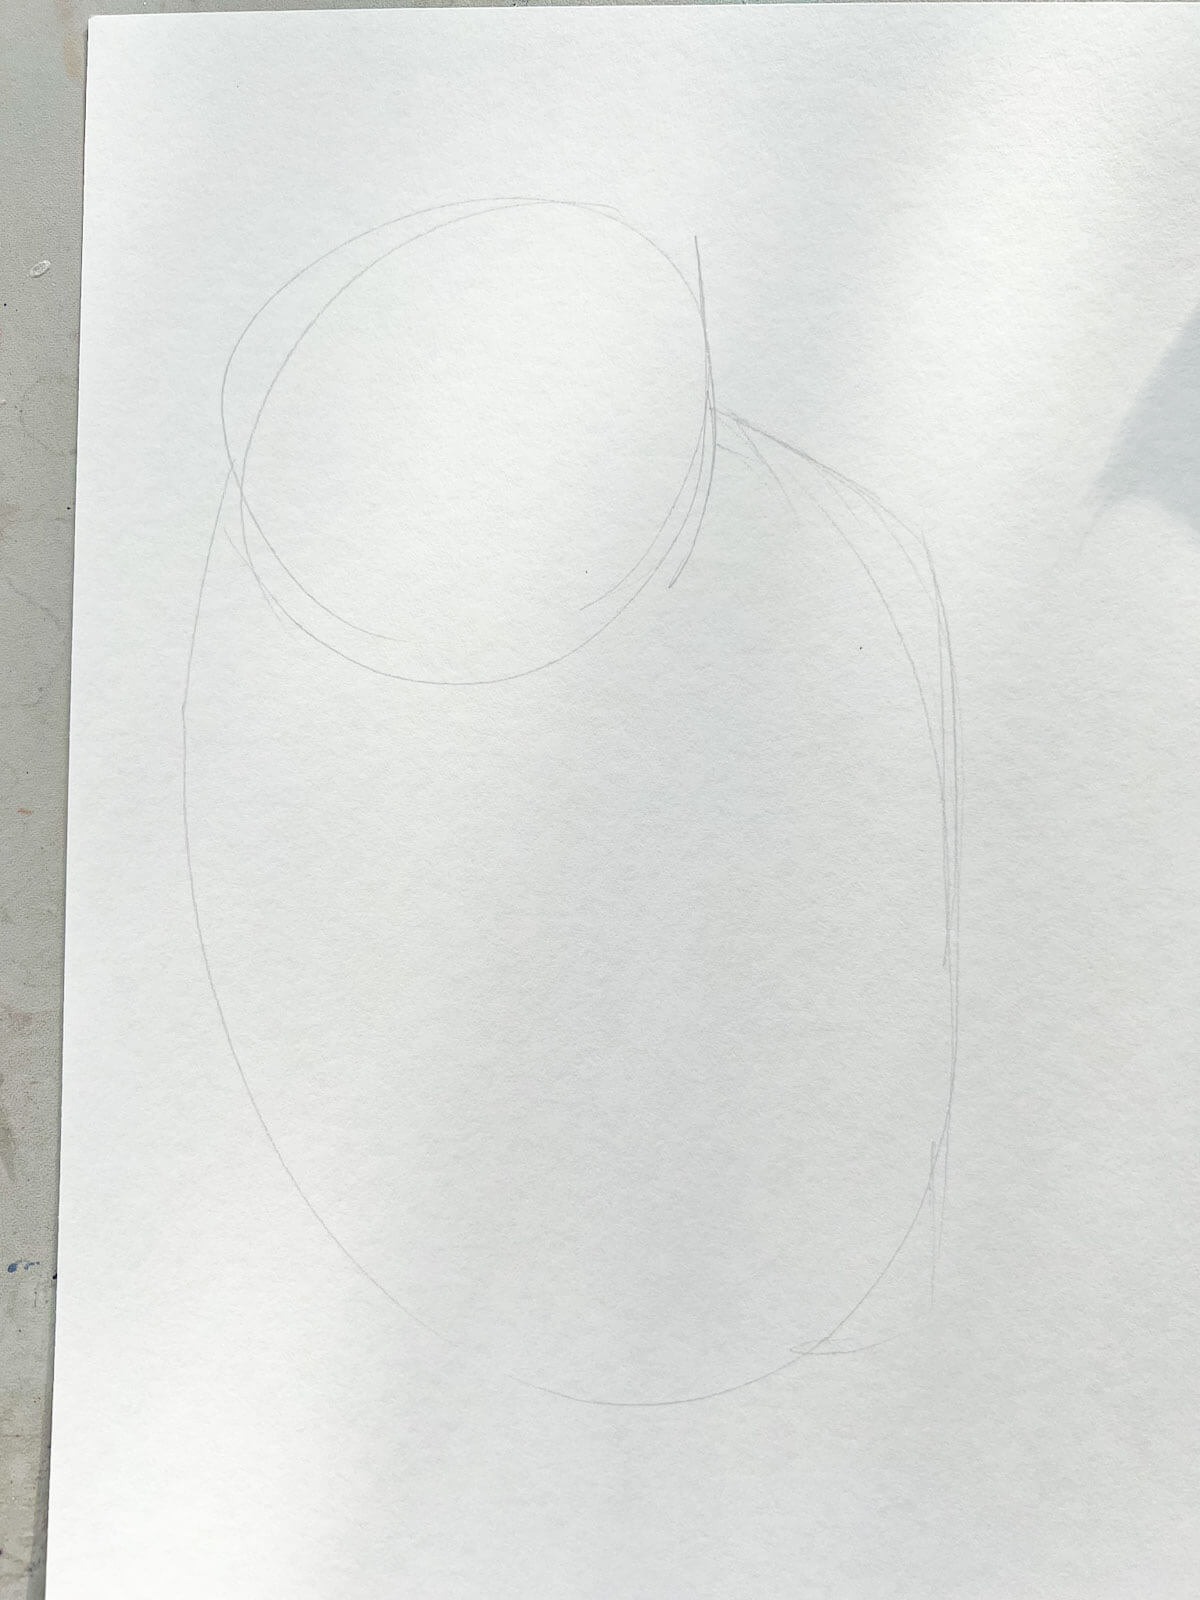
Step 2: Draw A Large Body
When looking at Laurel Burch’s Fantastic Feline collection, kids will notice the large cats. I like to tell them they are drawing a “big, fat, cat”. This helps them draw a cat to scale. You can make the body more centered or show a little more of the side of the body.
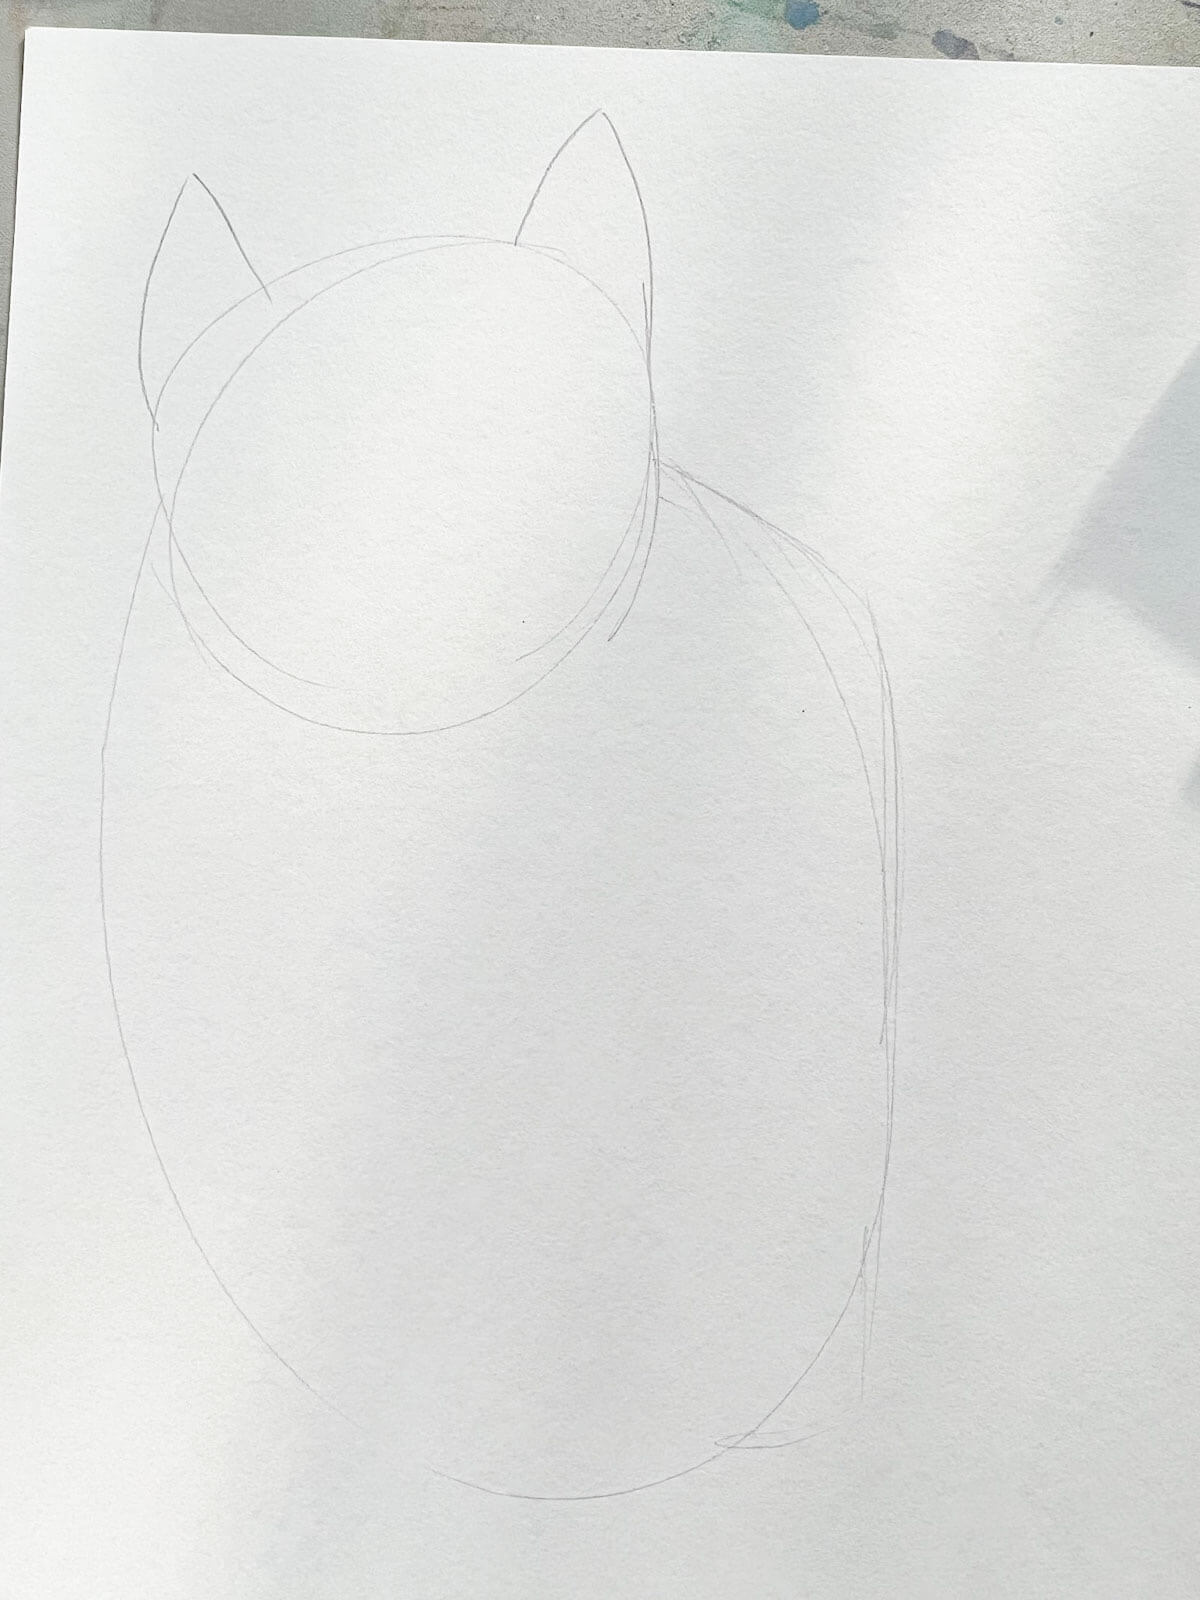
Step 3: Add Ears
Add triangular shapes for ears.
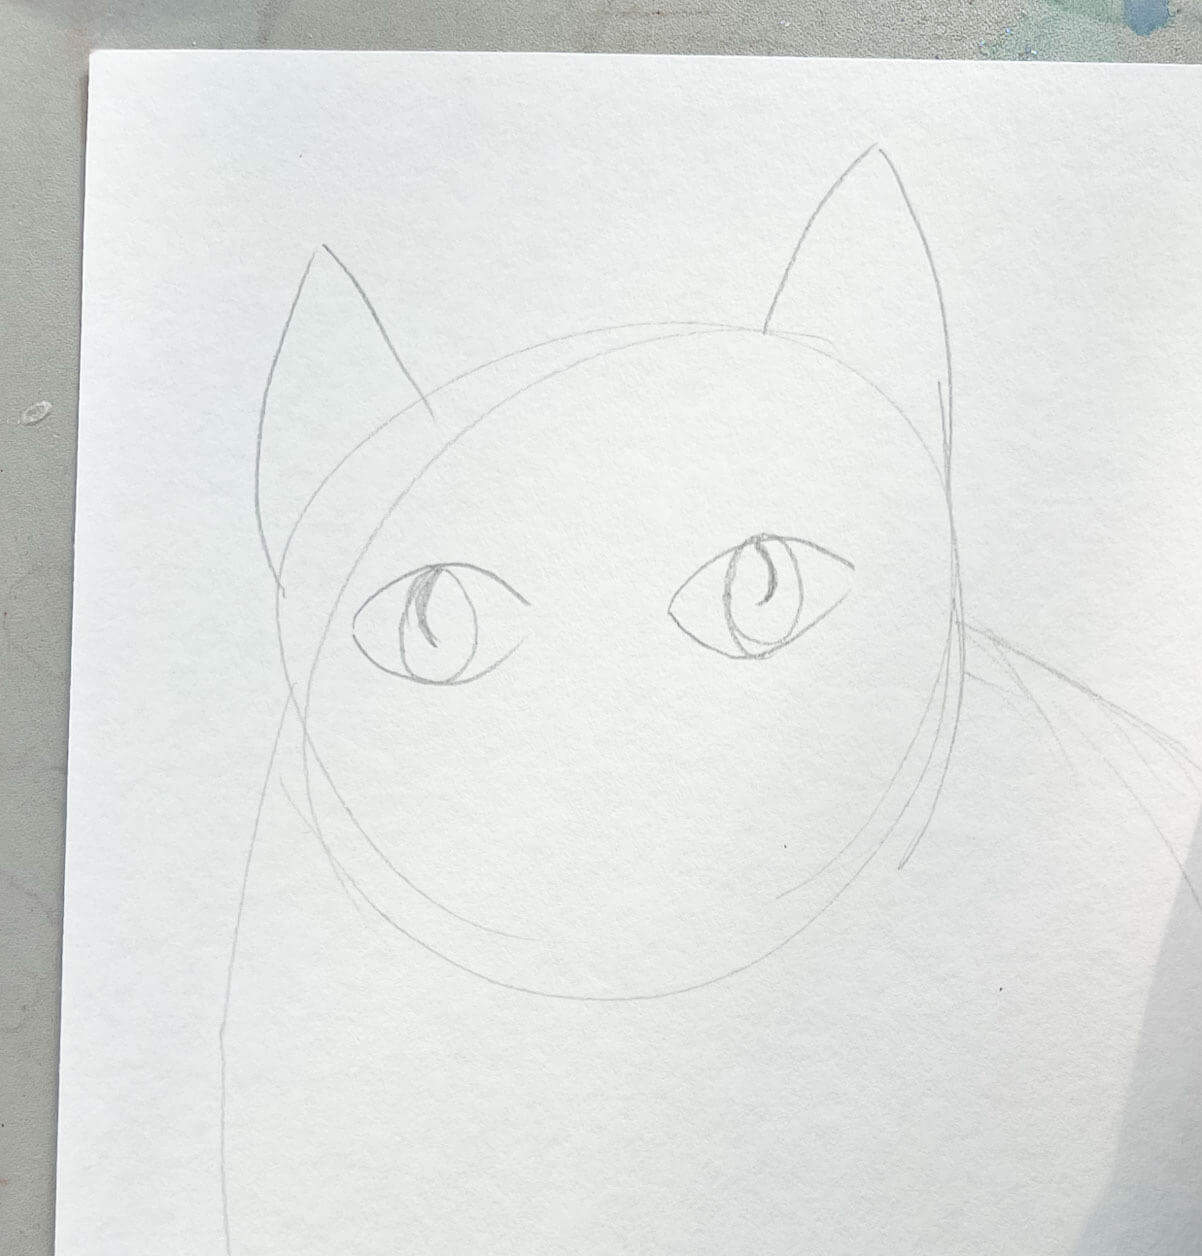
Step 4: Draw Eyes
Draw football-shaped eyes as Laurel Burch did.

Step 5: Add Other Details
A simple “U” shape can work for the nose. An “anchor” mouth and whatever lines they want to use for whiskers. Add Paws and a tail.

Step 6: Add Patterns
With a pencil add details. I like to tell children, that if they want a baseball cat they can have a baseball cat. If you want a rainbow cat, draw it!

Step 7: Outline With Permanent Black Marker
Carefully trace all the details with a Sharpie or other permanent marker.
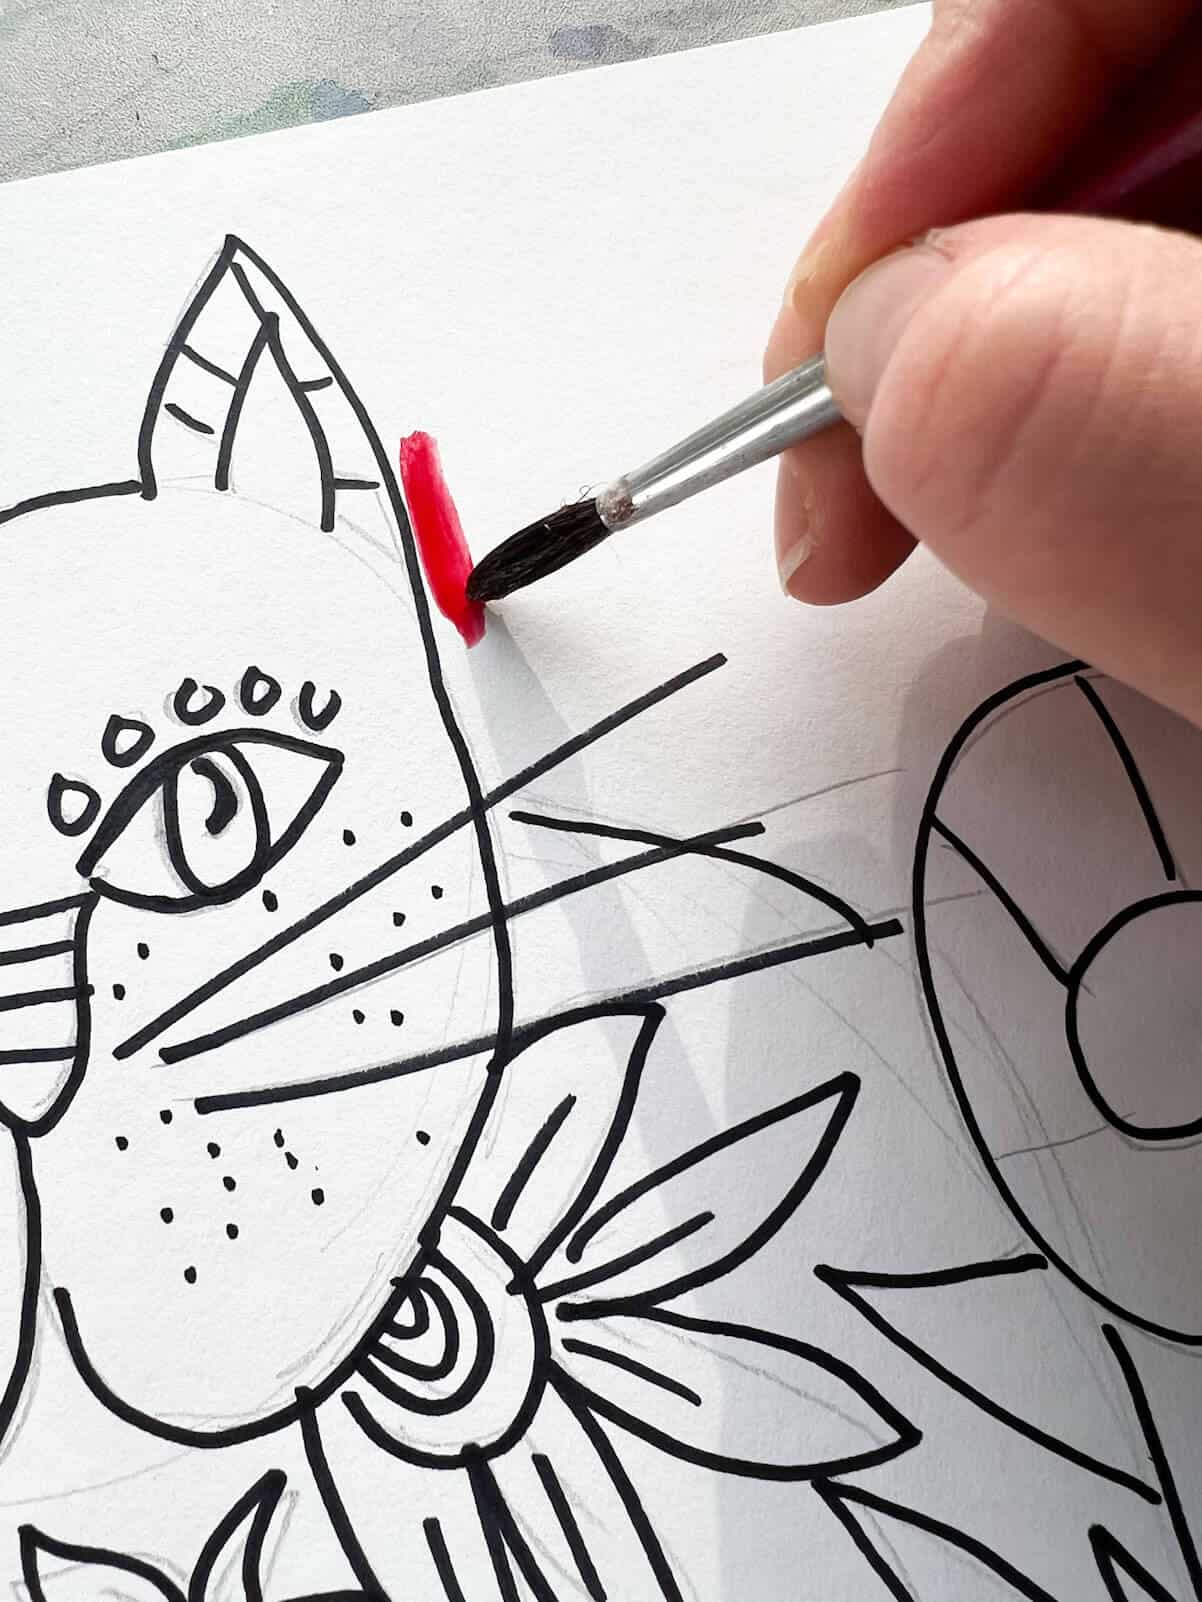
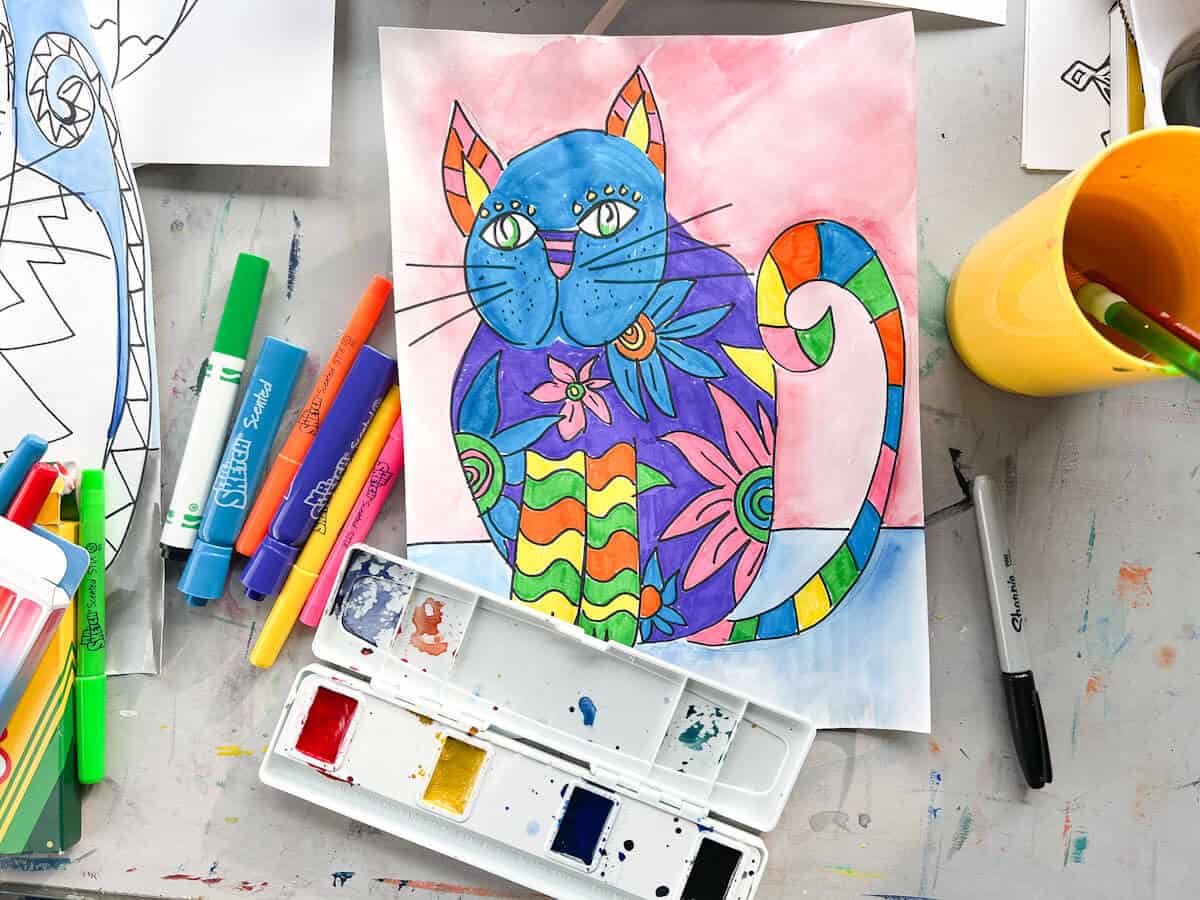
Step 8: Paint The Background
Let children pick any two colors to use. One color for the ground and one color for the sky. You need to limit the background colors because their cats will be so colorful and the focal point.
Step 9: Color The Patterns
Once the background has dried, begin to color the designs.
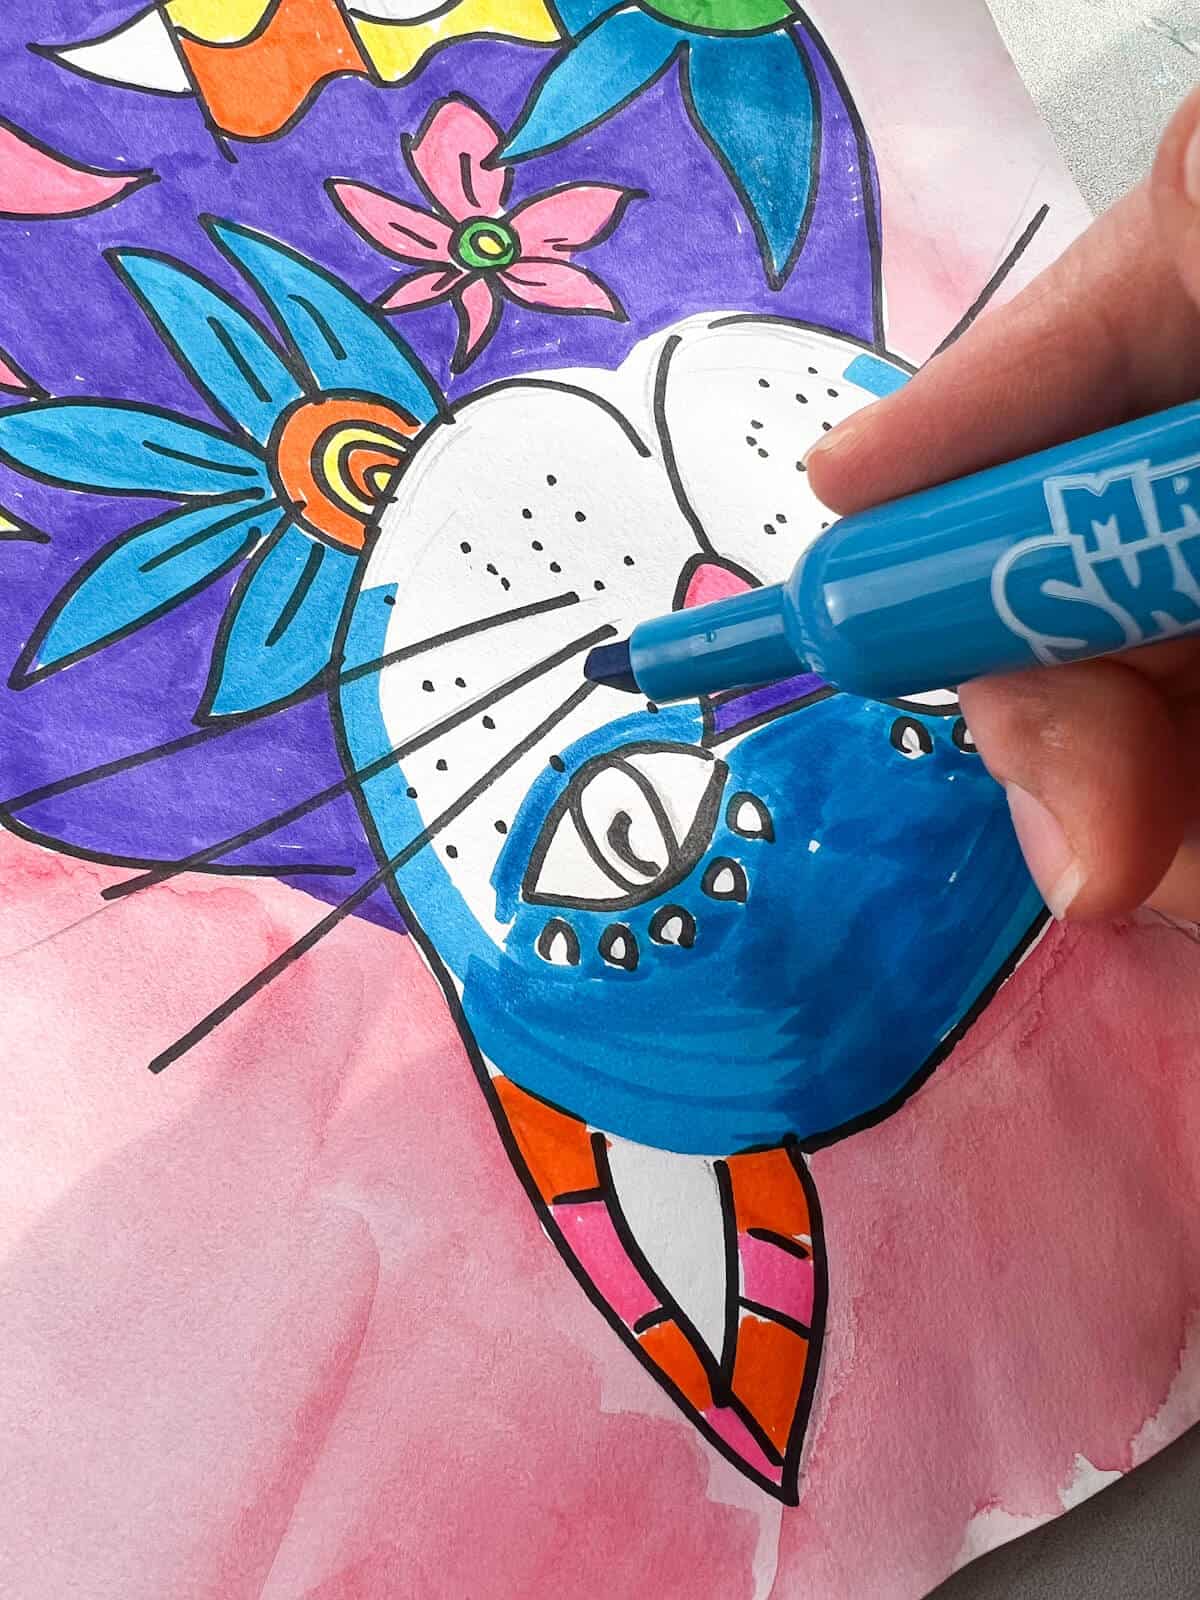
Step 10: Leave Eyes White
The only place that you do not want to color is the whites of the eyes (or just say “eyeballs”). If kids color those in, then it is hard to see them due to a lack of contrast with all the patterns going on.
Step 11: Continue Working To Fill The Whole Cat

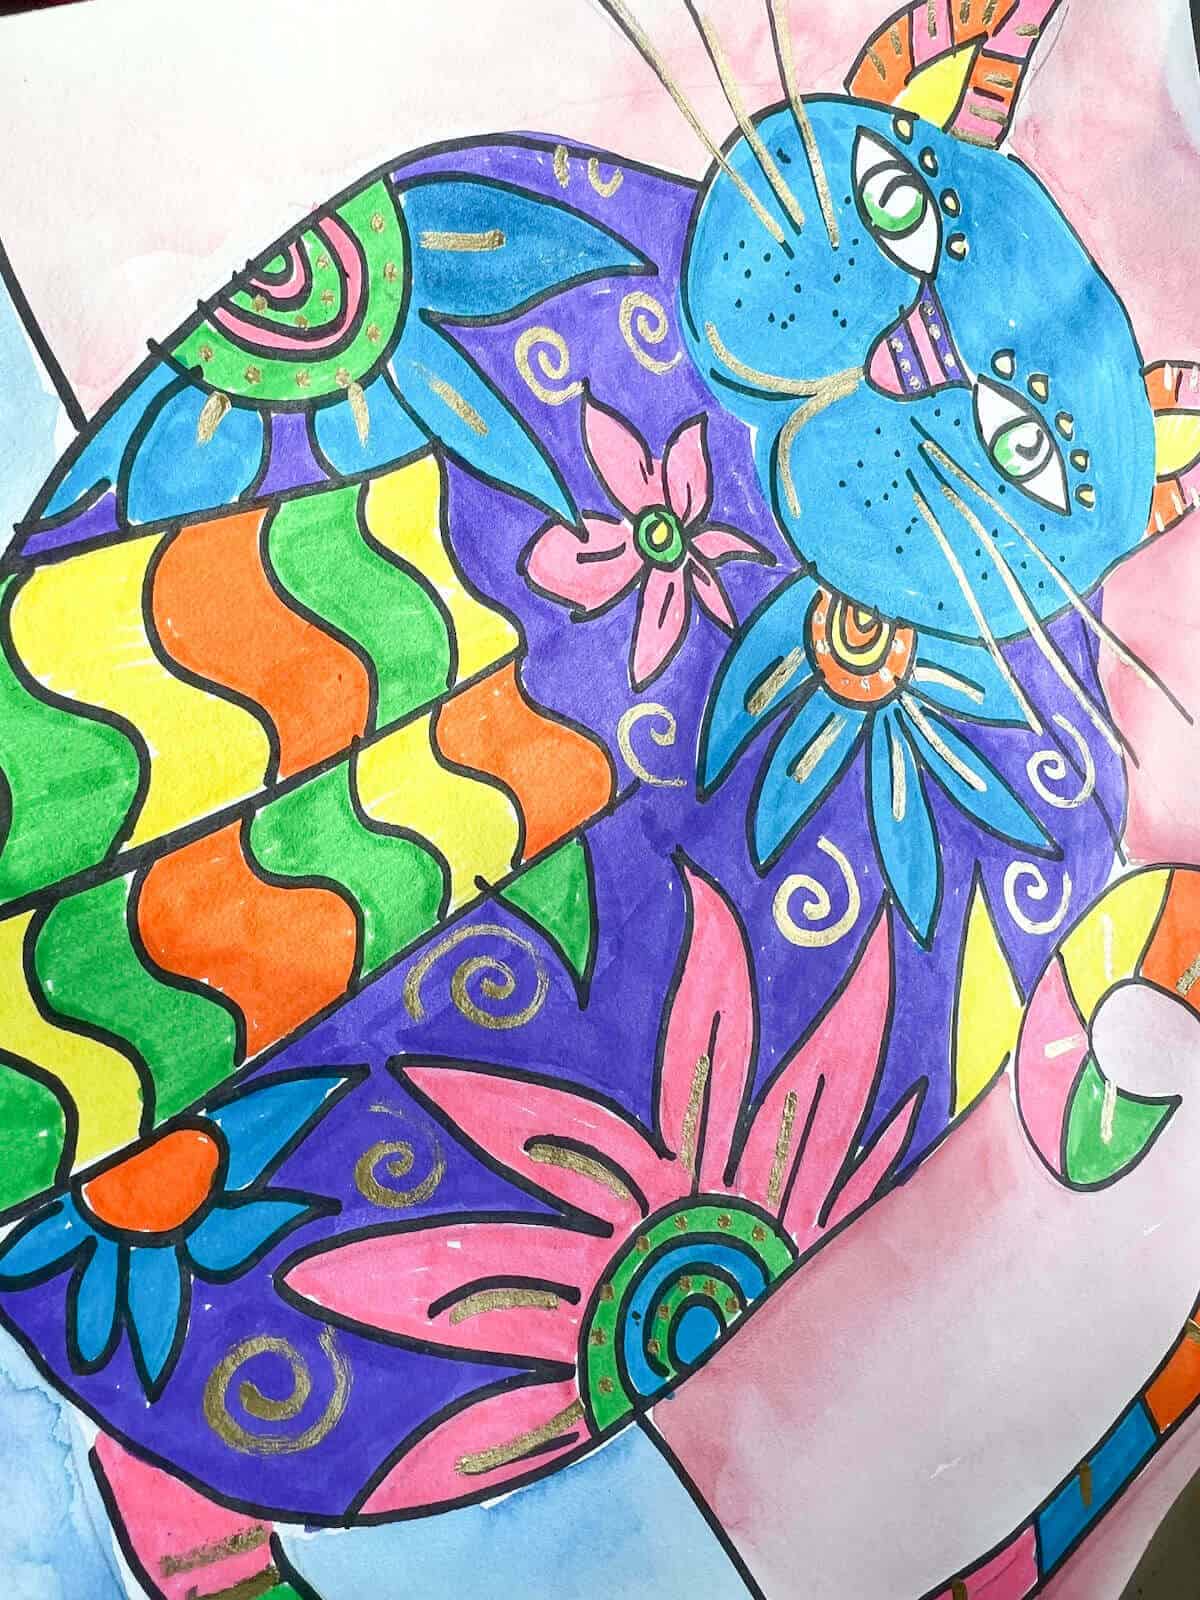
Step 12: Use A Paint Marker
Using a gold or silver paint marker can add a few extra swirls or details. Before children can use a metallic paint marker, I make them take an oath. Kids laugh, and it honestly works.
Tips
- EYES – Any eye drawing would work. You can make these as detailed as you want.
- PAINT – If doing this in a 2nd grade class or higher setting, this is the perfect project to introduce watercolor paint
- USE A VARIETY OF MAKERS – Give them different types of marker tips to work with. Discuss where they might want to use which kind (ex: skinny markers for small details)
- NEATNESS – Show how to outline a shape first and then color in one direction.
- If they are smudging their artwork, give them a piece of copy paper or paper towel (yeah, those school brown ones actually work well) to place under their drawing hand.
The Paint Marker Oath
While this may seem silly, it encourages the kids to use this expensive drawing material carefully. Trust me, it does work!
I promise to only make dots, swirls, or swiggles within my design and will not press the tips down. I will not shake the marker as I work.
Crafty Art IDeas Paint Marker Oath
You also may want to show them what happens if they smear their hand while the paint marker is still drying, or what happens if they smoosh the tip.
Art Lesson FAQs
If you are working on this project in the art classroom, I would estimate that it would require 4-5 40-minute classes, assuming you are using 12″ x 18” paper.
We love doing this project with 2nd graders. You can obviously modify it for any child of any age. But we have found that second graders can really use their imaginations and have fun creating cats without worrying too much about it looking realistic.
Like any kid art project, kids feel their ideas matter and they can add their own touches. Everyone is making a cat art, but they all turned out so differently.
Some people may not agree with this, but for younger elementary students, we like them to outline their drawings. This makes their hard work & details stand out. As they get older, I try to work on teaching them how to have contrast without outlining.
These creative cats are a super fun project that families will cherish. Add your own unique spin to make an easy cat drawing today!
Do you like this art project? Please give us a 5-STAR review below ⭐️⭐️⭐️⭐️⭐️ and have fun being creative with your family.
Laurel Burch Cats For Kids
Equipment
- Pencil
Supplies
- 1 piece 12” x 18” White Drawing Paper
- Variety Of Markers
- Black Permanent Marker
- Gold or Silver Paint Marker
Optional
- 2 Colors Watercolor Paint
Instructions
Draw Your Cat
- Draw a circular shape near the top of the page but leave enough room for the ears.
- Draw a large cat body.
- Add triangular shapes for ears.
- Draw large football-shaped eyes in the middle of the face. You can add irises or small crescent shapes to make the drawing more realistic.
- Add a simple “U” shape can work for the nose. An “anchor” mouth and whatever lines they want to use for whiskers.
- Draw two paws and any type of tail.
- Draw a horizon line or table behind the cat.
- Add unique patterns and designs inside the cat drawing.
- Outline your cat with a permanent marker.
Paint The Background
- You can pick any two colors to use. One color for the ground and one color for the sky.
Add Color
- Use a variety of markers to color in your patterns and designs.
- Once the whole cat (except the eyes) has been colored, use a gold or silver paint marker to add extra accents to finish the fun cat design.
Notes
- The only place that you do not want to color is the whites of the eyes (or just say “eyeballs”). If kids color those in, then it is hard to see them due to a lack of contrast with all the patterns going on.