Pumpkin Chalk Art For Beginners
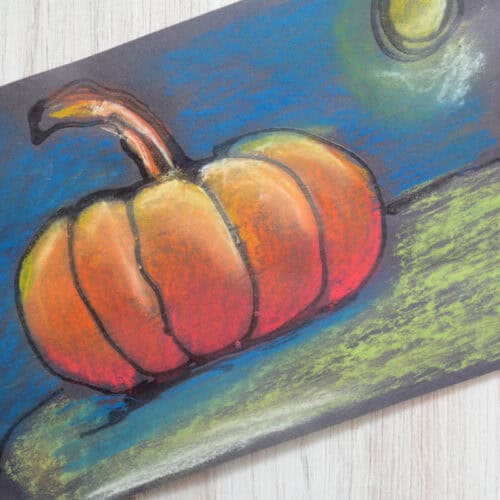
Use our easy step-by-step drawing lesson to learn how to create easy pumpkin drawings using chalk pastels on black paper.
Print Tutorial
Equipment
- Pencil
Supplies
- Black Construction Paper 6" x 9" or bigger
- Chalk Pastels
- Bottled Glue we recommend using Glue-All and not regular School Glue
- Workable Fixative
Instructions
- Draw A Pumpkin - Lightly sketch a simple pumpkin and any background details with a pencil. You can also skip the pencil and draw directly with glue.
- Trace With Glue - Carefully trace the pumpkin and main details with bottled glue. Avoid adding tiny details that may be difficult to outline.
- Let The Glue Dry - Lay the artwork flat and allow the glue to dry completely. This may take a few hours, depending on the thickness of the glue.
- Add Chalk Pastels - Color inside the dried glue lines with chalk pastels. Use yellow, orange and red to add dimension. Blend the colors with your fingers and add white highlights. Add a blue or purple cast shadow underneath the pumpkin.
- Spray With Fixative - In a well-ventilated area, lightly spray the finished chalk drawing with workable fixative to help prevent smudging.
Video
Notes
- Younger artists may find larger 12" x 18" paper easier to work with.
- Lay your glue drawings completely flat to dry. Most drying racks have a tilt, and the drawings will drip or smear.
- We recommend showing children how to use one finger to blend chalk pastels.
- Clean up extra smudges with an eraser before spraying them.
Tried this Crafty Art Idea?Please consider Leaving a Review!
Cost: under &5