How To Make A Pinch Pot With Air Dry Clay
Learn how to make a pinch pot with air dry clay, a popular and easy-to-use medium for sculpting and hand-building, without the need for a kiln.
Print Tutorial
Equipment
- Small container of water
- Skewer or Needle Tool
Supplies
- Air Dry Clay
- Acrylic Paint
Instructions
- Roll a ball of air dry clay in your hands until it's smooth and round.
- Use your thumbs to push a hole into the center of the clay ball, making sure not to push all the way through to the bottom. The hole should be as deep as possible. This will be the starting point for the pinch pot.
- Pinch the clay walls to create an even shape, rotating the pot and continuing to pinch around the edges. Be sure to hold your index fingers and thumbs like you're driving a car to maintain the shape.
- Flip the pot over on a flat surface and lightly tap the rim to make it even. You can also use clay tools to trim the excess clay.
- Smooth out any bumps or cracks with your fingers or a small clay tool. If needed, dip your fingers in water to help smooth the surface.
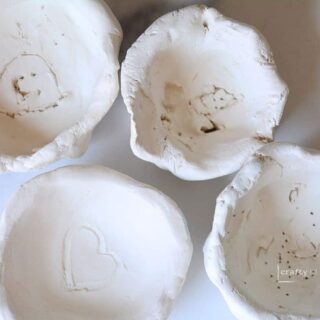
- (Optional) Add extra details, such as a coil of clay for a foot ring or designs on the surface. Be sure not to poke all the way through the clay when drawing.
- Flip the pot over and write your name or initials on the bottom.
- Let the pot dry completely.
- (Optional) Add color to your pinch pot using paint or other techniques. Acrylic paint is a good option for painting air dry clay.
Notes
- The drying time for air dry clay can vary depending on the humidity and thickness of the clay. Typically, it takes about 24-48 hours for a small pinch pot to dry completely.
- Apply a varnish or clear coat for extra protection if your pot will come into contact with water.
Cost: under $5