How To Melt & Make Crayons Molds
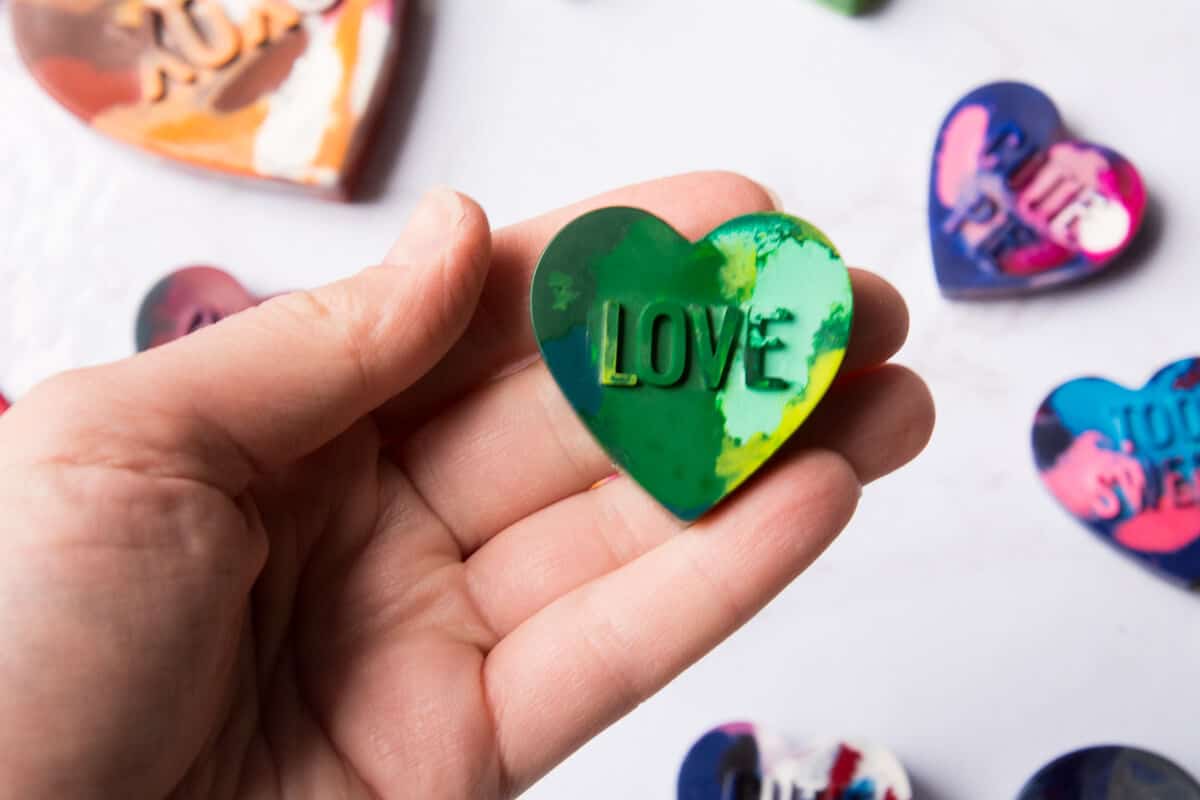
These DIY crayon molds are so easy and fun to make. This is a great way to recycle old crayons by making new ones in silicone molds.
Print Tutorial
Equipment
- Oven
- Cookie Sheet
- Cup of warm water
Supplies
- Old crayons
- Silicone Molds these are similar to the ones we used
Instructions
- Preheat the oven to 275 degrees Fahrenheit.
- Place peeled and broken crayon pieces in molds. Overfill the molds (especially if they are smaller hearts). The crayons melt to fill every empty space.
- Put silicone mold on a cookie sheet before putting it in the oven.
- Place in oven and cook for 8-12 minutes. Time may vary.
- Once you see that the crayons have fully melted, pull them out of the oven immediately.
- The wax will be very hot and liquid. How long your newly formed crayons need to cool will depend on the size of your molds.
- Once one is completely cool to the touch, you can carefully push them out of the silicone mold.
Video
Notes
- Adult supervision is required! Don't leave young children unattended with hot wax.
- Pull out crayons as soon as you see the wax fully melted.
- The hot wax will take around 20-30 minutes to harden and cool.
- Cook time will vary depending on the size of your broken pieces and your oven settings.
- If there is one stubborn crayon with the melted wax, you can use a toothpick to stir the wax in the mold.
Cost: Less than $5