How To Paint A Watercolor Fall Pumpkin (Step-by-Step Tutorial & Video)

We love working with watercolor paints and beginners can have a lot of fun exploring them. Learn how to paint a Fall pumpkin with this easy watercolor tutorial.
Disclosure: We only recommend products we would use ourselves and all opinions expressed are our own. This post may contain affiliate links when clicked, we may earn a small commission at no additional cost to you. Read our full privacy policy.
Pumpkins are a simple and fun shape to work with when learning how to use watercolor paints. Layering paints and allowing them to naturally blend can really be your friend. One of the reasons we love painting simple Fall or Autumn things is because the warm colors naturally just work well together.
What watercolor paints and supplies should you use?
The most important part when making a watercolor painting is using the right paper. You can get away with using cheaper watercolor paints and brushes, but the paper will matter.
For this painting and our easy Fall tree painting, we decided to just make simple greeting cards on thick watercolor paper that comes premade as cards with envelopes. These cards are 140 lb. paper.
Why not gift your homemade cards once you have practiced your watercolor skills?
What does the lb. mean on drawing and watercolor paper?
Basically, the higher the number, the thicker and sturdier the paper is. For young artists, sometimes 80 lb or 90lb drawing paper is good enough (even to paint with). However, specific watercolor paper will be least 140 lb. This will make all the difference for a more mature artist.
What colors to use for the shadows?
Normally, we love adding cool (violets or blues) as a separate layer for our shadows. This adds more depth to your painting. Just be sure that you do not muddy the colors by rubbing your brush back and forth too long.
Tips For Sketching Pumpkins
- Use basic lines and shapes. Since this was just a card we just used our imagination and basic shapes.
- Curving the lines and lightly sketchy will help you create a more round pumpkin.
- If you are really looking for a realistic look, then drawing from observation is the way to go. Drawing from observation means actually looking at the item you are drawing. There are so many nuisances and differences you can notice when using your observational skills.
How To Paint A Pumpkin
Step 1: Sketch Out The Pumpkin
Use light pencil sketchy lines. Draw right until you get it right!
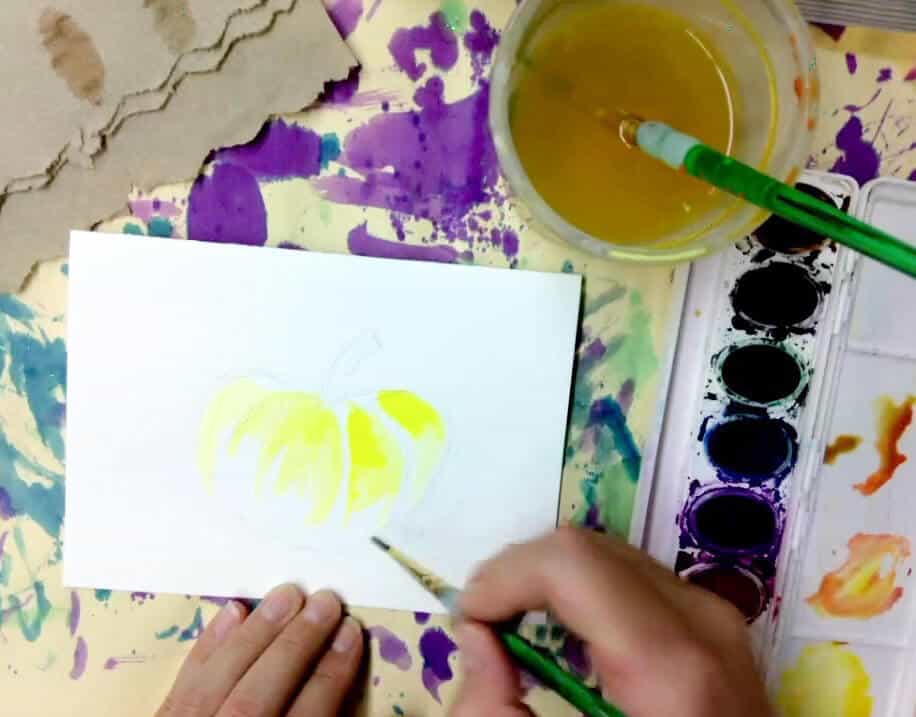
Step 2: Use Wet-On-Wet Technique
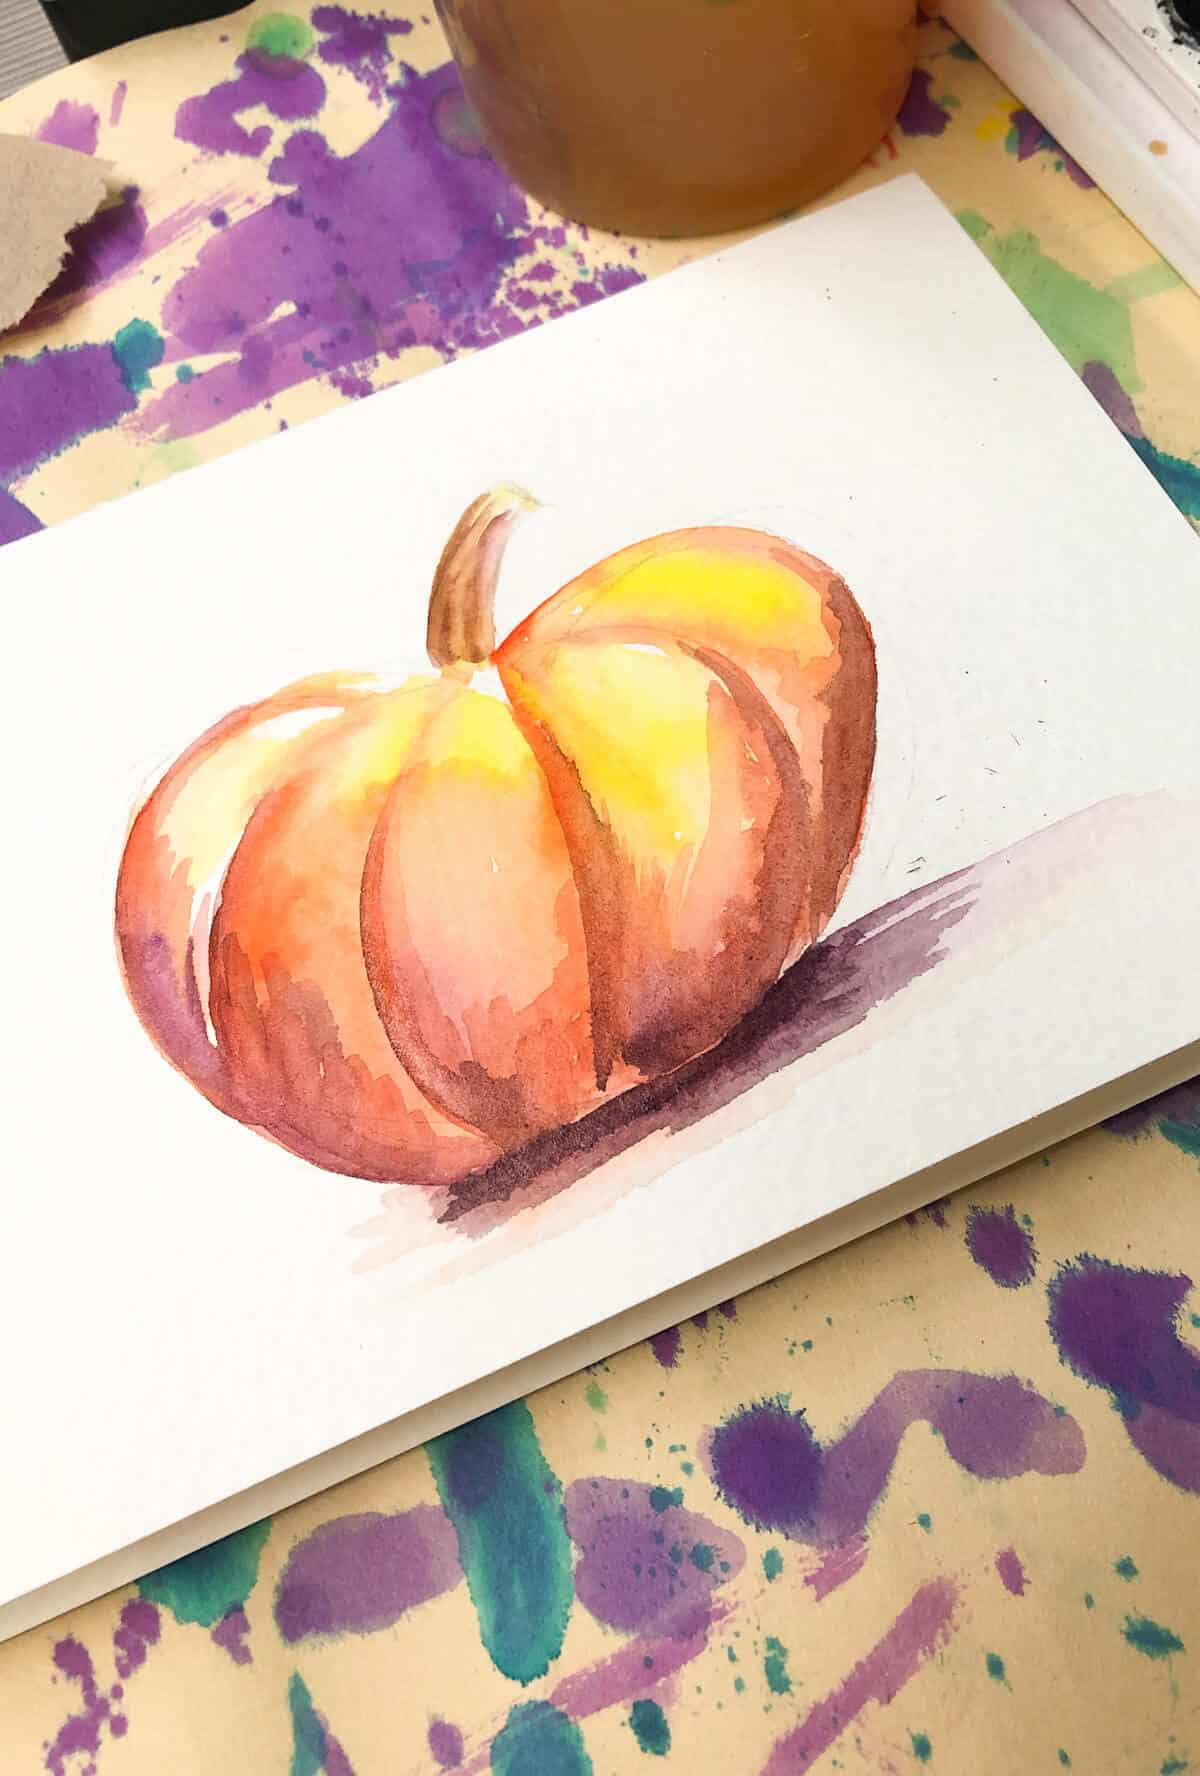
Light wet the area of the pumpkin with water on your paintbrush. Use a mixture of yellows and oranges to create a wet-on-wet wash. The colors will naturally blend.
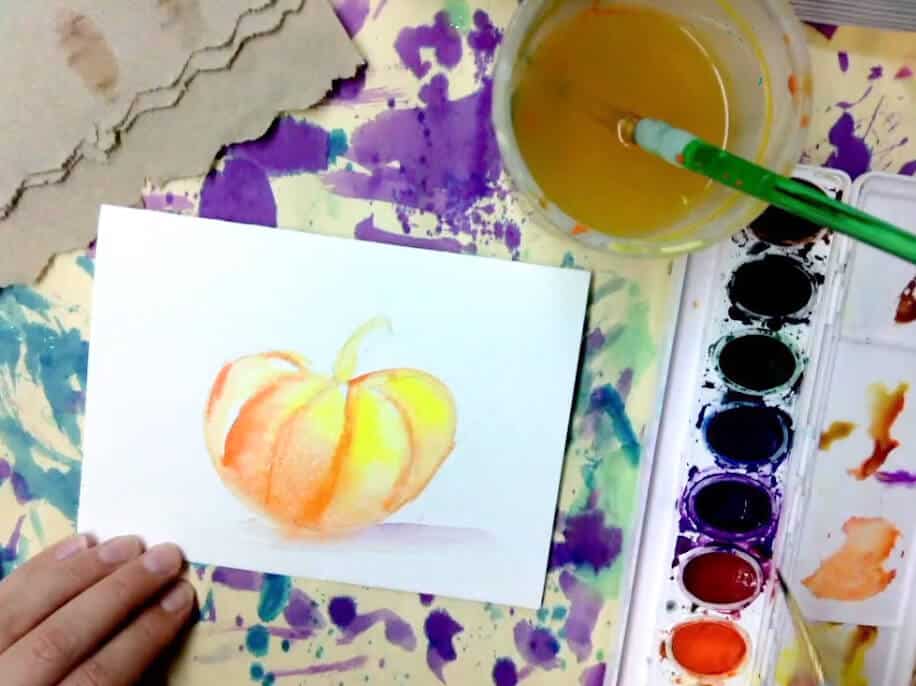
Step 3: Use Darker Colors At The Bottom and Creases
Leave some room for highlights and put darker or more saturated colors near the bottom of your pumpkin and in the creases.
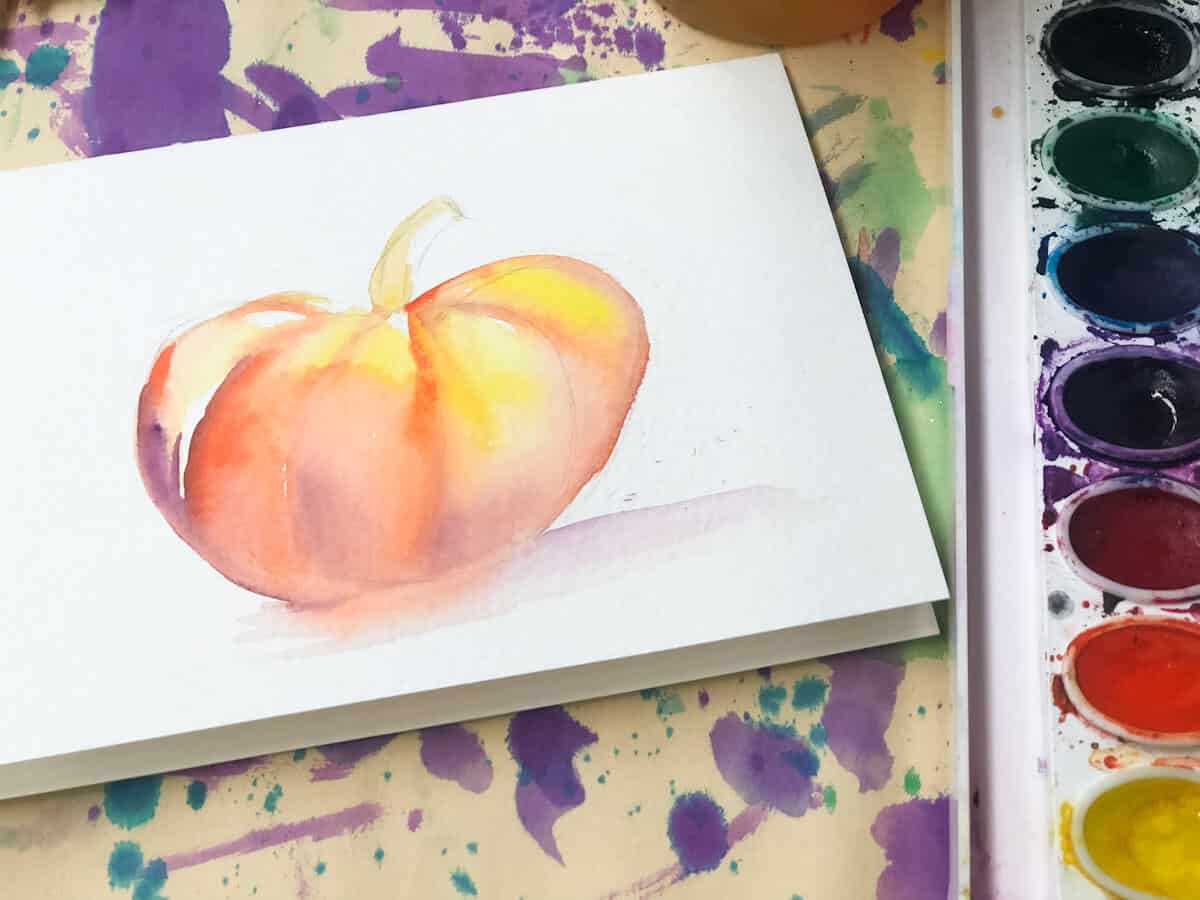
Step 4: Add Darker Colors
Begin layering on the dry paint with darker oranges and violet colors. Be careful not to mix the colors too much.
Orange and purple can muddy your colors if you are not careful. Make sure to rinse your brush thoroughly when changing colors.
Step 5: Let Dry.
Let dry. Begin to add a cast shadow.

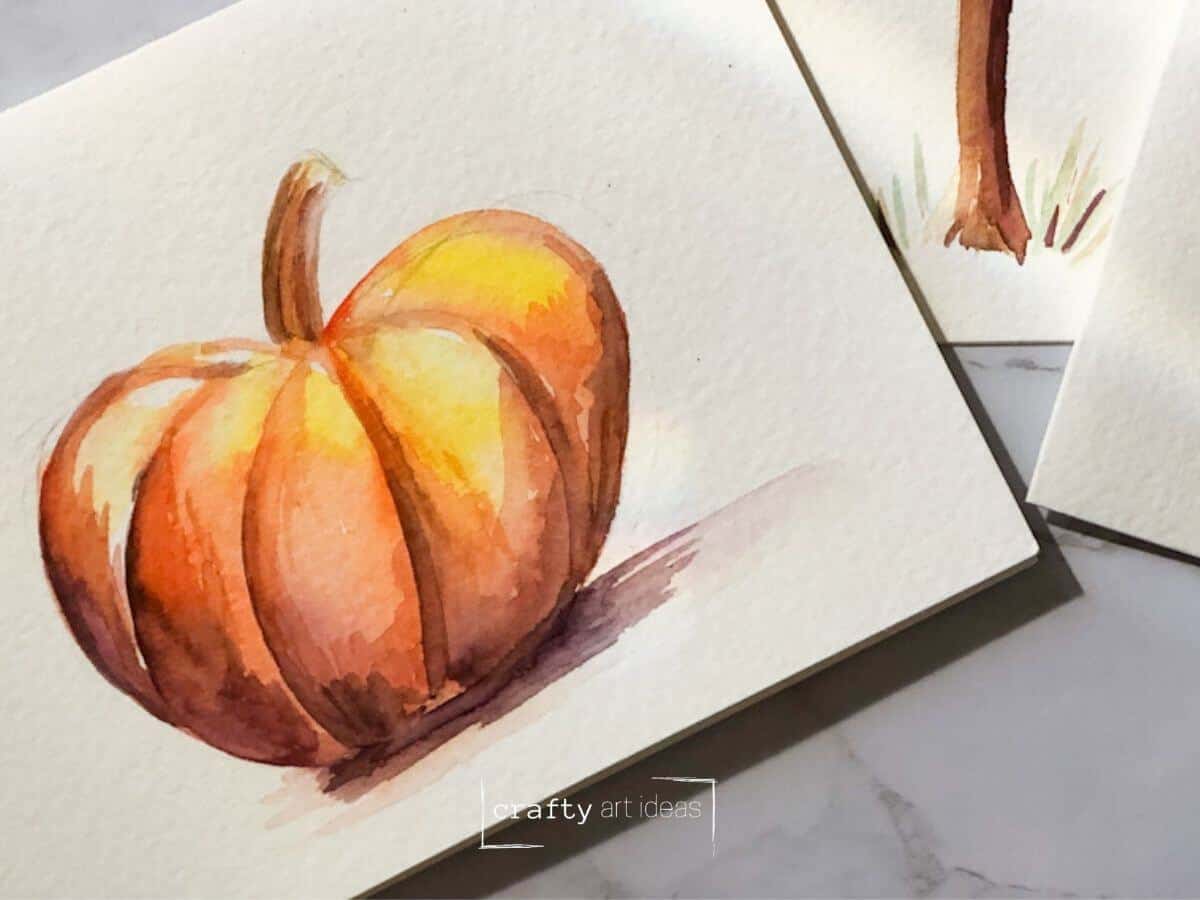
Step 6: Add Extra Details
Once dry, use a smaller brush to continue to darken shadows and details. We like a looser look, so don’t feel that you have to completely blend all the colors perfectly.
Follow us on Pinterest or Flipboard for more free art and craft ideas!
Related Posts
- 37+ Amazing Fall Craft For Adults you can try this weekend!
- How To Paint Clay With Watercolor Paint
- Can You Paint Watercolor On Canvas?
Remember that art is about the process and have fun painting your watercolor pumpkin!
Do you like this art project? Please give us 5 stars below 🤩🤩🤩🤩🤩 and have fun being creative with your family.
Easy Pumpkin Watercolor Painting
Equipment
- Paint Brushes (Small and Medium)
- Cheaper paint brush set
Supplies
Instructions
- Sketch out your pumpkin. Use light pencil sketchy lines. Use a mixture of yellows and oranges to create a wet-on-wet wash. The colors will naturally blend.
- Leave some room for highlights and put darker or more saturated color near the bottom of your pumpkin and in the creases.
- Allow to dry.
- Begin layering on the dry paint with darker oranges and violet colors. Be careful not to have the colors mix to much as orange and purple can muddy your colors.
- Let dry. Begin to add a cast shadow.
- Once dry, use a smaller brush to continue to darken shadows and details.
Video
Notes
- When adding or layering darker watercolor, make sure to fully rinse your brush when changing colors
- We like a looser look, so don’t feel that you have to completely blend all the colors perfectly.
- Heavier drawing paper or watercolor paper will work best for this simple painting idea.
- Orange and purple can muddy your colors if you are not careful.